• Home
  • Designs
  • Decor
  • Beauty
  • Stationery
  • Themes
  • Photography & Videography
  • Wedding Cakes
  • Wedding Outfits
  • Jewelry & Accessories
Wed Blooms
Wedding Design and Decor Ideas Made Simple!
Home - Beauty
Category:

Beauty

This category includes makeup, hairstyles, skincare routines, and grooming practices. It explains how different beauty elements are planned for various wedding events and conditions.
Beauty

11 Soft Glam Bridal Makeup Looks, Step by Step

by Emma Carter October 24, 2026
written by Emma Carter

Soft glam is the bridal look most makeup artists get asked for. It is polished and photo-ready without the heavy, mask-like feel of full glam. Think glowing skin, softly defined eyes, and lips that look like your own, only better.

Every look below follows the same base order. Skin first, then eyes, then cheeks, then lips, with setting spray at the end to lock everything in. Each of the 11 versions changes one or two elements, so you can find the one that fits your features and your wedding style.

Classic Nude Lip Soft Glam
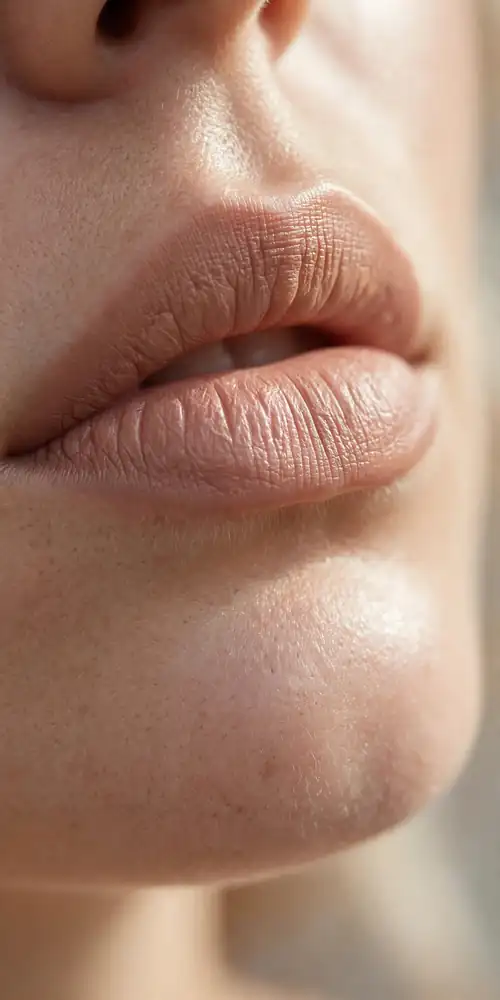
Close-up of lips with natural nude lipstick and glowing skin

The original soft glam. Neutral matte eyeshadow in taupe and soft brown, a thin line of brown liner, and a nude lipstick matched to your natural lip tone. Start with moisturizer and primer, then medium-coverage foundation and concealer under the eyes. Set the T-zone with translucent powder, sweep taupe shadow across the lids, tightline the upper lashes, and finish with two coats of mascara. Add a soft pink blush and nude lip liner with lipstick. Styling tip: test the nude lipstick in daylight. Shades that look nude indoors can pull grey or orange in natural light.

Berry Lip Evening Glam
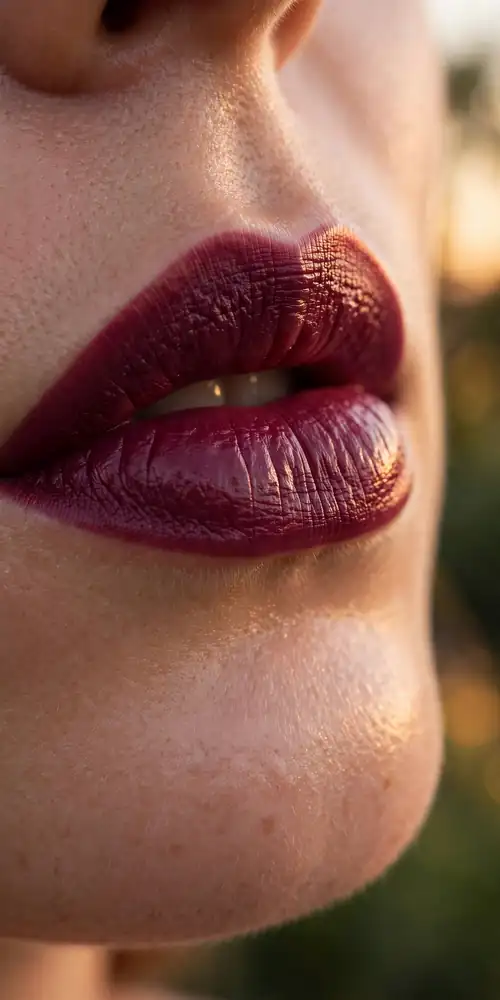
Close-up of lips with deep berry lipstick and glowing skin

The same glowy base, but with a deep berry lipstick as the focal point and eyes kept soft and neutral. Do the bold lip last so the edges stay crisp, and blot once with tissue for a stained effect that survives dinner and drinks. Keep the blush in the same berry family so the face looks pulled together. Because the lip carries the look, the eyes need only mascara and a wash of neutral shadow. Styling tip: fill the whole lip with lip liner first, then apply lipstick over it. The liner base doubles the wear time of any bold shade.

Bronze Smoky Eye
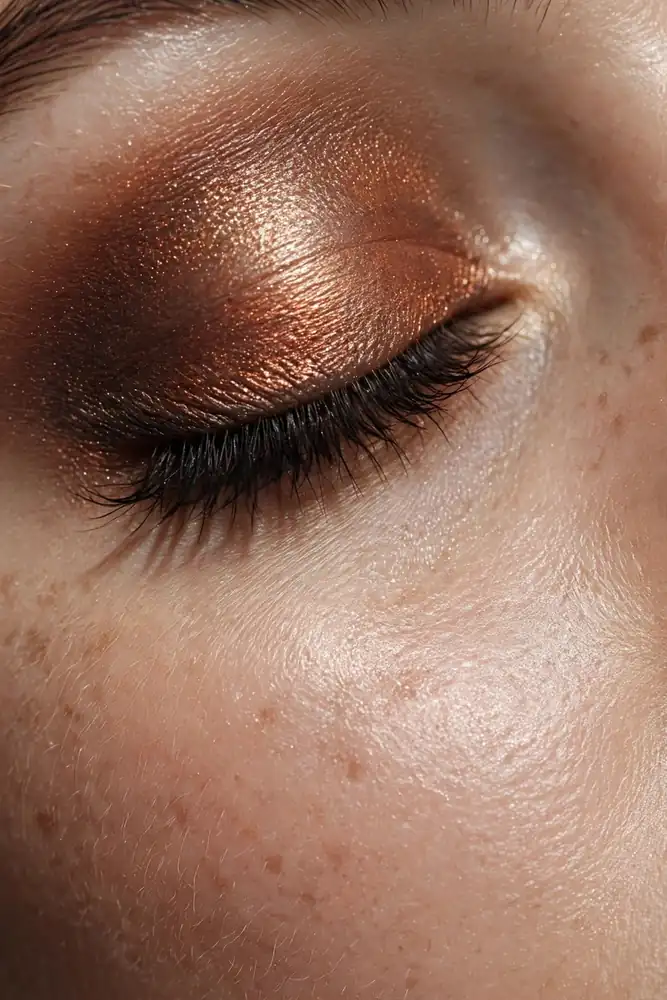
Close-up of closed eye with bronze and copper smoky eyeshadow

Bronze and copper shadows blended into a soft smoky shape, paired with a nude gloss lip. For any smoky eye, do the eyes before the base. Shadow fallout wipes away cleanly from bare skin, but it stains foundation. Blend a medium bronze through the crease, deepen the outer corner with dark chocolate, and press shimmering copper on the center of the lid. Then apply foundation around the finished eyes. Styling tip: blend with a clean fluffy brush for a full minute after you think you are done. Soft glam smoky eyes should have no visible edges.

Rose-Gold Eye Glow
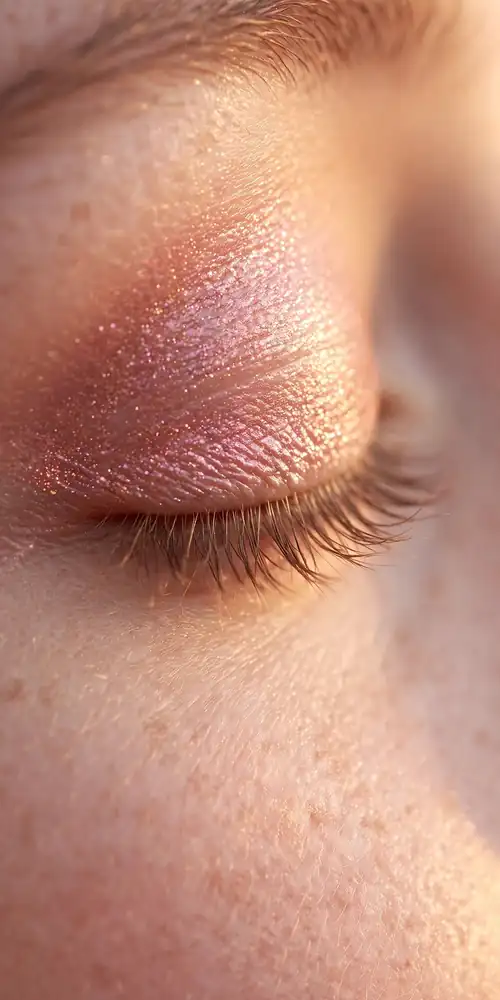
Close-up of closed eye with rose-gold shimmer eyeshadow

Rose-gold shimmer swept across the lids, rosy cream blush on the cheeks, and a pinky-nude lip. This look glows in golden-hour photos. Apply cream blush before any powder so it melts into the skin for a lit-from-within finish. Pat the rose-gold shadow on with a fingertip rather than a brush for stronger color payoff. Finish with a light dusting of highlighter on the cheekbones and a setting spray with a dewy finish. Styling tip: keep shimmer off the center of the forehead and chin. Shimmer in the T-zone reads as shine in flash photography.

Peachy Coral Cheek Look
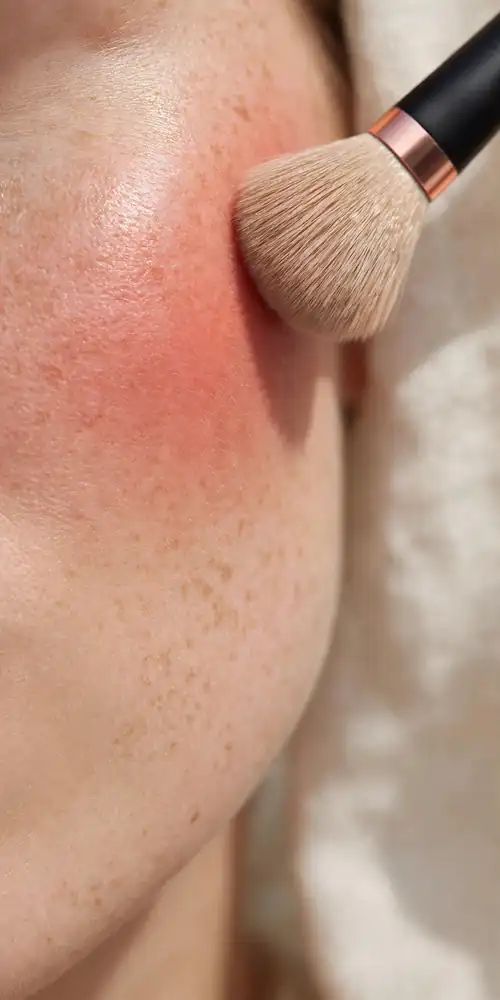
Close-up of cheek with coral blush and makeup brush on cheekbone

Coral blush as the star of the face, with warm peach eyeshadow and a glossy peach lip to match. This monochrome warmth flatters most skin tones and suits outdoor and garden weddings beautifully. Layer a powder blush over a cream blush in the same coral shade to make the color last from ceremony to dance floor. Keep brows soft and natural so the cheeks stay the focus. Styling tip: smile and place the blush on the apples of the cheeks, then blend upward toward the temples. Blush placed too low drags the face down in photos.

Mauve Monochrome Look
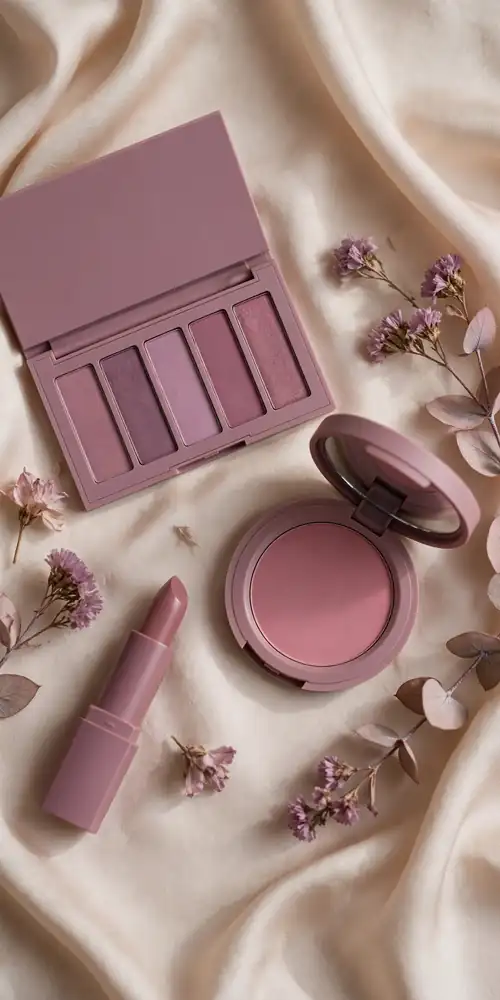
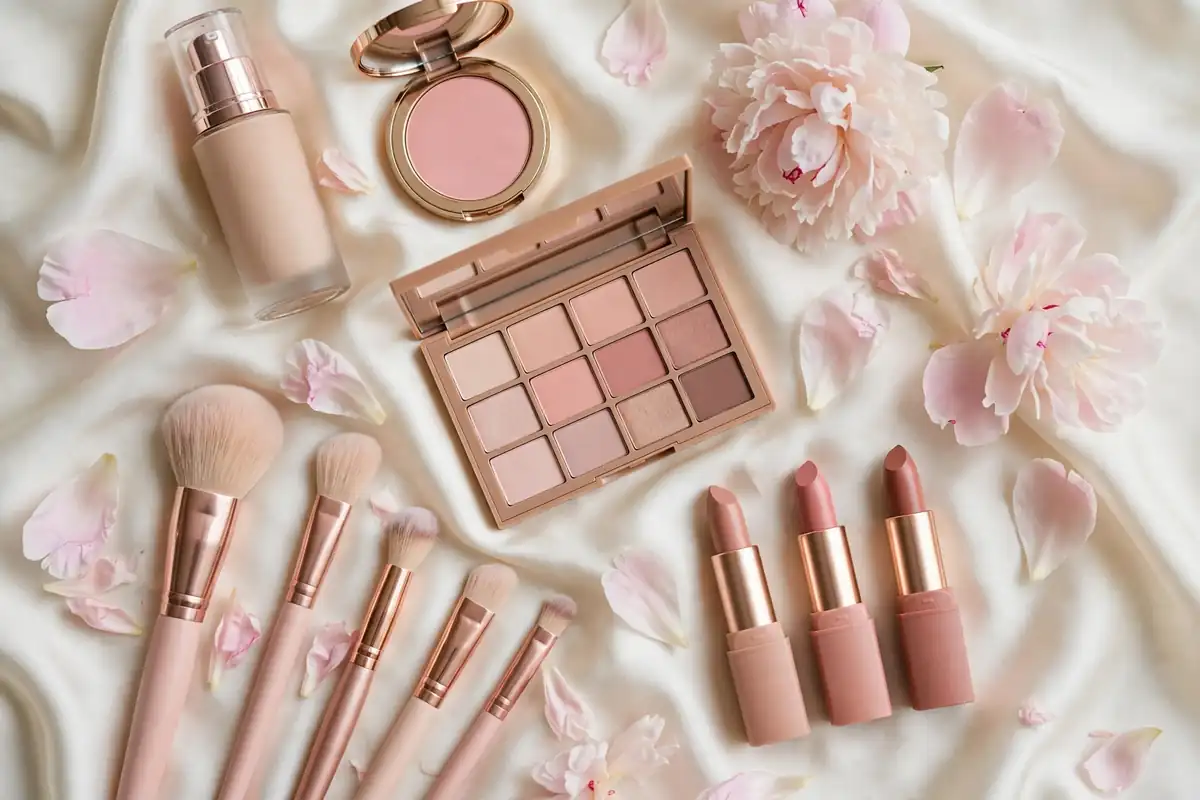
Flat lay of mauve eyeshadow palette, lipstick and blush on silk

Mauve eyeshadow, mauve blush, and mauve lipstick, all from the same color family. Wearing one tone across the whole face looks modern and photographs softly, with nothing competing for attention. Choose a mauve with the right undertone for your skin. Pink-based mauves suit cool skin, while brown-based mauves suit warm skin. Line the lips with a matching liner to keep the soft lipstick from feathering. Styling tip: vary the textures. Matte eyes, creamy cheeks, and a satin lip in the same color keep a monochrome look from falling flat.

Golden Shimmer Lid
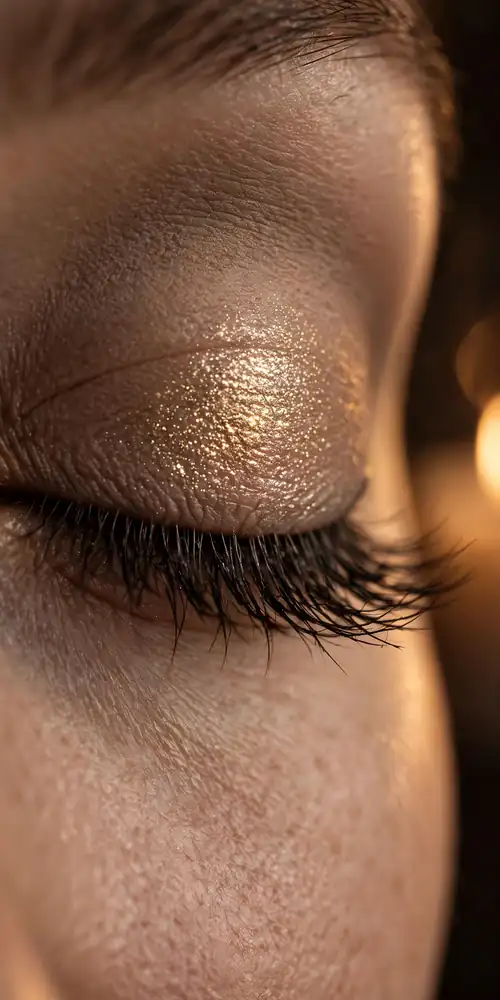
Close-up of closed eye with champagne-gold shimmer on the lid

Champagne-gold shimmer pressed onto the center of the lid over a matte neutral base, with a softly defined crease and a nude lip. The shimmer catches candlelight beautifully, making this a strong pick for evening receptions. Dampen the eyeshadow brush lightly before picking up the shimmer shade. A damp brush packs the pigment on instead of scattering it. Keep the lower lash line clean with just a touch of the matte crease shade. Styling tip: press, do not sweep, when applying shimmer. Sweeping drags the sparkle across the whole lid and dulls the effect.

Soft Brown Winged Liner
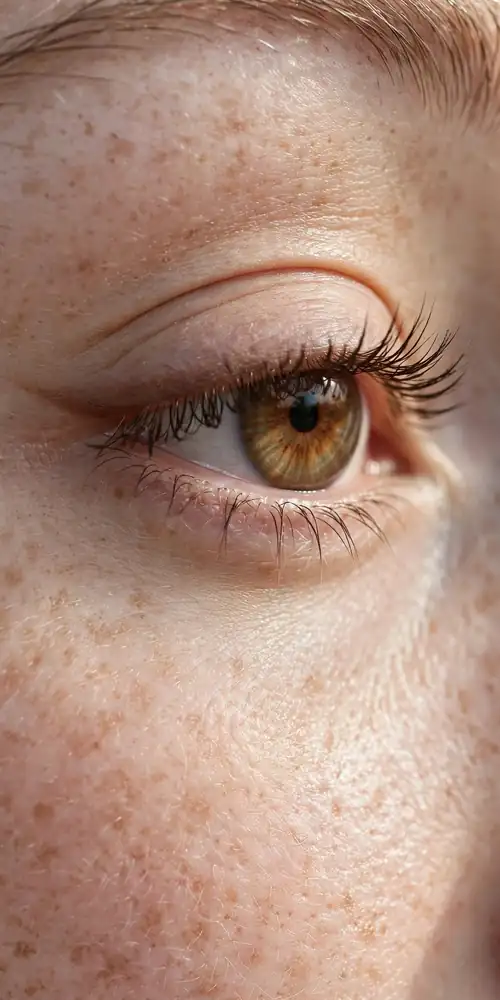
Close-up of open eye with soft brown winged eyeliner

A thin wing drawn in dark brown pencil or gel instead of black, with fluttery mascara and a nude lip. Brown wings give definition without the harshness of black, which is exactly the soft glam balance. Draw the wing with the eye open, looking straight into the mirror, so the shape follows your real eye line. Smudge the edge slightly with a small brush for softness. This look pairs well with a light dusting of bronzer. Styling tip: stamp the wing outline on both eyes before filling either in. Matching the angle first is the secret to even wings.

Dewy Glass Skin Glam
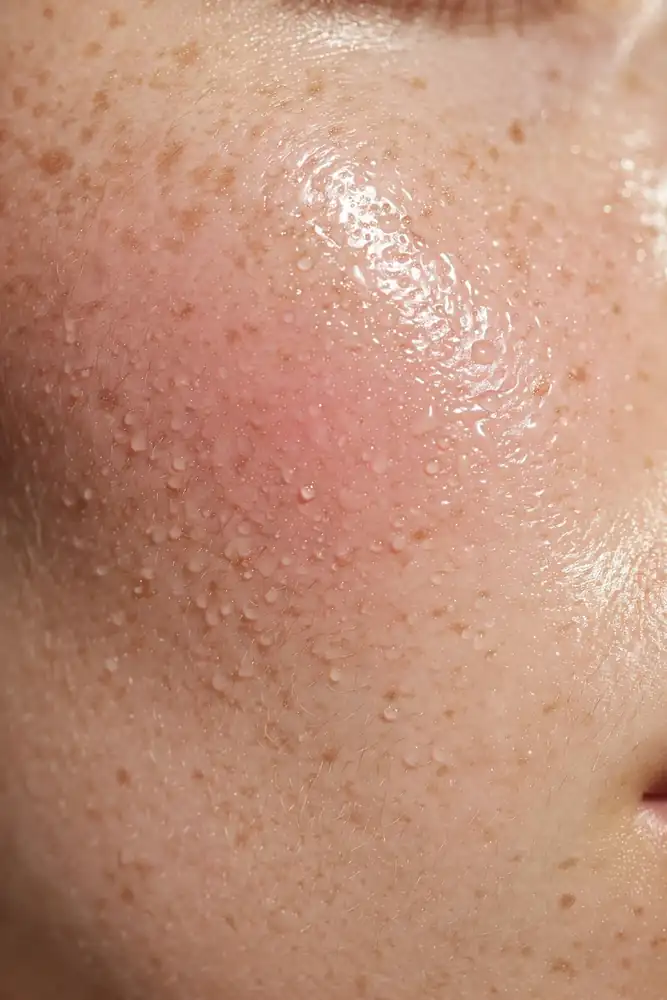
Close-up of dewy glowing cheek with liquid highlighter sheen

The focus here is skin. Mix a drop of liquid highlighter into your foundation, use cream blush and cream bronzer, and finish with a glossy lip. Keep the eyes simple with one wash of neutral shadow and mascara. Set only the T-zone with powder and leave the cheeks untouched so they stay dewy. This look needs well-prepped skin, so moisturize generously and let it sink in for ten minutes before makeup. Styling tip: skip powder highlighter over cream highlighter. Layering the two can look cakey, so pick the cream version and let it shine on its own.

Warm Terracotta Eye
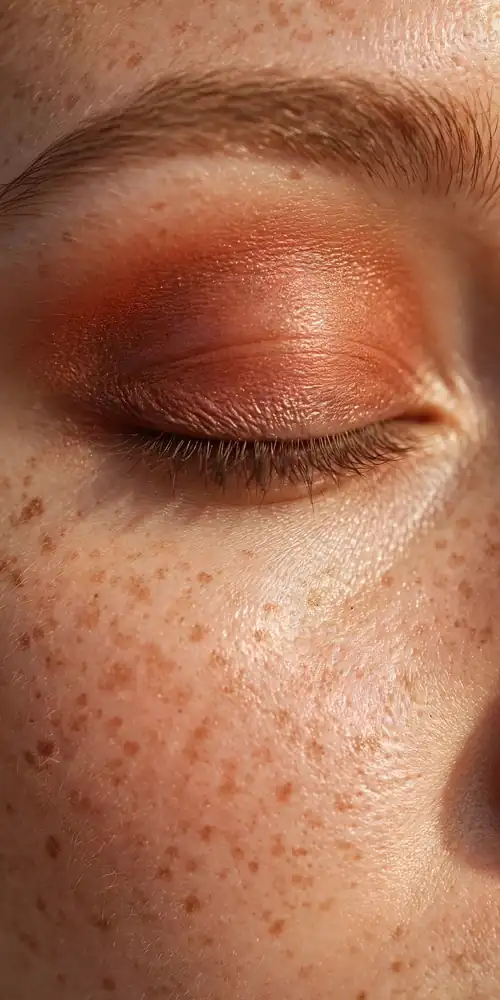
Close-up of closed eye with warm terracotta eyeshadow in the crease

Terracotta and rust tones blended through the crease, a soft brown pencil tightlined along the upper lashes, and a caramel nude lip. These warm earth tones suit fall weddings and look stunning on brown and hazel eyes. Build the color slowly in thin layers. Terracotta shades can turn muddy if applied too heavily at once. A wash of the same tone under the lower lashes ties the look together. Styling tip: pair terracotta eyes with a warm-toned blush, not pink. Pink cheeks against rust eyes clash in a way the camera picks up immediately.

Pink Champagne Glow
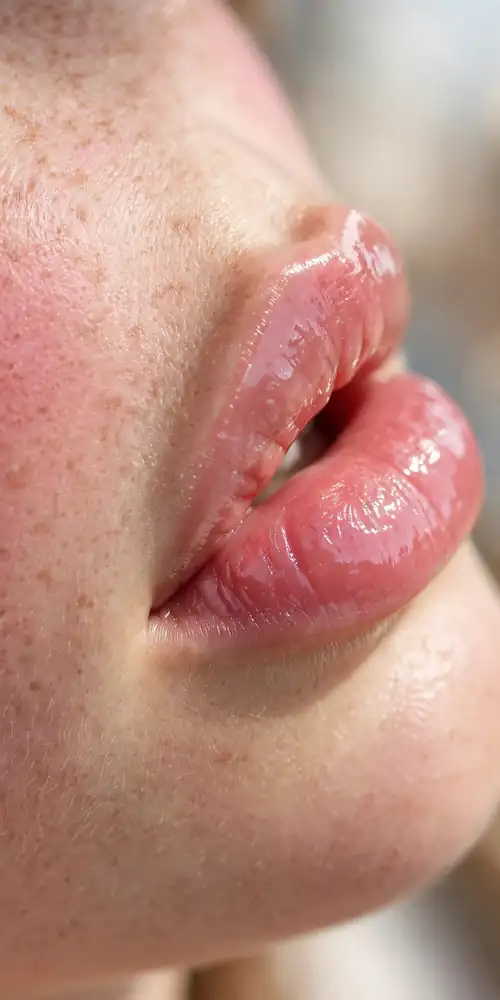
Close-up of glossy pink lips with fresh radiant blush

Pale pink shimmer in the inner corners of the eyes, pink blush placed high on the cheekbones, and a pink gloss on the lips. The overall effect is fresh, youthful, and radiant, ideal for morning ceremonies and brides who rarely wear much makeup. Curl the lashes since mascara does most of the eye work here. Styling tip: blot the gloss once after applying. One thin layer of gloss photographs as shine, while two thick layers photograph as sticky.

Whichever version you choose, do a full trial run before the wedding day. Wear the look for at least six hours, take photos in daylight and flash, and check how it holds up. Soft glam should look like the best version of you, and a trial is how you make sure it lasts from the first photo to the last dance.
October 24, 2026 0 comments
0 FacebookTwitterPinterestEmail
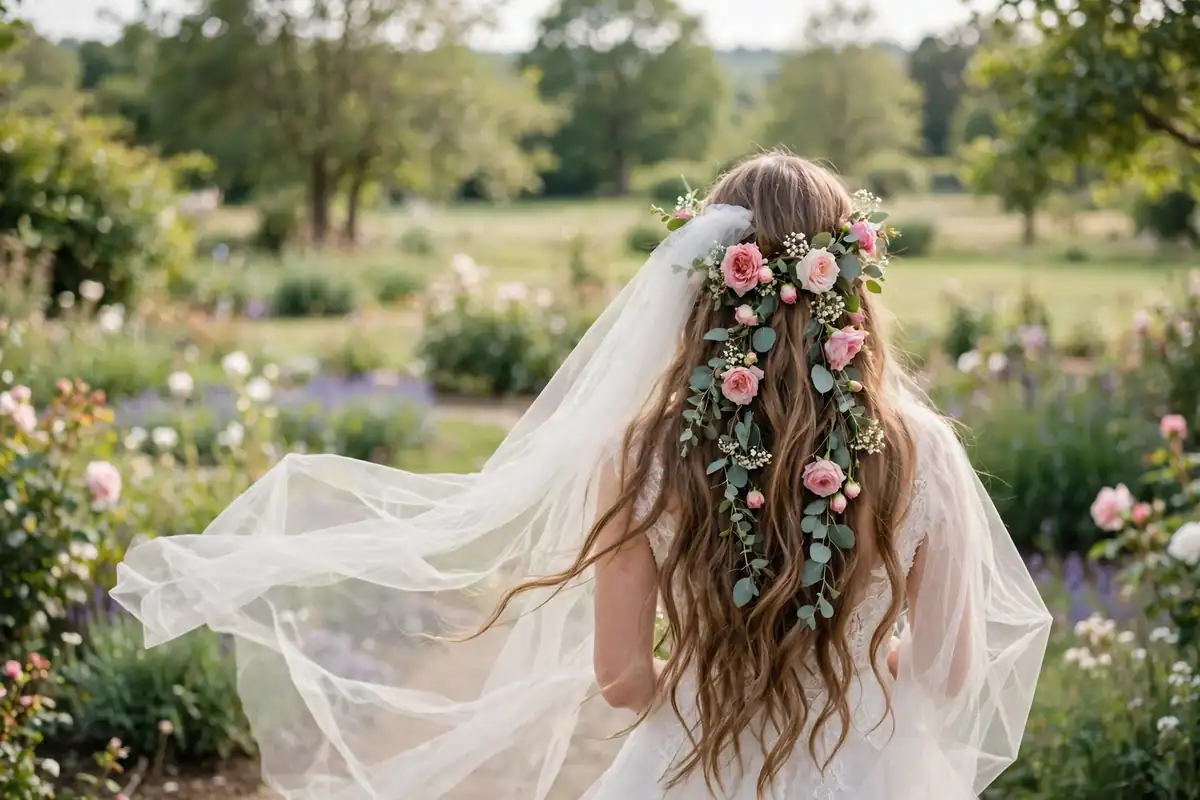
Bride with fresh flowers in her flowing hair and soft veil, garden background
Beauty

11 Bridal Hairstyles With Fresh Flowers

by Emma Carter October 22, 2026
written by Emma Carter

Fresh flowers in bridal hair never go out of style. They add color, texture, and a light natural scent that no jeweled pin can copy. From tiny sprigs of baby’s breath to full garden roses, there is a pairing for every dress, venue, and budget.

Not every bloom survives a full wedding day, though. Some wilt in heat, and some bruise the moment they are pinned. These 11 hairstyle and flower pairings are chosen to look beautiful in photos, with honest notes on which flowers will still look fresh at midnight.

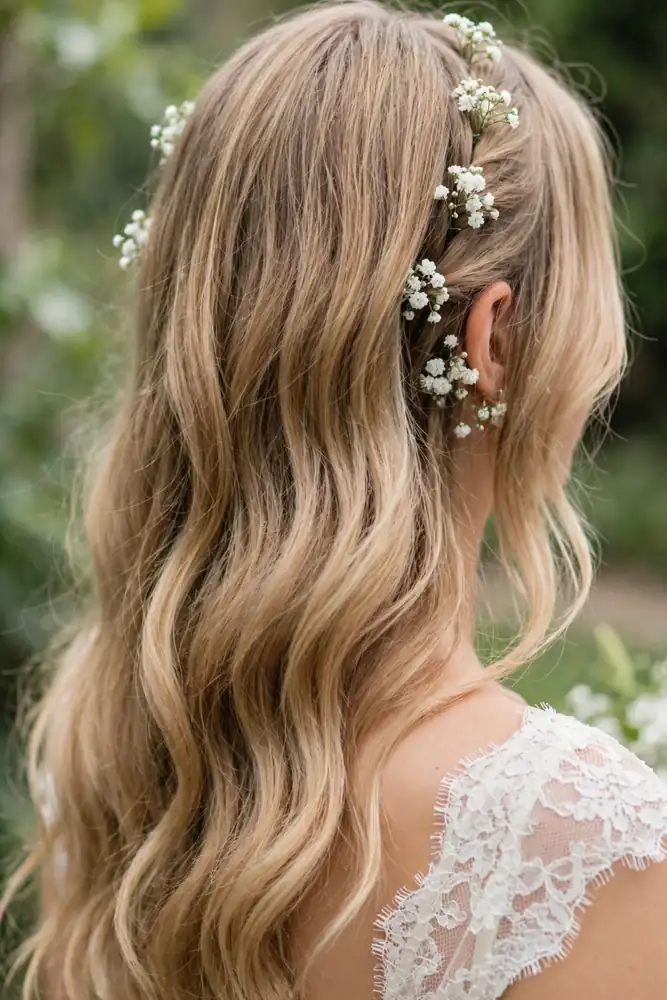
Loose Waves With Baby’s Breath

Loose bridal waves with baby's breath tucked along the part, back view

Soft, brushed-out waves falling over one shoulder, with small clusters of baby’s breath tucked along the part line and behind one ear. Baby’s breath is the workhorse of hair flowers. Its tiny white blooms do not wilt, they weigh almost nothing, and they catch the light like scattered pearls in photos. This pairing suits outdoor and garden weddings especially well. Styling tip: pin each cluster with two bobby pins crossed in an X. Single pins slide out during hugs, but crossed pins lock the stems in place all day.

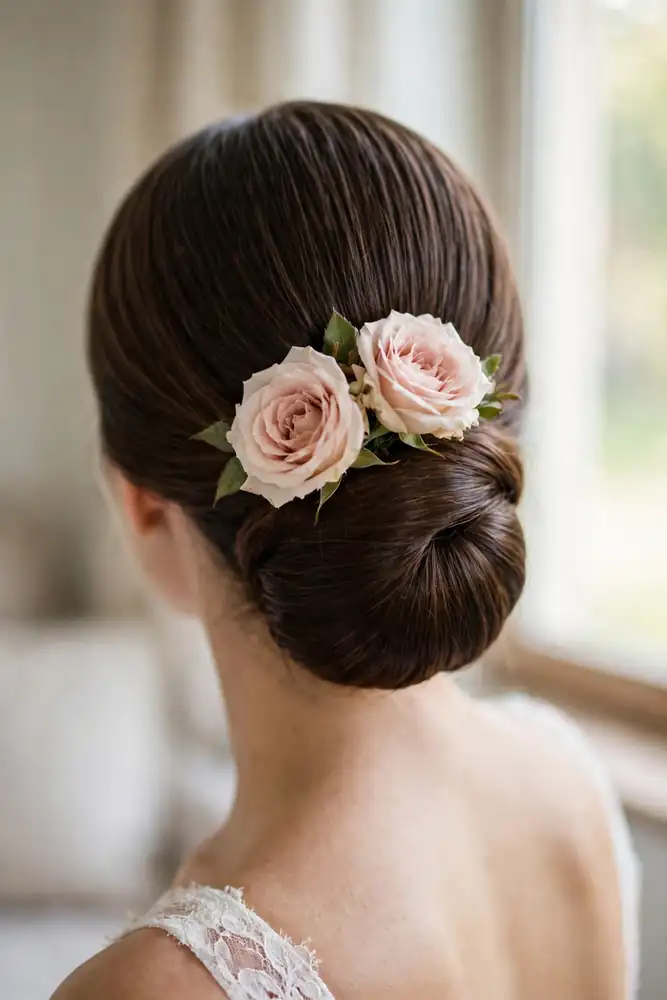
Low Bun With Garden Roses

Low bridal bun with blush garden roses pinned above it, back view

A smooth, polished bun sitting low at the nape, with two or three garden roses in blush or ivory pinned just above it on one side. Roses are among the toughest cut flowers for hair. Their layered petals hold their shape for hours, and they look lush in close-up photos. Ask your florist to keep the stems in tiny water tubes tucked under the bun. Styling tip: choose roses that are half open. Tight buds look small in photos, and fully open roses drop petals by dinner.

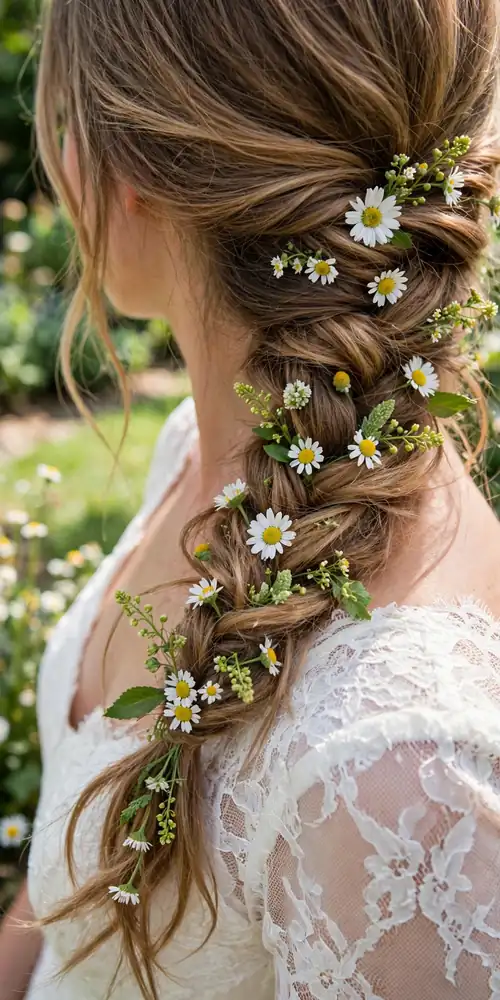
Side Braid With Wildflowers

Loose side braid with daisies and chamomile woven through, back view

A loose, slightly undone braid draped over one shoulder, with small wildflowers like daisies, chamomile, and waxflower woven through the plaits. The look is relaxed and garden-party pretty. A few sprigs of soft greenery tucked between the blooms make the colors pop and fill any gaps in the braid. Wildflowers bruise easily, so have your florist wire each stem before the wedding morning. Wired stems slide into a braid without snapping. Styling tip: braid first, then add the flowers. Weaving blooms in while you braid crushes the petals before the ceremony even starts.

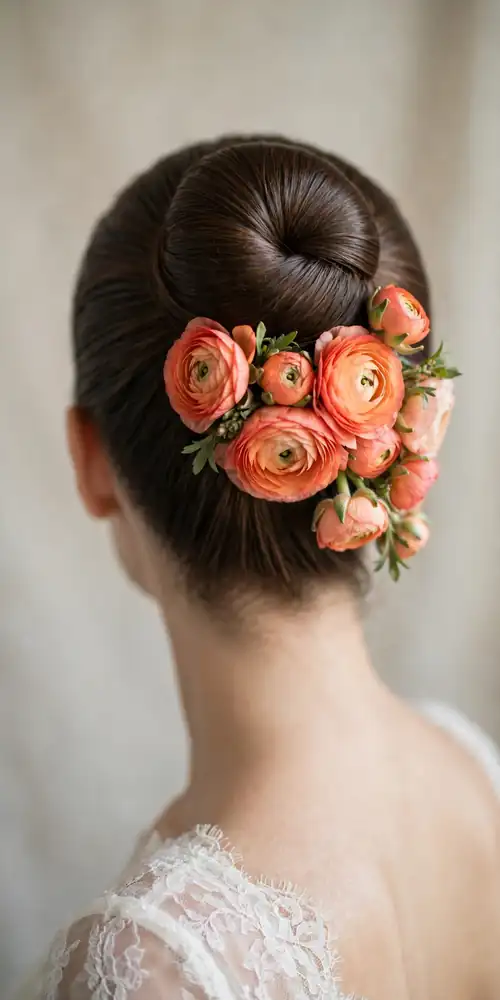
High Bun With Ranunculus

Sleek high bun with coral ranunculus cluster at its base, back view

A sleek high bun with a cluster of ranunculus in coral, peach, or soft pink placed at its base on one side. Ranunculus have strong stems and tightly layered petals, so they handle warm weather better than most delicate blooms. The ruffled petals look expensive in photos even though the flowers are affordable. Styling tip: place the cluster slightly off center. A flower sitting dead center can read like a hat, while an off-center placement looks styled and modern.

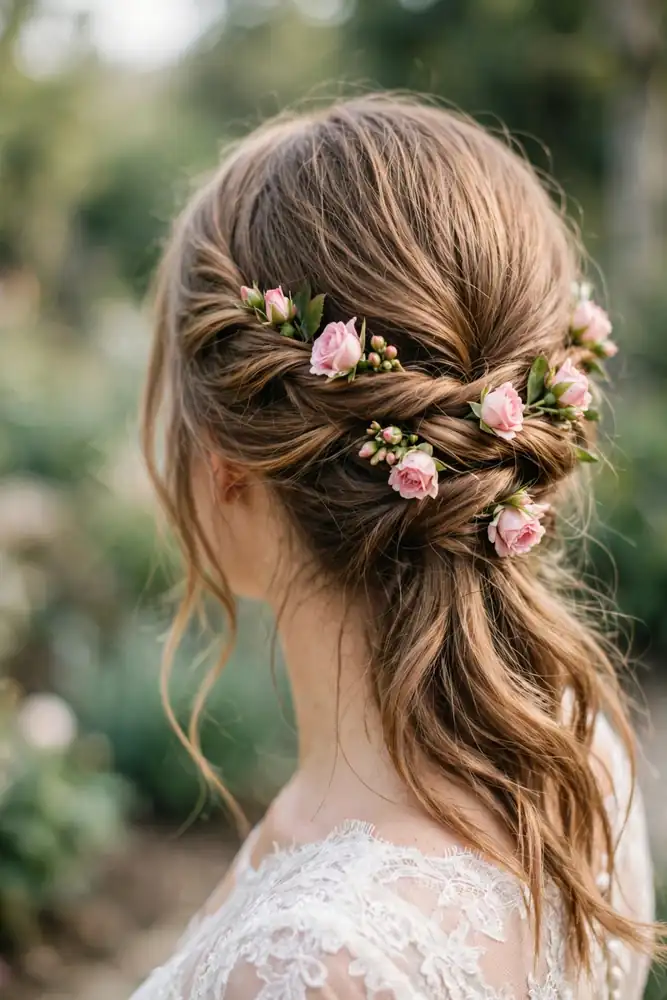
Half-Up Twist With Spray Roses

Half-up twisted bridal hair with pink spray roses along the twist, back view

The top half of the hair twisted back and pinned, with small spray roses tucked along the twist line. Spray roses are miniature roses with several blooms per stem, and they last all day without fuss. Their small scale matches the delicacy of the twist, and they come in nearly every wedding color. Styling tip: pin the flowers into the twist itself, not the loose hair below it. Blooms pinned into loose hair slide downward within the hour.

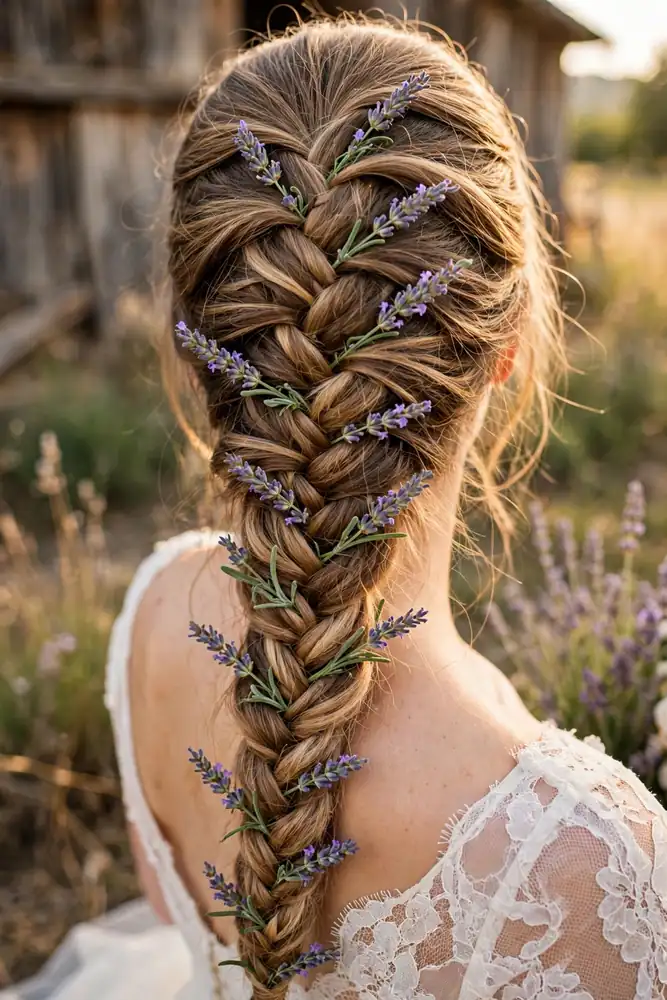
Fishtail Braid With Lavender

Long fishtail braid with fresh lavender sprigs tucked along it, back view

A long fishtail braid with sprigs of fresh lavender tucked along its length every few inches. Lavender adds a soft purple-grey color and a calming scent that guests notice during the ceremony. Unlike most flowers, lavender dries rather than wilts, so it still looks pretty at midnight. This pairing suits rustic barn and vineyard weddings, where the scent and color feel right at home. Styling tip: use freshly cut lavender with flexible green stems. Dried lavender looks similar but its stems snap when you try to bend them into a braid.

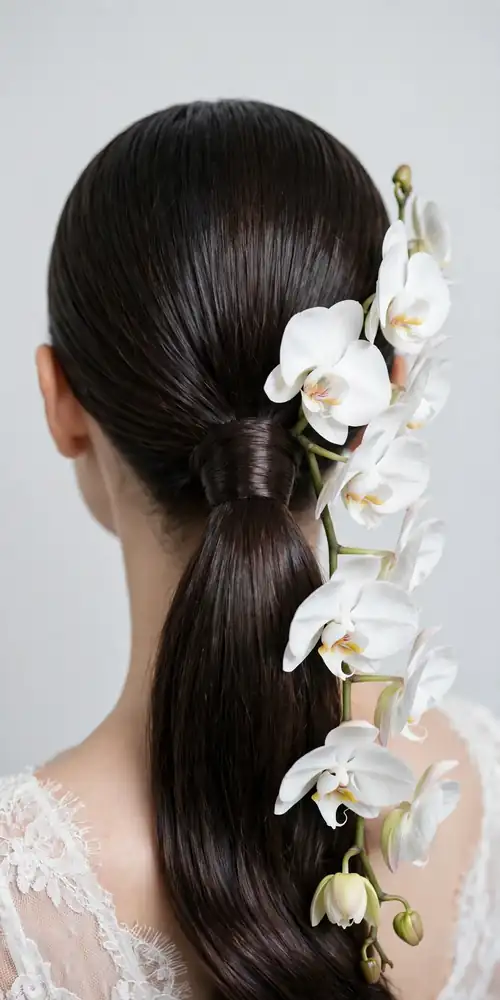
Sleek Low Ponytail With Orchids

Sleek low ponytail with white phalaenopsis orchids cascading down, back view

A smooth, glossy ponytail at the nape, with a stem of white phalaenopsis orchids cascading down alongside it. Orchids are some of the hardiest blooms you can put in hair. They handle heat, humidity, and hours of wear without wilting. This pairing feels modern and minimal, and it suits city weddings and sleek dresses. Styling tip: wire the orchid stem to a small hair comb, then slide the comb under the base of the ponytail. The comb anchors the weight so the flowers never pull.

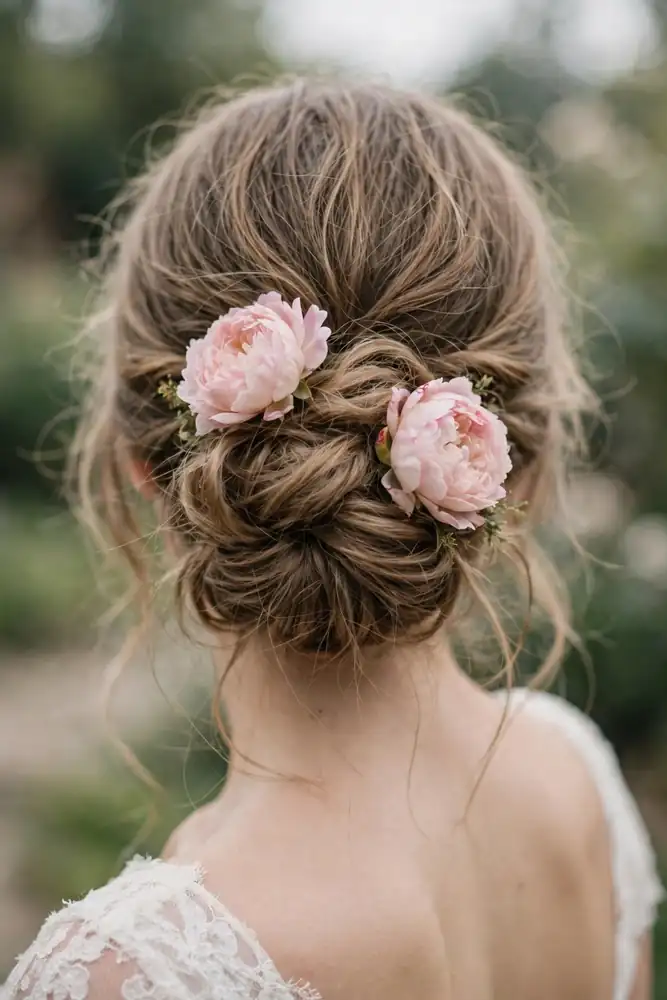
Undone Chignon With Peonies

Soft undone chignon with blush peonies tucked into its folds, back view

A soft, slightly messy chignon with one or two peonies tucked into its folds. Peonies are breathtaking but fragile. They bruise easily and drop petals in heat, so this pairing works best for indoor or cool-weather weddings. Keep a spare bloom with your maid of honor for a quick swap before portraits. Styling tip: add the peonies last, right before photos begin. Every hour they sit in warm hair shortens how fresh they look on camera.

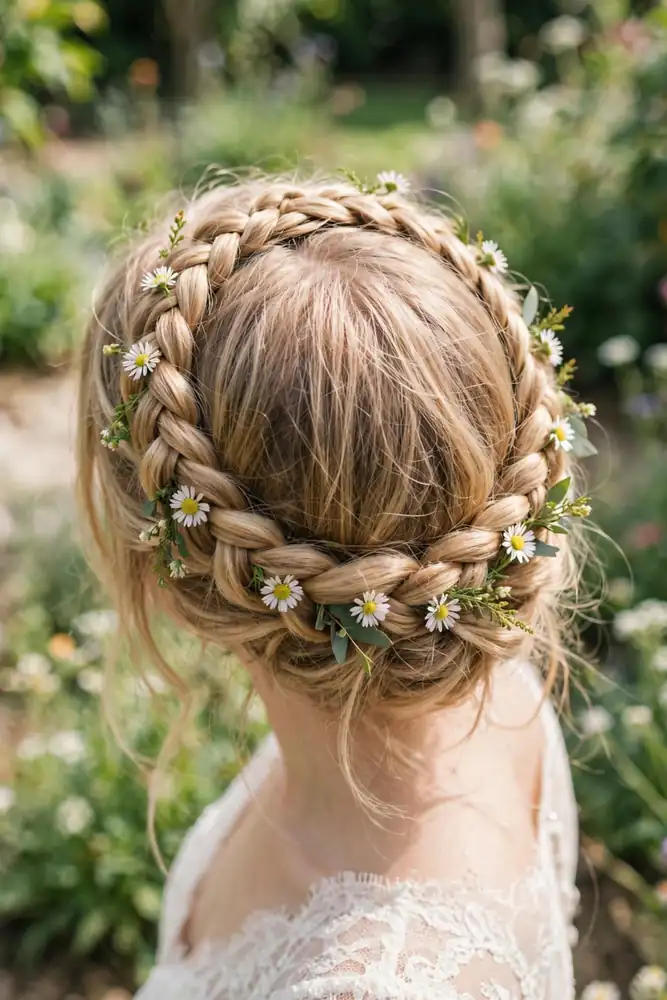
Crown Braid With Daisies

Crown braid wrapped around the head dotted with small daisies, back view

A braid wrapped around the head like a crown, dotted with small daisies and chamomile blooms along its curve. The look is sweet, bohemian, and perfect for outdoor ceremonies. Daisies are fairly sturdy, though their petals can curl in strong afternoon sun. A shaded getting-ready room helps them stay perky until showtime. A thin gold hair vine woven alongside the flowers adds a touch of polish for evening receptions. Styling tip: mist the blooms lightly with water about twenty minutes before the ceremony. Hydrated petals stay flat and open in photos.

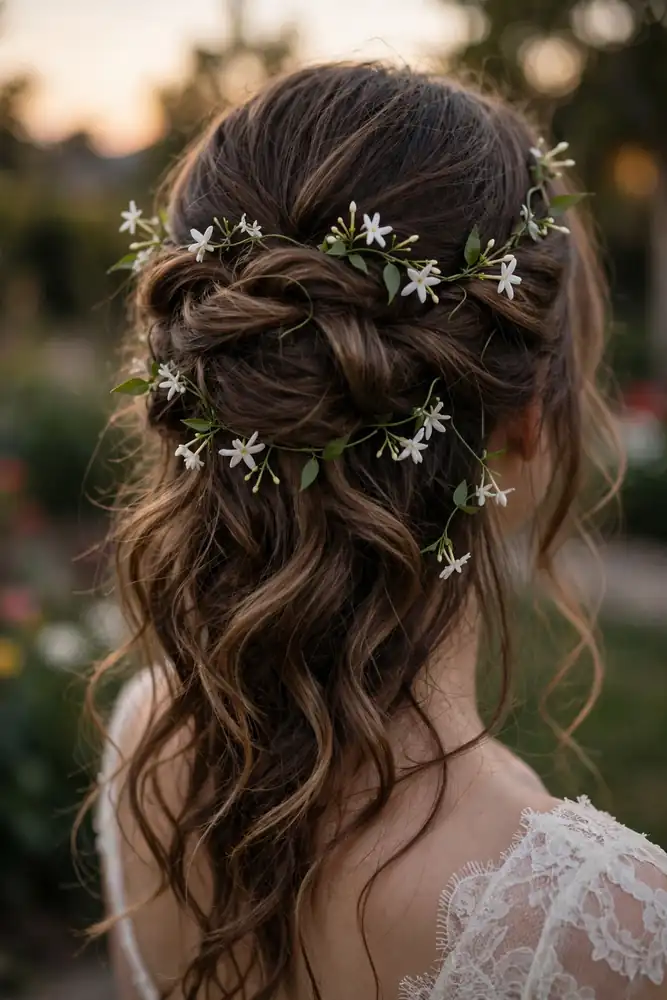
Romantic Curls With Jasmine Vine

Half-up romantic curls with jasmine vine blooms at the crown, back view

Half-up romantic curls with a few strands of jasmine vine and tiny star-shaped blooms placed at the crown. Jasmine smells wonderful and its small white flowers photograph like scattered stars against the hair. The blooms are delicate, so ask your florist to wire the vine pieces for strength. A light spritz of flexible-hold hairspray over the finished style keeps the vines from shifting as you move. Styling tip: place the jasmine just behind the crown, where your veil attaches above or below it. Veil fabric crushes anything placed directly under it.

Twisted Updo With Anemones and Eucalyptus

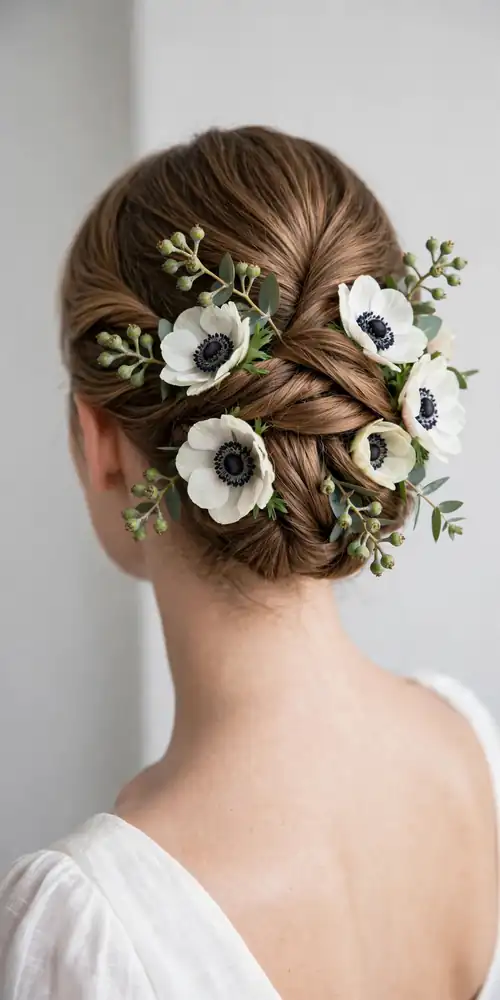
Twisted updo with white anemones and seeded eucalyptus, back view

A modern twisted updo with white anemones and sprigs of seeded eucalyptus tucked into the twists. Anemones are hardy flowers with striking dark centers that pop against white petals. The eucalyptus adds silvery greenery and a fresh scent. Together they look graphic and current, far from traditional bridal. Styling tip: this high-contrast pairing photographs best with simple veils and clean necklines. Busy lace plus bold flowers can fight for attention.

The flower matters as much as the hairstyle. Roses, ranunculus, orchids, and baby’s breath will look fresh at your last dance. Peonies, jasmine, and wildflowers need cooler air, wiring, and sometimes a backup bloom. Talk to your florist about water tubes and timing, and your hair flowers will make it to midnight looking as good as they did at noon.

October 22, 2026 0 comments
0 FacebookTwitterPinterestEmail
Beauty

11 Bridal Makeup Tips for Oily Skin That Last All Day

by Emma Carter October 21, 2026
written by Emma Carter

Oily skin and wedding days are a tough combination. You need makeup that survives happy tears, hugs from a hundred guests, hours of dancing, and a photographer with a close-up lens. The good news is that shine is a solvable problem. Makeup artists handle oily brides every weekend with the same set of tricks.

These 11 tips cover the full day, from morning skin prep to the touch-up kit in your clutch. No specific brands are named here, only the types of products to look for, so you can use whatever fits your budget. Follow them in order and your makeup will stay fresh from the first photo to the last dance.
Start With a Mattifying Primer

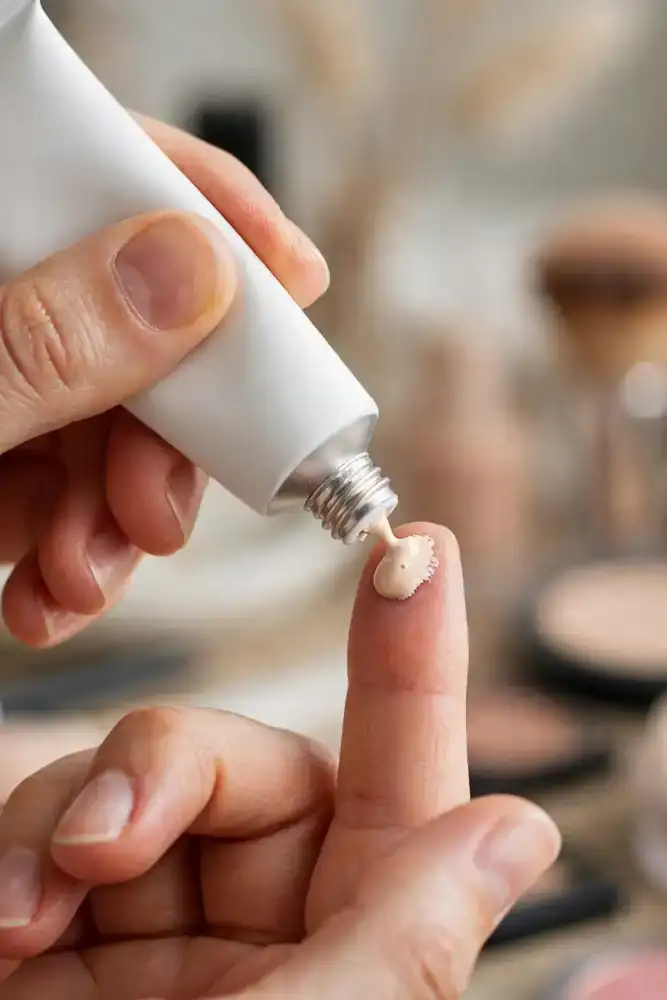
Hands squeezing mattifying primer from a tube onto a fingertip

Primer is the base layer that controls oil before makeup even goes on. A mattifying or oil-control primer creates a smooth barrier between your skin and your foundation, so oil takes much longer to break through. Apply it mainly to the T-zone, the forehead, nose, and chin, where oil appears first. Use a pea-sized amount and press it in with your fingers rather than rubbing. Let it set for two minutes before foundation. Styling tip: keep a second primer type for dry areas like the cheeks, since using a strong mattifier everywhere can make normal skin look flat.

Choose an Oil-Free Long-Wear Foundation

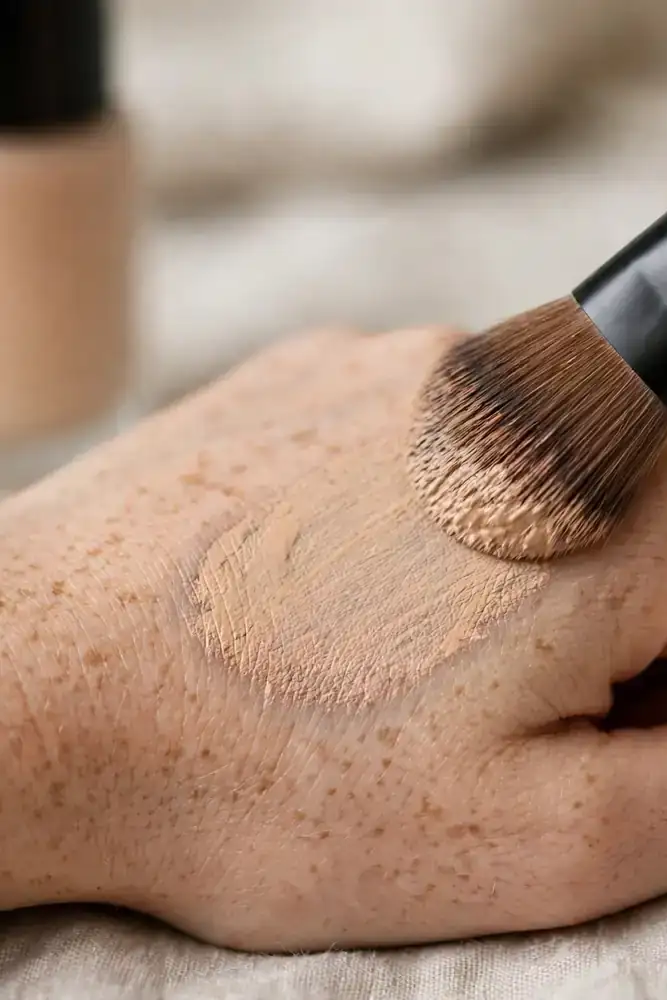
Makeup brush blending matte foundation swatch on back of hand

Your foundation does the heavy lifting all day, so pick the right formula. Look for words like oil-free, matte, and long-wear on the label. These formulas contain less oil and more pigment that grips the skin. Apply in thin layers with a damp sponge, building coverage only where you need it. Thick layers of foundation slide off oily skin faster, no matter how good the formula is. Set a timer at your trial and check shine at the four-hour mark. Styling tip: match the foundation to your neck, not your hand, because trial photos reveal mismatched shades instantly.

Set the T-Zone With Translucent Powder

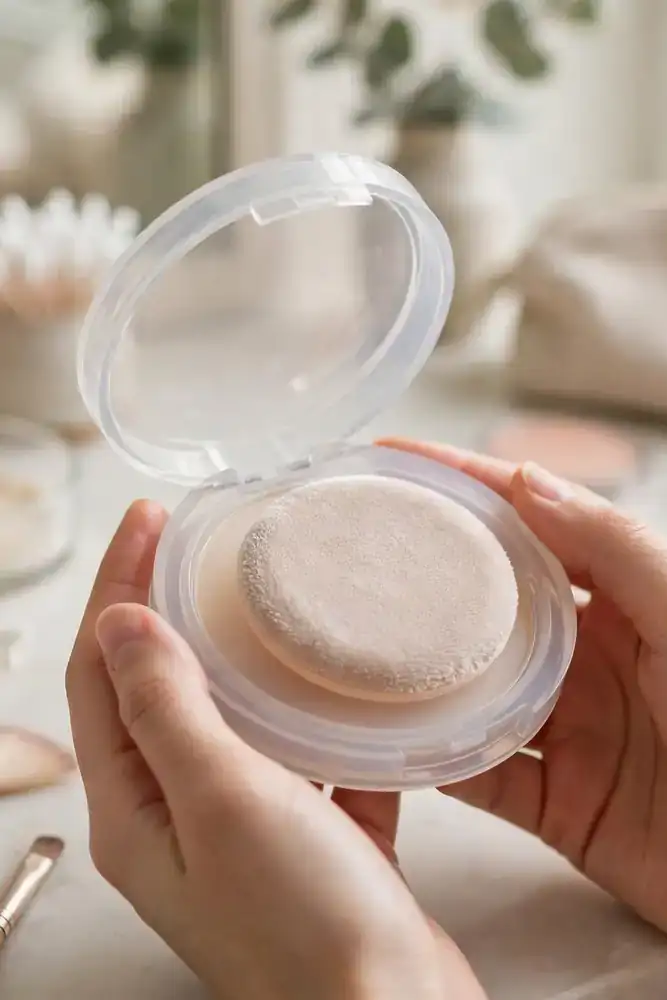
Hands holding translucent powder compact with velour puff

Powder locks your foundation in place and soaks up oil as it appears. Use a finely milled translucent setting powder, which sets makeup without adding color or weight. Press it into the T-zone with a velour puff using a rolling motion. For extra staying power, try baking. Apply a thick layer of powder under the eyes and on the forehead, leave it for five minutes, then dust off the excess. The heat from your skin sets the makeup underneath. Styling tip: carry the puff you used in the morning, since the powder already on it is enough for touch-ups.

Blot Before You Powder at Touch-Ups

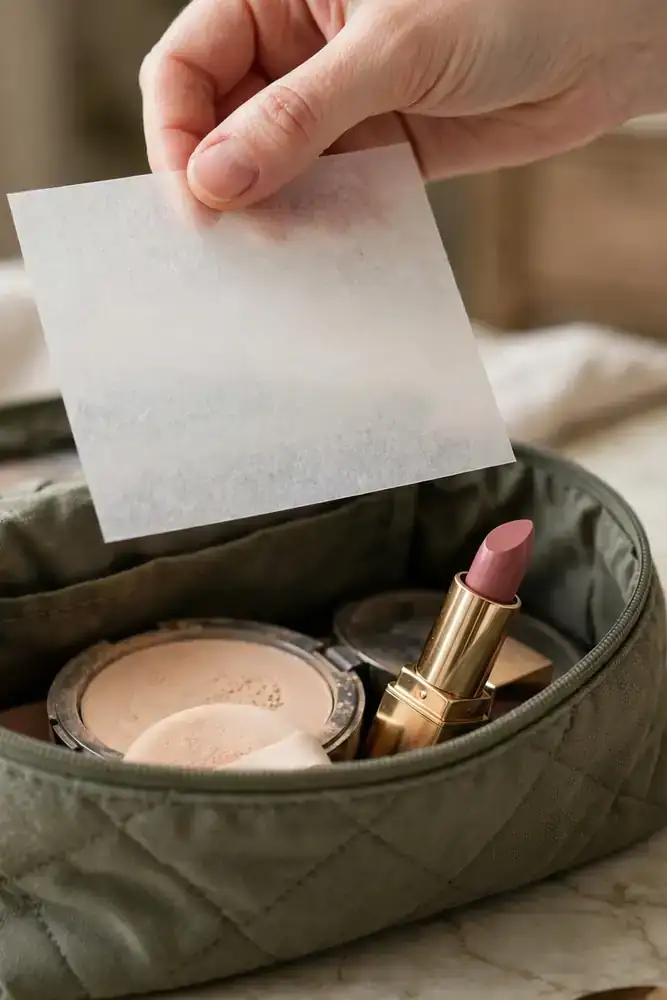
Hand holding blotting paper over an open makeup bag

When shine appears midday, blot first and powder second. Press a blotting paper onto the shiny area for a few seconds and lift it straight off. Do not rub, which moves your makeup around. The paper absorbs the oil while leaving the foundation underneath intact. Only after blotting should you press on a light layer of powder. Powdering over oil traps the grease under the powder, which creates a cakey layer that cracks within the hour. Styling tip: stash blotting papers in three places, your clutch, the bridal suite, and with your maid of honor, so one is always within reach.

Go Waterproof on Eyes

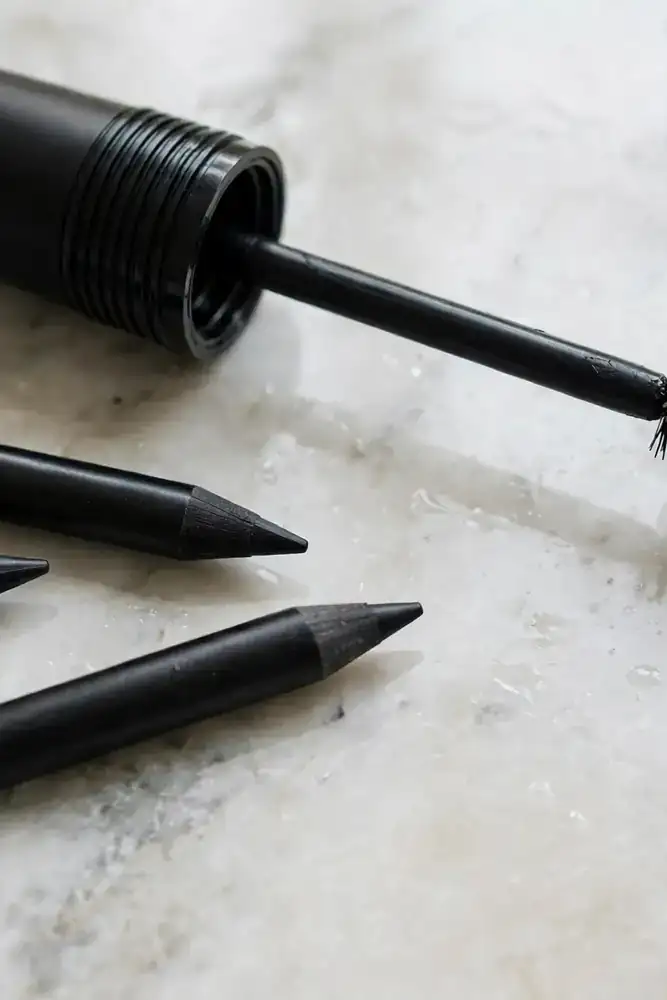
Waterproof mascara wand and eyeliner pencils on a vanity

Tears, sweat, and humidity attack eye makeup first. Waterproof mascara and eyeliner are non-negotiable for oily skin on a wedding day. Oil breaks down regular formulas and sends them migrating into fine lines and down cheeks. Apply eyeliner close to the lash line rather than on the waterline, where oil and tears collect fastest. For eyeshadow, a waterproof cream shadow as a base holds powder shadow in place for hours. Styling tip: test your waterproof mascara at the trial by wearing it through a workout, since some formulas flake even though they resist water.

Use an Eyeshadow Primer

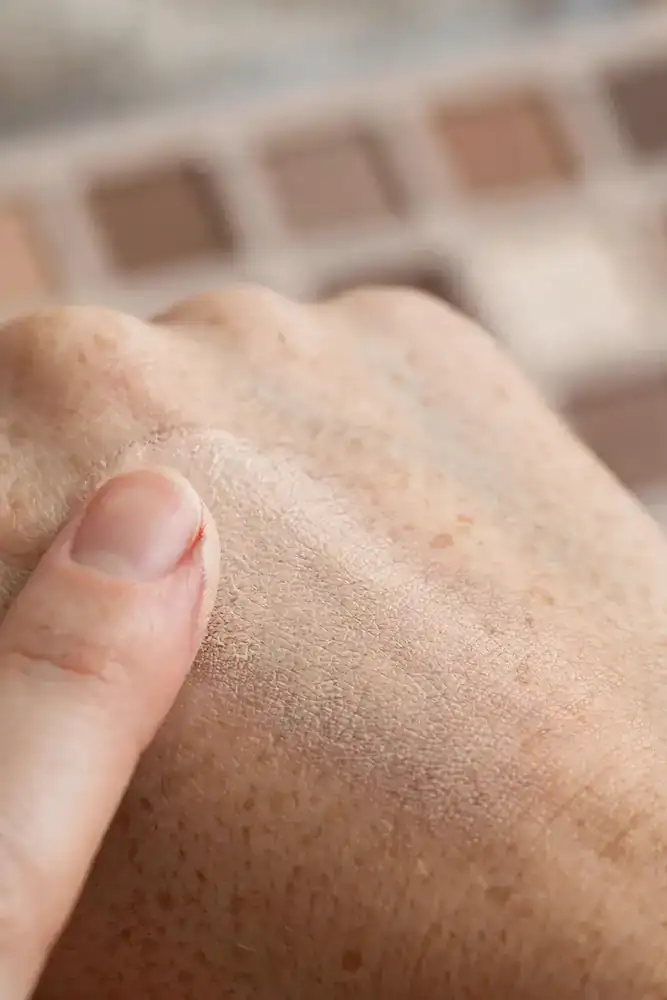
Fingertip blending eyeshadow primer swatch on back of hand

Oily eyelids crease eyeshadow within hours without a primer. An eyeshadow primer grips the lid and gives shadow something to hold onto. Dot a rice-sized amount on each lid and blend to the brow bone with your fingertip. Let it dry for thirty seconds before applying shadow. This one small step is the difference between crisp eye makeup at midnight and shadow collected in the crease by dinner. Tinted primers also even out lid discoloration, which means you need less shadow for full color. Styling tip: if your lids are very oily, dust a whisper of translucent powder over the primer before shadow for double grip.

Finish With a Matte Setting Spray

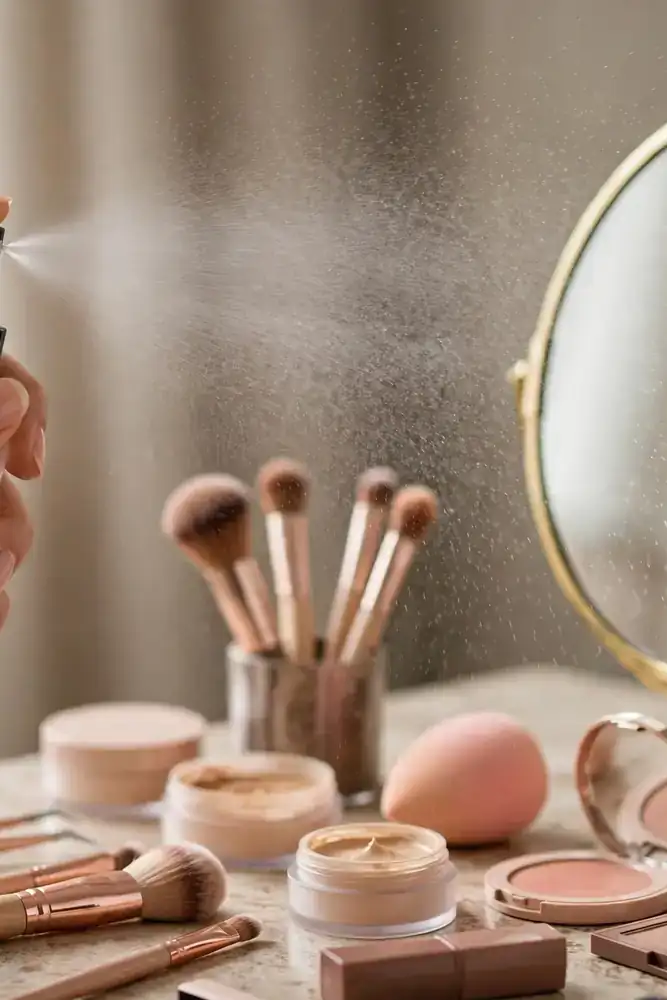
Hand misting setting spray toward a vanity mirror

Setting spray is the topcoat that fuses all your layers together. For oily skin, choose a matte or oil-control setting spray, not a dewy or glowy one. Hold the bottle eight inches from your face and mist in an X and T pattern so the coverage is even. Apply it twice. Once after foundation and powder, and again at the very end of your makeup. Each layer adds hours of wear. Let each mist dry completely before the next step. Styling tip: keep a travel-size spray in your clutch for a midday refresh, which revives the matte finish without adding another layer of powder.

Keep Shimmer Off the Oily Zones

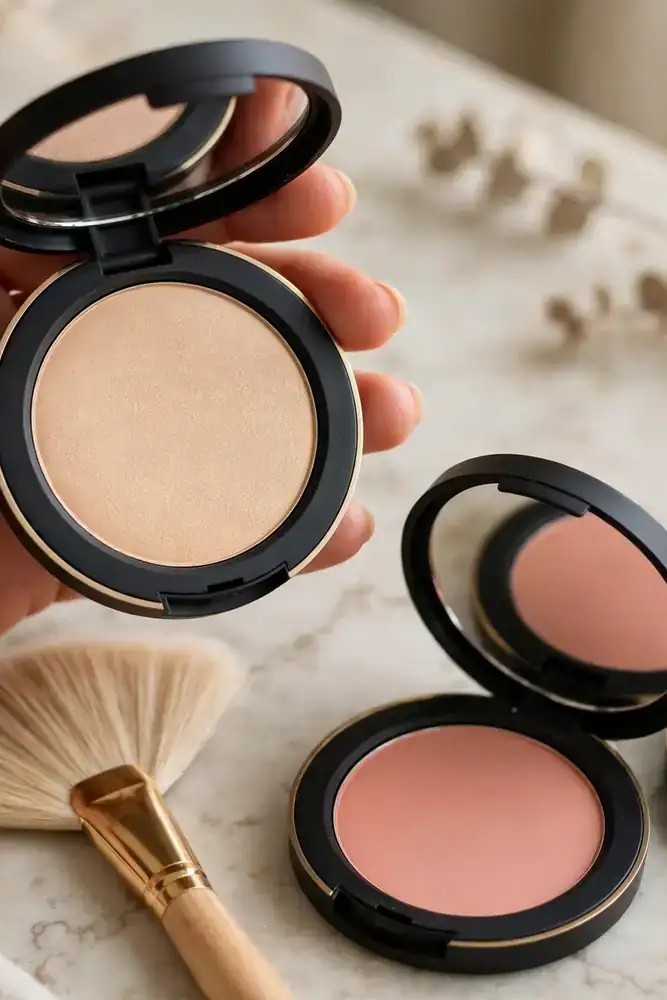
Hand holding matte powder highlighter compact with fan brush

Highlighter and shimmery products look like extra oil on already shiny skin. On the T-zone, shimmer reads as grease in photos, especially under flash. Keep all glow products on the high points of the cheekbones, the brow bone, and the inner eye corners, where skin stays drier. Use a powder highlighter rather than a liquid one, since liquids add slip to oily areas. For the nose and forehead, a matte finish photographs as clean and fresh. Styling tip: ask your photographer which flash they use, because direct flash exaggerates shine ten times more than natural light.

Prep With a Gel Moisturizer

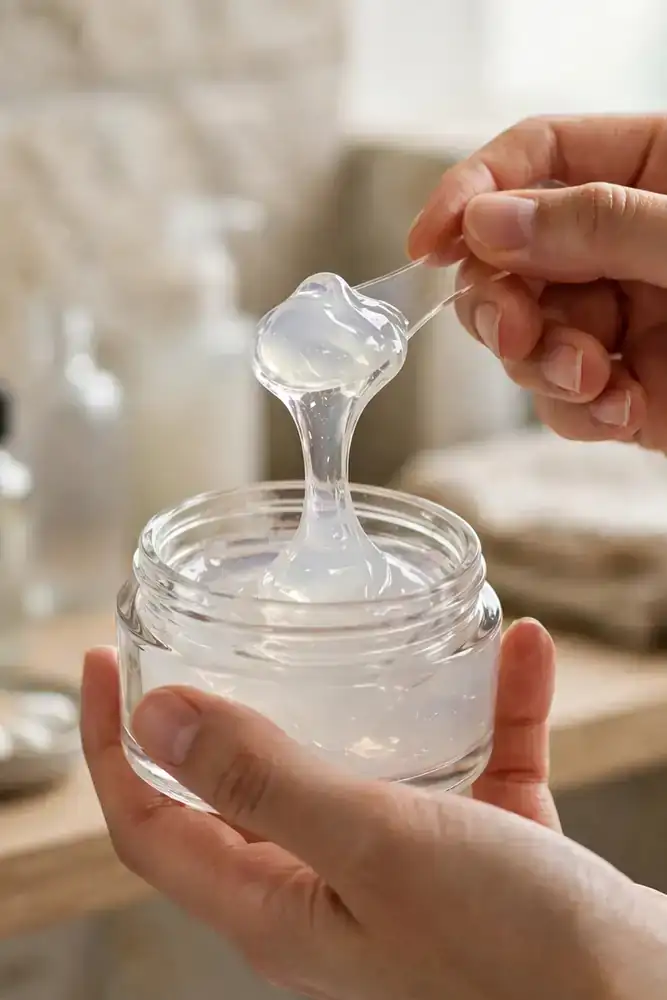
Hands scooping lightweight gel moisturizer from a glass jar

Skipping moisturizer makes oily skin worse, not better. Dehydrated skin produces extra oil to compensate, which floods your makeup by noon. On the wedding morning, use a lightweight gel or oil-free moisturizer instead of a rich cream. Gels hydrate without leaving a greasy film. Apply it twenty minutes before makeup so it fully absorbs. Follow with an oil-free sunscreen if any part of the day is outdoors. Sunscreen prevents the redness and uneven tone that heavy foundation would otherwise need to cover. Styling tip: do a sheet mask the night before instead of the morning, since morning masks leave residue that interferes with primer.

Pack a Touch-Up Kit

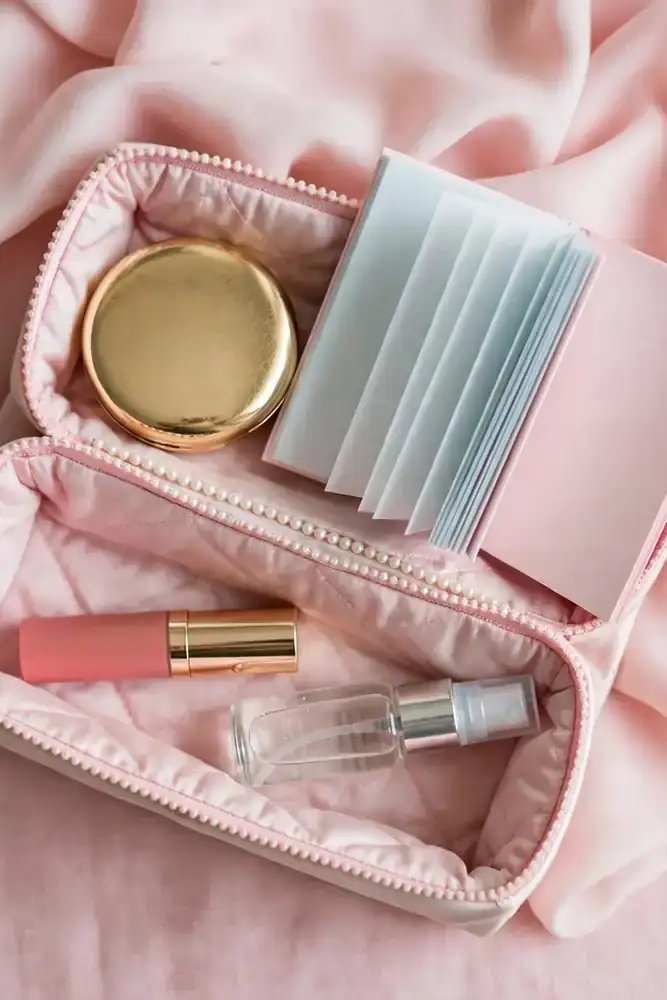
Open bridal clutch with powder, blotting papers and lipstick

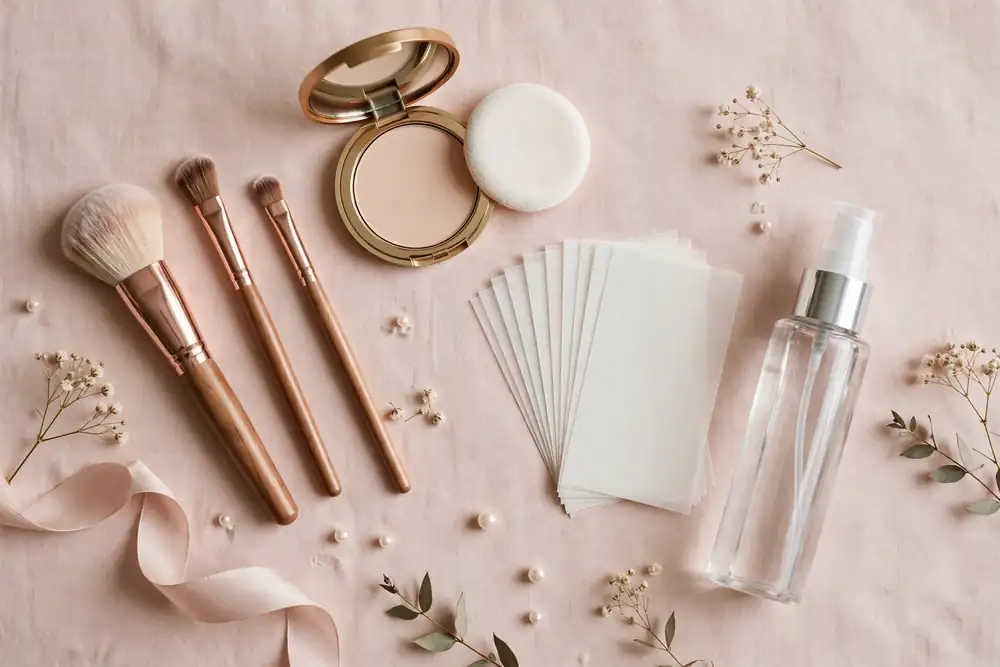
Even perfect makeup needs maintenance over a twelve-hour day. Pack a small kit in your clutch or leave it with your maid of honor. The essentials are blotting papers, a pressed powder compact, your lipstick, and a travel setting spray. That is all you need. Skip the full foundation bottle, which tempts you to add heavy layers that cake up. Plan two touch-up moments, once after the ceremony and once before the reception entrance, when photos matter most. Styling tip: add a few cotton swabs to the kit, since they fix smudged eyeliner precisely without disturbing the surrounding makeup.

Do a Full Wear Test Before the Day

Makeup brushes and palettes arranged on a vanity before a mirror

A trial is not just about the look. It is about the wear. Book your makeup trial on a day with similar conditions to the wedding, warm weather if it is a summer wedding, and wear the full face for at least eight hours. Take photos in daylight, indoor light, and flash. Check shine at the two, four, and six-hour marks and note exactly where oil breaks through. Bring those notes to your artist so they can adjust the routine for those zones. Styling tip: photograph the trial look with the camera you will actually use at the wedding, since phone cameras and professional lenses render shine very differently.

Shine-free bridal makeup is not about expensive products. It is about the right layers in the right order, primer, thin foundation, powder, and spray, plus blotting instead of piling on more product. Practice the routine once before the wedding so the morning feels calm. Then stop checking the mirror and enjoy the day.

October 21, 2026 0 comments
0 FacebookTwitterPinterestEmail

Recent Posts

  • 11 Must-Have Moments for Your Wedding Video Shot List
  • 11 DIY Wedding Table Number Ideas
  • 11 Bridal Hair Vine Ideas With Curls and Waves
  • 11 Bridal Veil Styles and How to Choose Yours
  • 11 Wedding First Look Photo Ideas Full of Emotion

Keep in touch

Facebook Pinterest

Categories

  • Beauty
  • Decor
  • Designs
  • Jewelry & Accessories
  • Photography & Videography
  • Stationery
  • Themes
  • Wedding Cakes
  • Wedding Outfits
  • Facebook
  • Twitter
  • Disclaimer
  • Privacy Policy
  • Terms and Conditions
  • About Us

© 2026 wedblooms.com | Designed by Wed Blooms


Back To Top
Wed Blooms
  • Home
  • Designs
  • Decor
  • Beauty
  • Stationery
  • Themes
  • Photography & Videography
  • Wedding Cakes
  • Wedding Outfits
  • Jewelry & Accessories