• Home
  • Designs
  • Decor
  • Beauty
  • Stationery
  • Themes
  • Photography & Videography
  • Wedding Cakes
  • Wedding Outfits
  • Jewelry & Accessories
Wed Blooms
Wedding Design and Decor Ideas Made Simple!
Home - Stationery
Category:

Stationery

This category covers invitation design, wording formats, signage, and seating charts. It explains how information is structured and presented to guests before and during the event.
Stationery

11 DIY Wedding Table Number Ideas

by Emma Carter October 26, 2026
written by Emma Carter

Table numbers do two jobs at once. They guide guests to their seats, and they decorate every table in the room. Buying them from a stationery designer gets expensive fast, but most styles are easy to make yourself.

These 11 DIY table number ideas range from quick afternoon crafts to slightly more involved weekend projects. Each one lists what you need and how hard it is, so you can pick the project that fits your skills and your timeline.

Framed Photo Prints
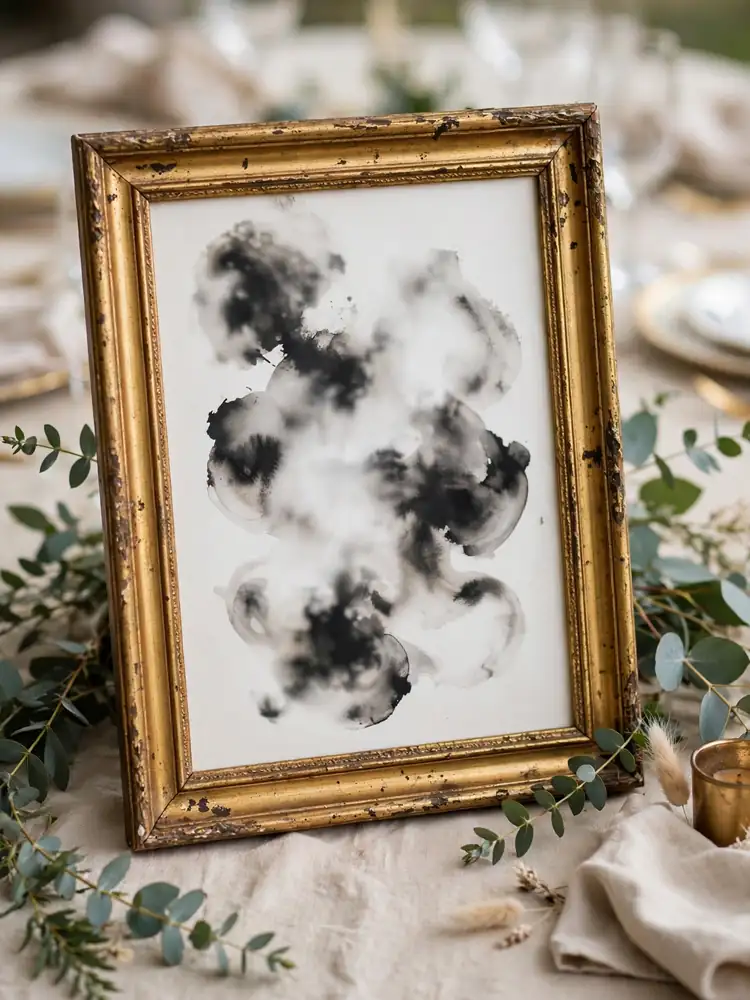
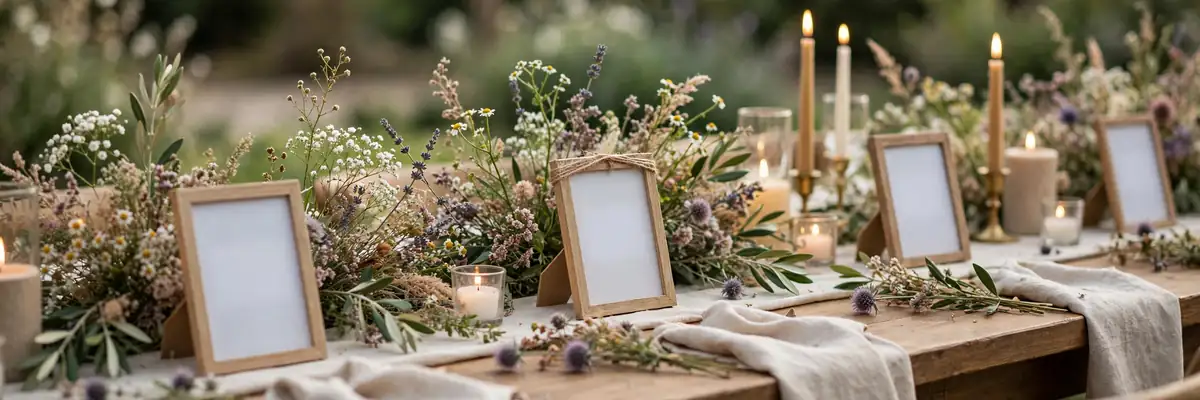
Framed print DIY wedding table number

Print your table numbers as simple black-and-white designs on cardstock, then slip them into thrifted gold or wooden frames. The frames do most of the decorating for you. You need cardstock, a home printer, and frames from a thrift store or dollar store. Difficulty: easy. This project takes one afternoon. Mix frame styles for a collected look, or keep them all matching for a clean one. Styling tip: tuck a small sprig of eucalyptus behind each frame. The green softens the table and costs pennies per stem.

Painted Wood Slices
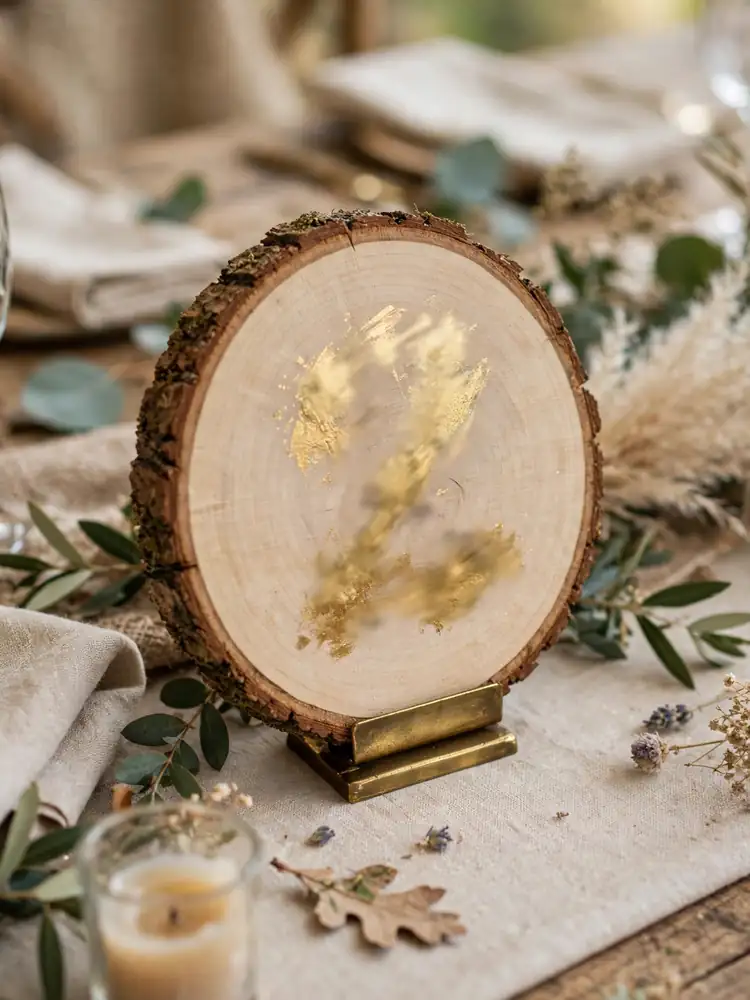
Painted wood slice DIY wedding table number

Buy pre-cut wood slices from a craft store and paint numbers on them with white or gold acrylic paint. The bark edge gives you a rustic look for free. You need wood slices, acrylic paint, a flat brush, and a pencil for sketching the number first. Difficulty: easy to medium, depending on your handwriting. Sand the surface lightly before painting so the paint sits smooth. Styling tip: stand each slice in a small brass or wooden holder so it faces the guests. A flat slice disappears behind the centerpiece.

Acrylic Signs with a Gold Pen
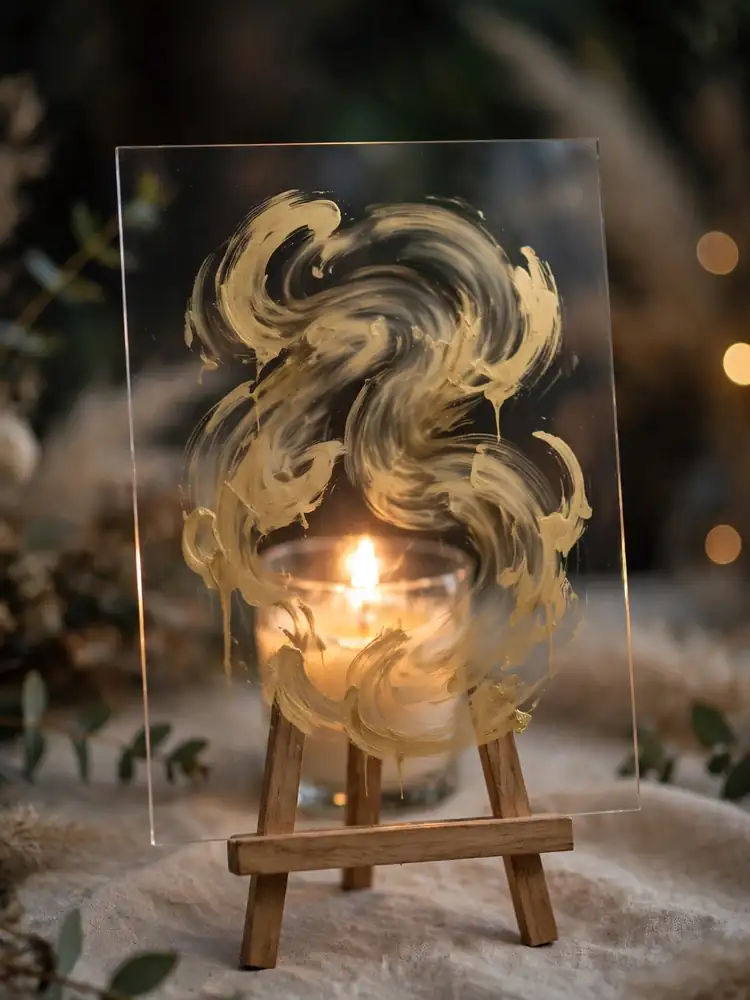
Acrylic DIY wedding table number with gold paint

Clear acrylic sheets with numbers written in a gold paint pen look high-end for very little money. You need 5×7 acrylic blanks, a gold oil-based paint pen, and small easels or plate stands. Difficulty: easy. Practice on paper first, then write slowly. The pen flows better than you expect. Wipe mistakes off quickly with rubbing alcohol before the paint sets. Styling tip: place the acrylic in front of a candle or a small floral arrangement. The light shining through makes the gold glow.

Photo Numbers Through the Years
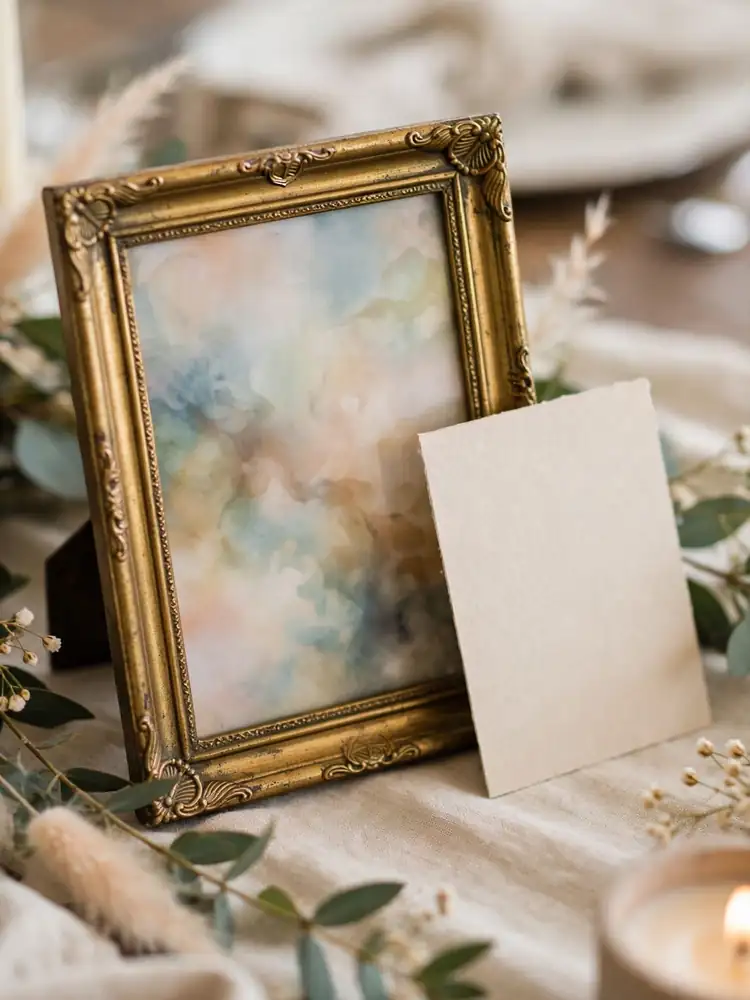
Photo DIY wedding table numbers through the years

Use photos of the couple at the ages matching the table numbers. Table 1 gets baby photos, table 5 gets age-five photos, and so on. You need printed photos, small frames or clips, and number cards. Difficulty: easy, but start early so you have time to collect the photos. Guests love hunting for their table and then studying the pictures. It doubles as a conversation starter. Styling tip: write the number large on the back of each photo too. Guests see the picture first, and the big number keeps them from getting lost.

Wine Bottle Numbers
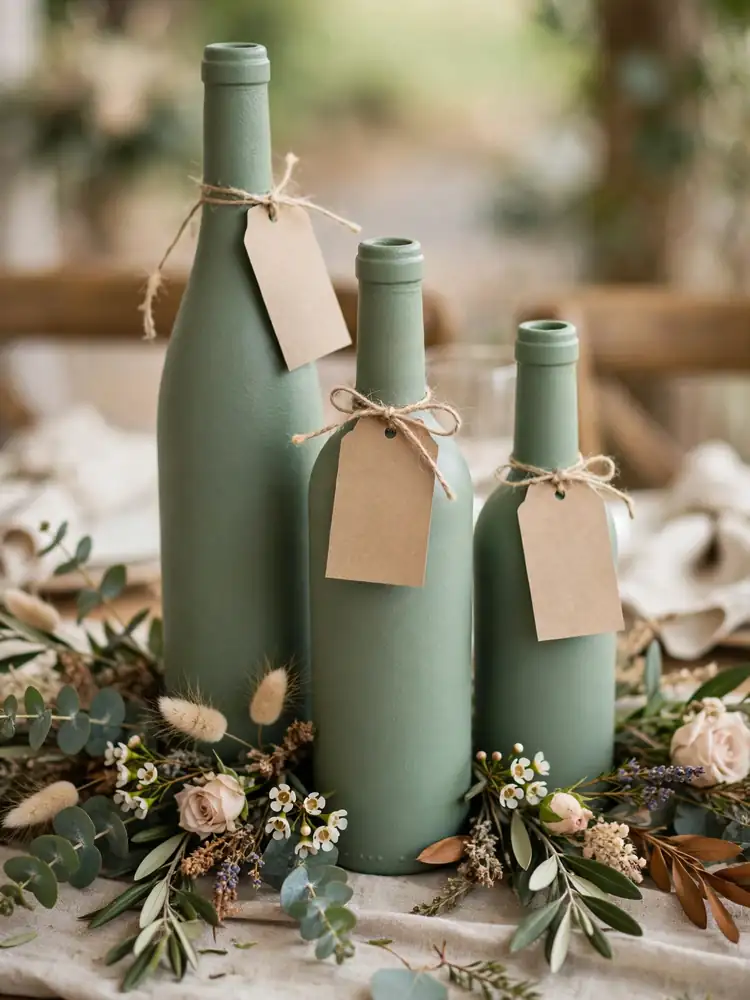
Wine bottle DIY wedding table numbers

Spray-paint empty wine bottles in your wedding colors and tie a numbered tag around each neck with ribbon or twine. You need wine bottles, spray paint, tags, and ribbon. Difficulty: easy. Start collecting bottles months ahead, and ask friends to save theirs. Two light coats of paint beat one heavy coat, so let each coat dry fully before adding the next. Styling tip: cluster three bottles of different heights on each table instead of one. The group looks styled, while a single bottle can look lonely.

Chalkboard Table Tents
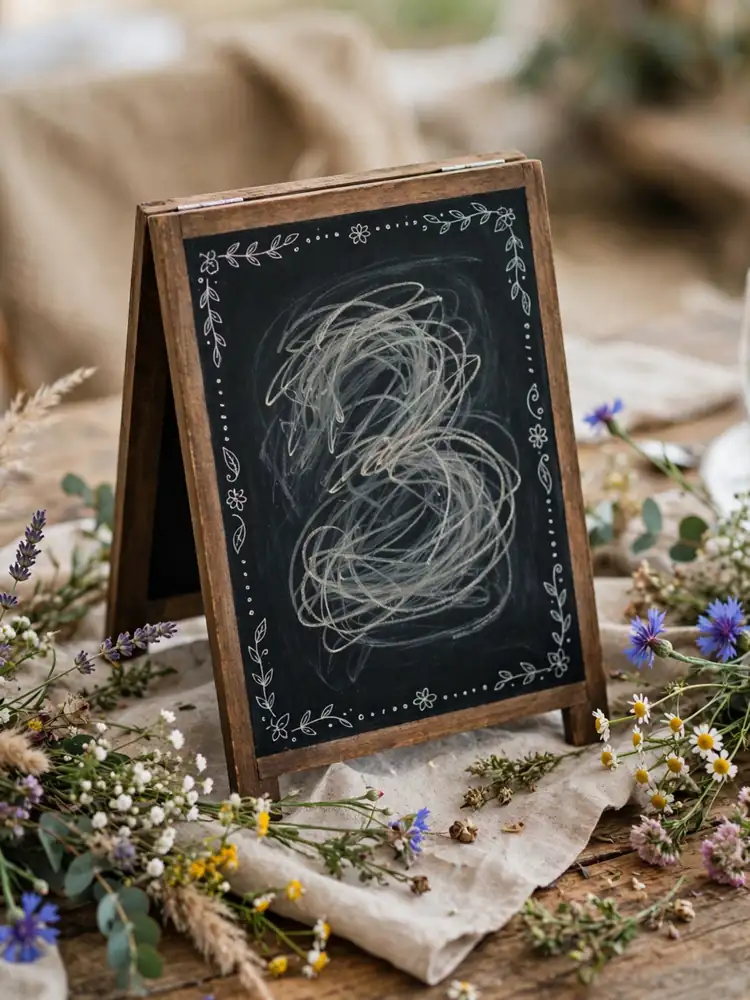
Chalkboard DIY wedding table number

Small chalkboard tents with hand-lettered numbers suit rustic and garden weddings. You need mini chalkboard signs, chalk markers, and a damp cloth for fixing mistakes. Difficulty: easy. Chalk markers write cleaner than real chalk and do not smudge once dry. Sketch the number lightly first, and keep the lettering big and simple. Styling tip: draw a small border or corner flourishes around each number. The little doodles make hand lettering look intentional instead of wobbly.

Vintage Book Stacks
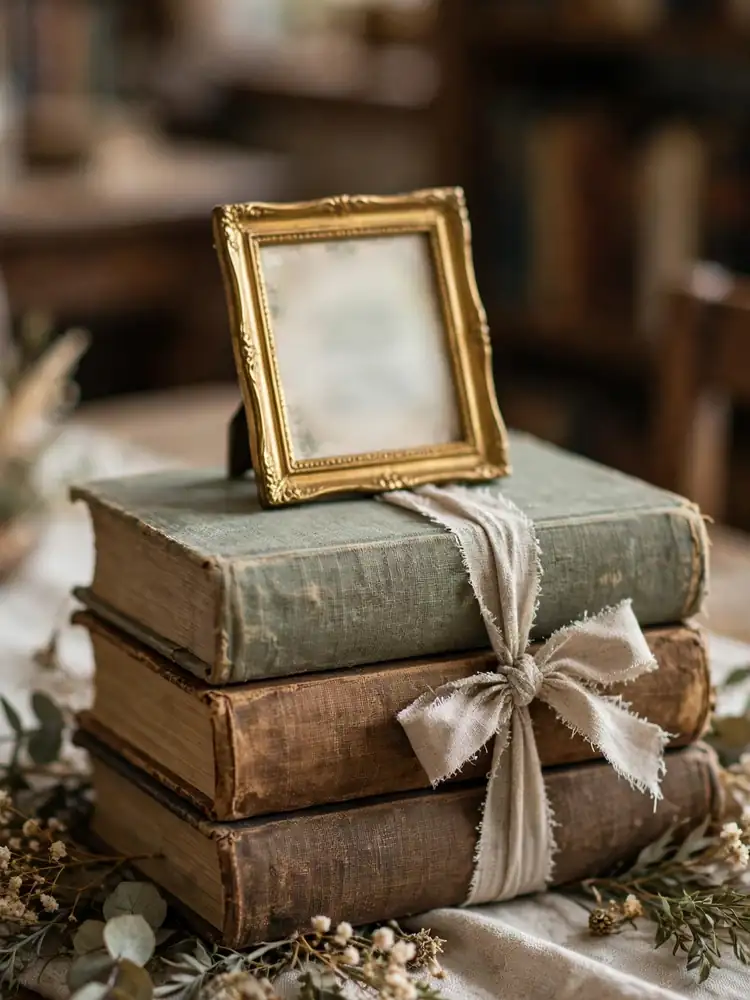
Vintage book stack DIY wedding table number

Stack two or three old hardcover books and top them with a framed number card. You need thrifted books, a small frame, and a printed number. Difficulty: easy. Pick books with pretty spines in your color palette, and remove the dust jackets to show the cloth covers underneath. This idea suits library venues and literary couples. Guests will flip through the books during dinner. Styling tip: tie each stack with a ribbon in your wedding color. The ribbon holds the stack together and adds polish.

Pressed Flower Frames
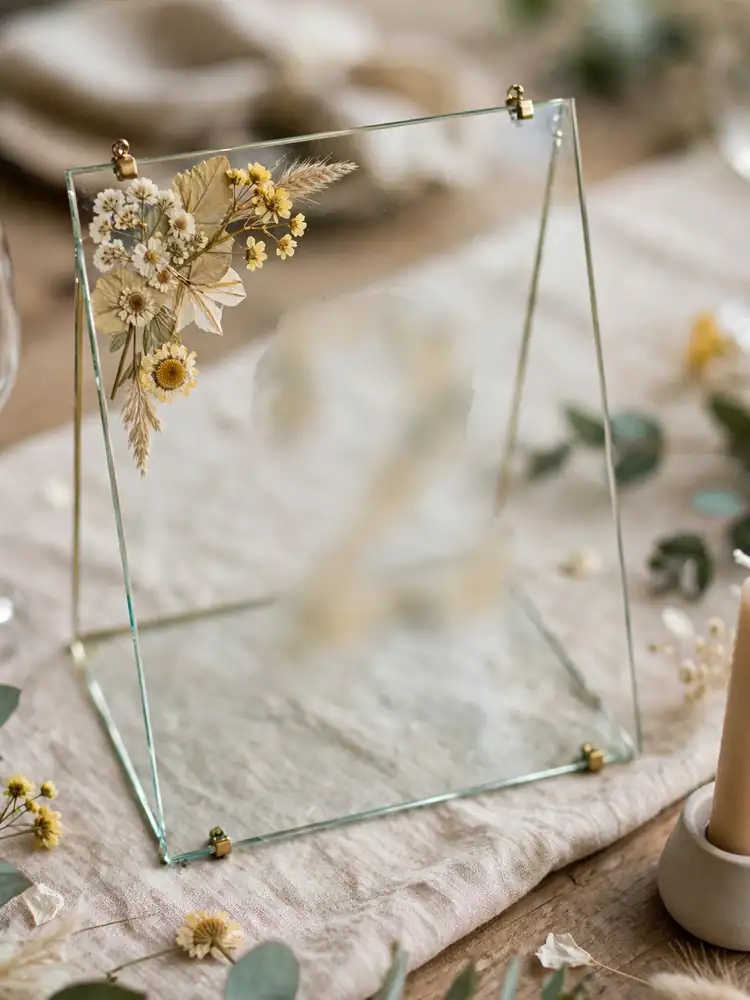
Pressed flower DIY wedding table number

Press flowers for two weeks, then arrange them around a printed number inside a floating glass frame. You need fresh flowers, heavy books, glass floating frames, and printed numbers. Difficulty: medium. Press more flowers than you need, since some will brown. White and yellow blooms press best. Assemble the frames the week of the wedding. Styling tip: keep the flower arrangement to one corner of the frame. A full border of flowers crowds the number and makes it hard to read.

Mirror Calligraphy Numbers
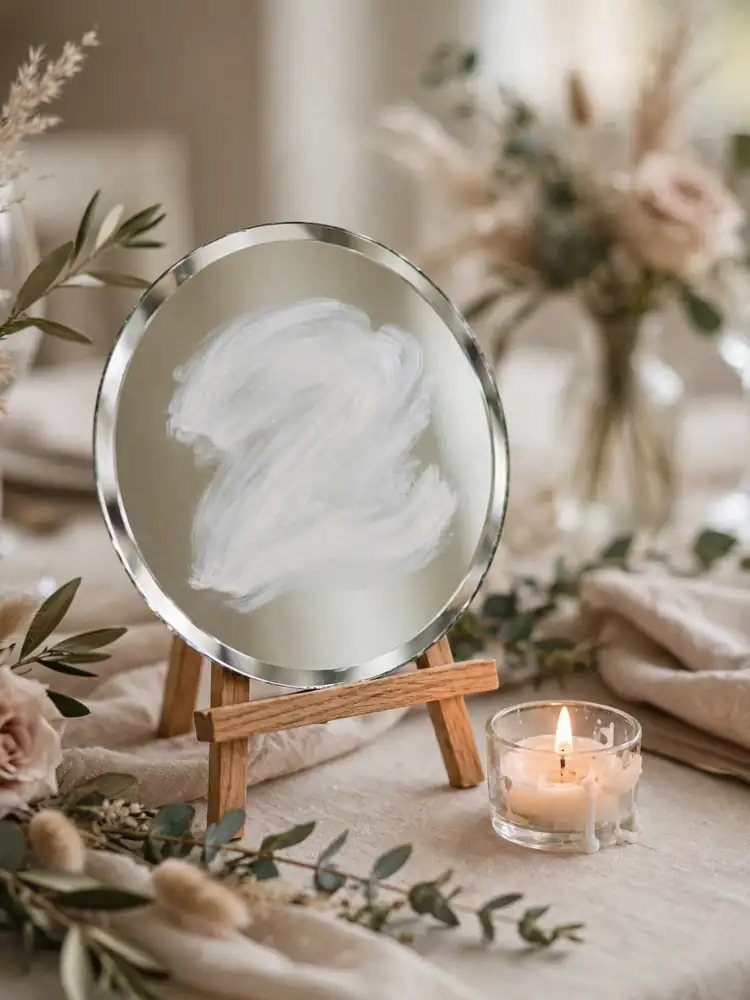
Mirror DIY wedding table number

Write numbers on small round mirrors with a white or gold paint pen. The mirrors catch candlelight and double the glow on the table. You need small mirrors, paint pens, and easel stands. Difficulty: medium. Buy mirrors with beveled edges from a craft store, and clean each one with glass cleaner before writing. Let the paint cure for 24 hours so it does not scratch off. Styling tip: pair each mirror with a low tea light. The reflection multiplies the candlelight across the whole table.

Recycled Card Table Tents
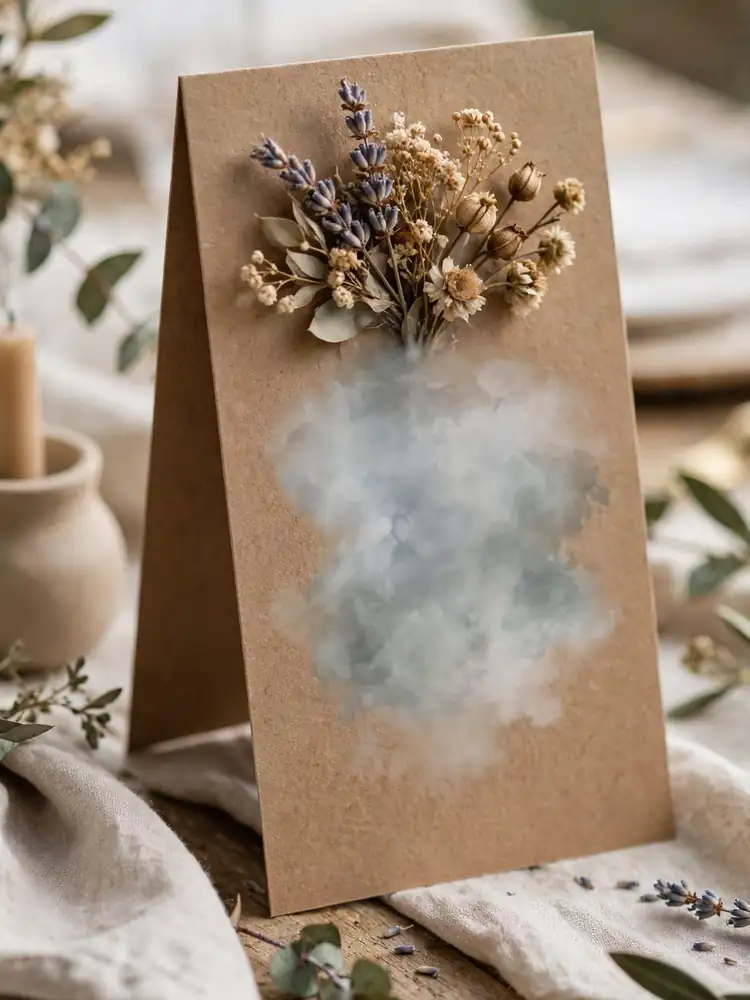
Recycled card DIY wedding table number tent

Fold heavy cardstock into tent cards and decorate them with stamps, dried flowers, or washi tape. You need cardstock, a ruler for crisp folds, and your chosen decorations. Difficulty: easy. This is the cheapest option on the list and a good pick for large guest counts. Cut all the cards to the same size with a paper trimmer for a tidy result. Styling tip: glue a dried flower or a wax seal to the front of each tent. One small detail lifts the whole table.

Lantern Number Tags
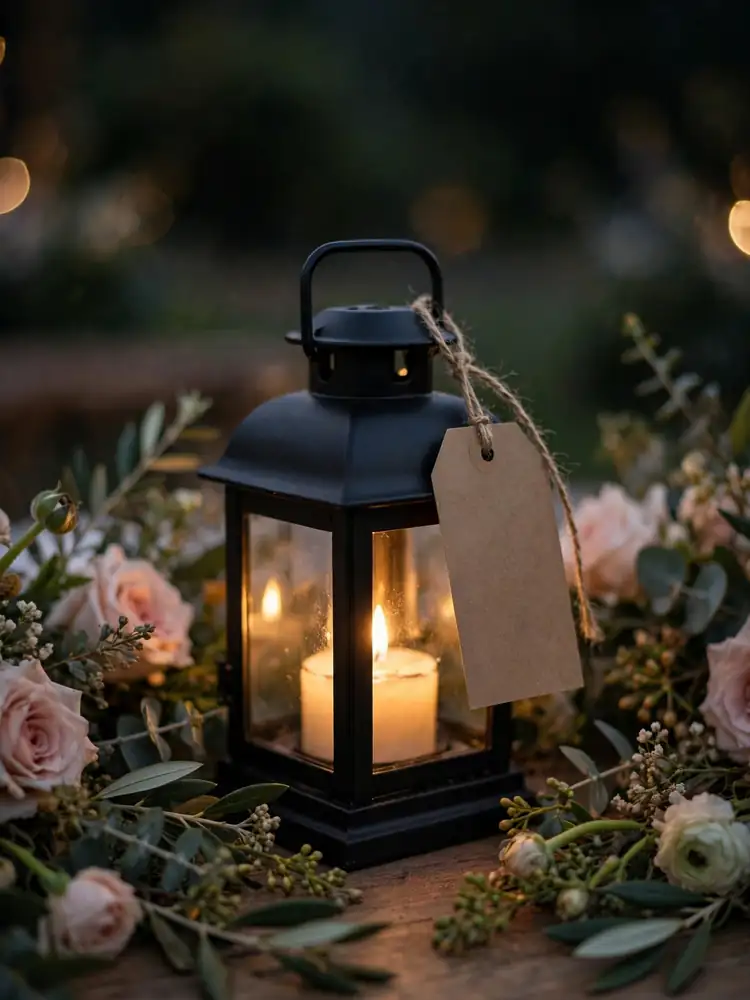
Lantern DIY wedding table number tag

Hang a numbered tag from the handle of a small lantern on each table. The lanterns light the table after dark and look great in photos. You need small lanterns, LED tea lights, kraft tags, and twine. Difficulty: easy. Use LED lights, never real candles, inside closed lanterns. Write the number on both sides of each tag so guests can read it from any seat. Styling tip: choose lanterns in one finish, like matte black or brass. Mixed finishes look messy once the lights go down.

Pick the project that matches your skill level and your timeline. Start early, make one test version first, and never try a brand-new craft for the first time in the week of the wedding.
October 26, 2026 0 comments
0 FacebookTwitterPinterestEmail
Stationery

11 Wedding Welcome Sign Wording Ideas

by Emma Carter October 25, 2026
written by Emma Carter

Your welcome sign is the first thing guests read on your wedding day. It sets the mood before the ceremony even starts. A stiff, formal sign at a backyard party feels off, and a silly sign at a black-tie wedding feels off too.

The trick is to match the words to the vibe of your day. Below are 11 wording styles, from classic formal to playful. Pick the one that sounds like you, then swap in your names, date, and details to make it yours.

The Classic Formal Welcome

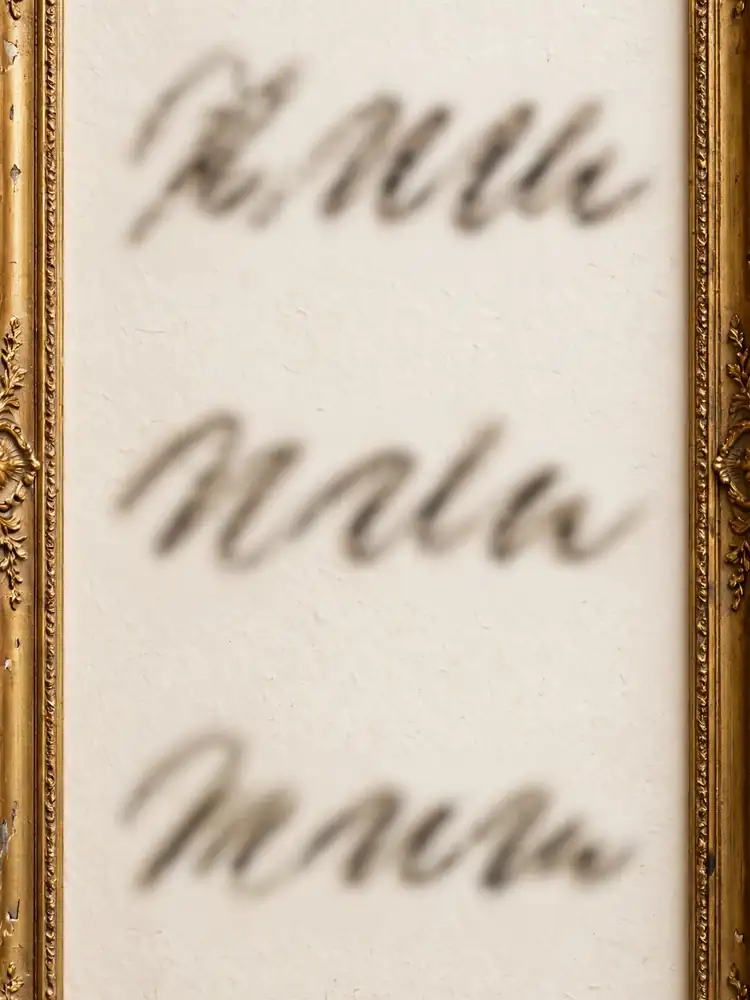
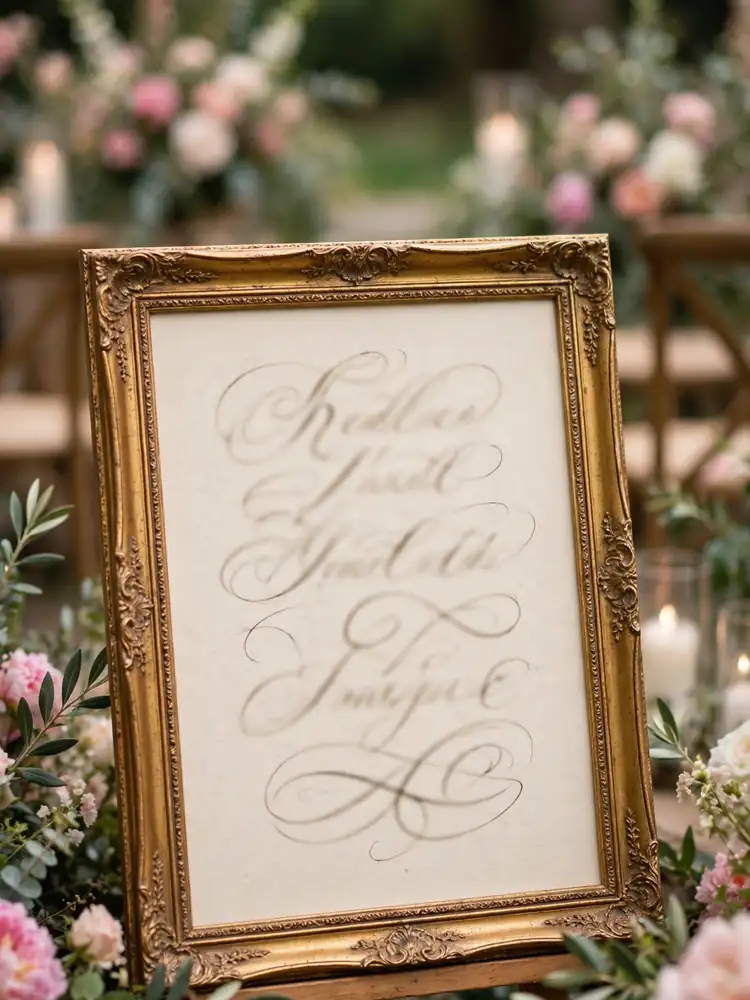
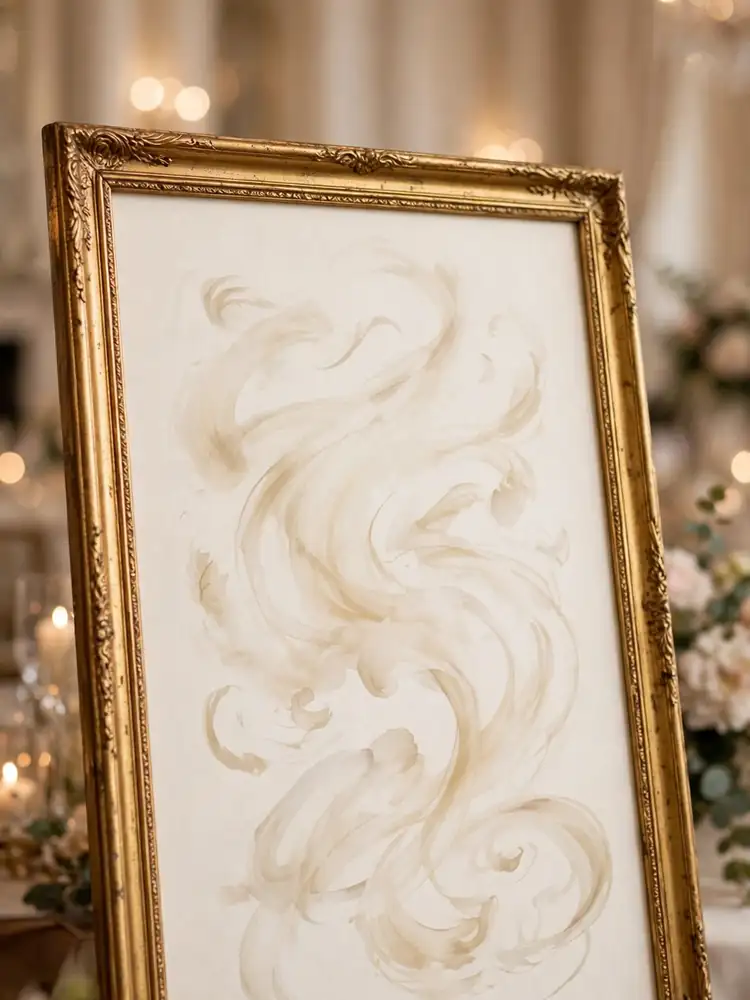
Classic formal wedding welcome sign in gold frame

"Together with their families, Emily Carter and James Whitfield request the honour of your presence at their wedding celebration, Saturday, the fourteenth of June." This is the traditional route. It names both families, spells out the date in full, and uses the formal "honour" spelling. It suits church ceremonies, ballrooms, and black-tie receptions. Print it on ivory or cream cardstock with a serif font, framed in gold or dark wood. Styling tip: keep the layout centered with generous white space. Formal wording looks best when the sign has room to breathe.

The Warm and Casual Hello

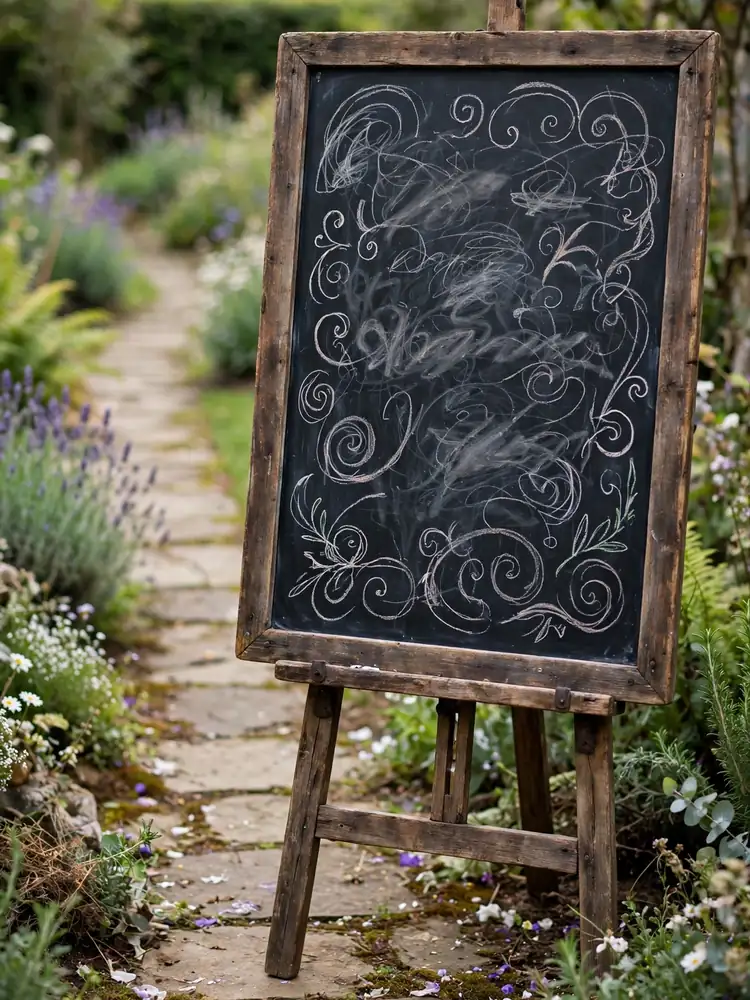
Casual chalkboard wedding welcome sign on easel

"Welcome! We're so glad you're here. Grab a drink, find a seat, and get ready to celebrate with us. Love, Sarah and Mike." This one reads like a note from a friend. It drops the stiff language and talks to guests directly. It works for backyard weddings, brewery venues, and relaxed outdoor ceremonies. Use a chalkboard or a kraft paper sign with handwritten-style lettering, and add the wedding date small at the bottom. Styling tip: lean the sign on an easel along the entrance path so guests read it while walking in. A welcome sign nobody passes is a wasted sign.

The Funny One

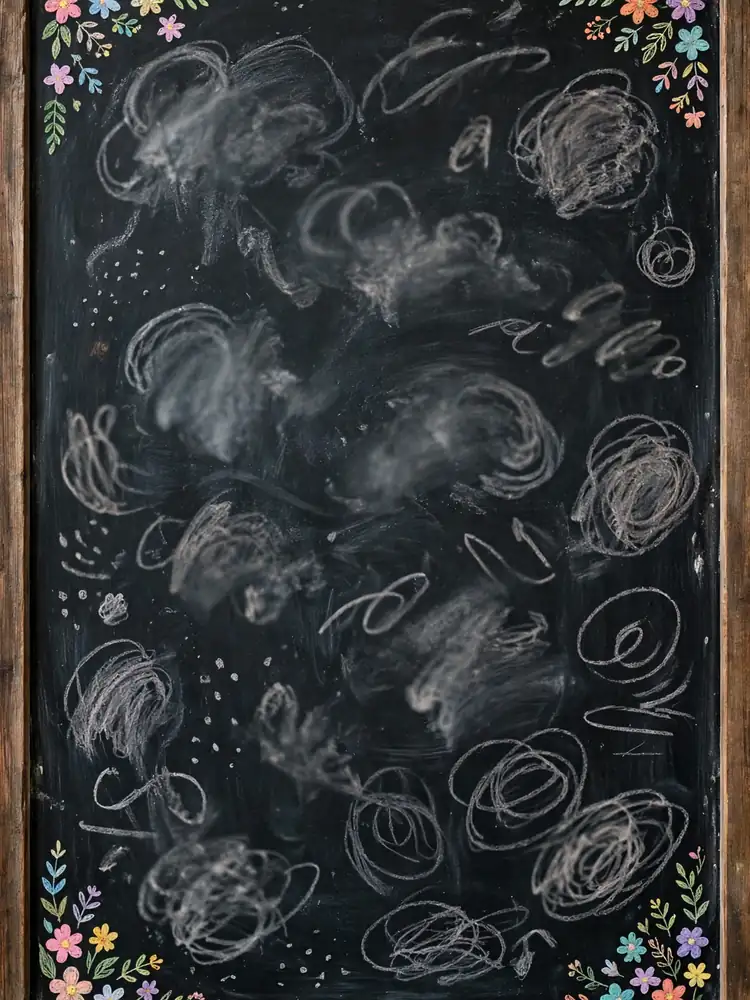
Funny chalkboard wedding welcome sign with doodles

"Welcome to our wedding! Pick a seat, not a side. We're all family once the ceremony starts." A little humor breaks the ice, especially when two families are meeting for the first time. This wording is famous for a reason: it answers the seating question with a laugh. It fits fun, modern couples and casual venues. Pair it with a playful design, maybe a chalkboard with doodled flowers in the corners. Styling tip: keep the font large and readable from six feet away. Jokes fall flat when guests have to squint to read them.

The Romantic Quote Opener

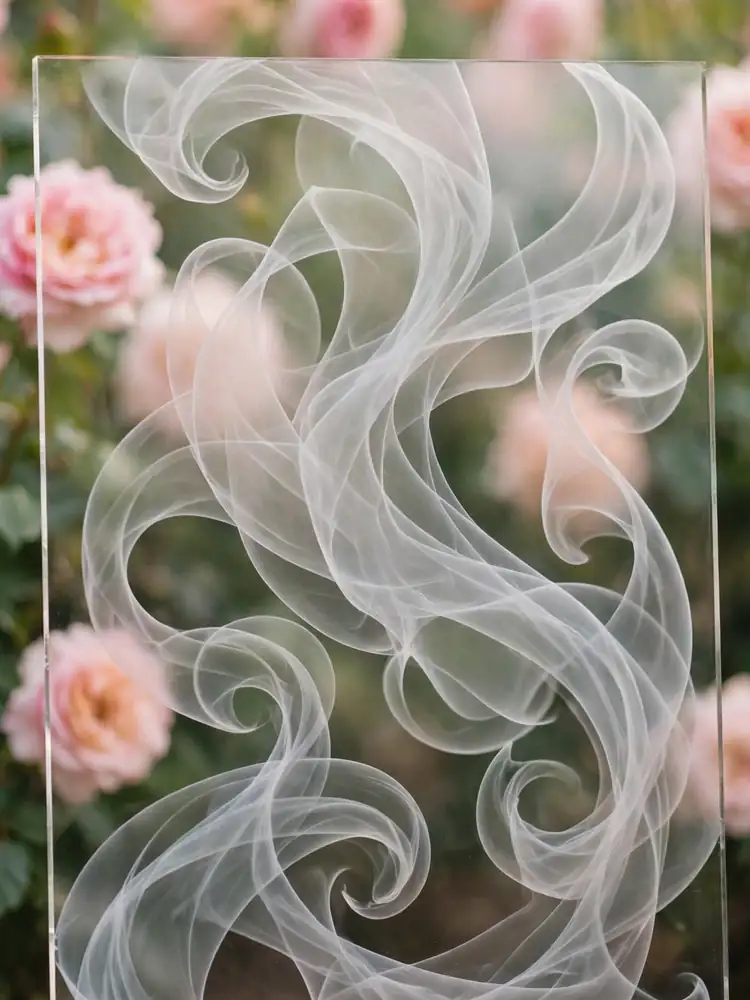
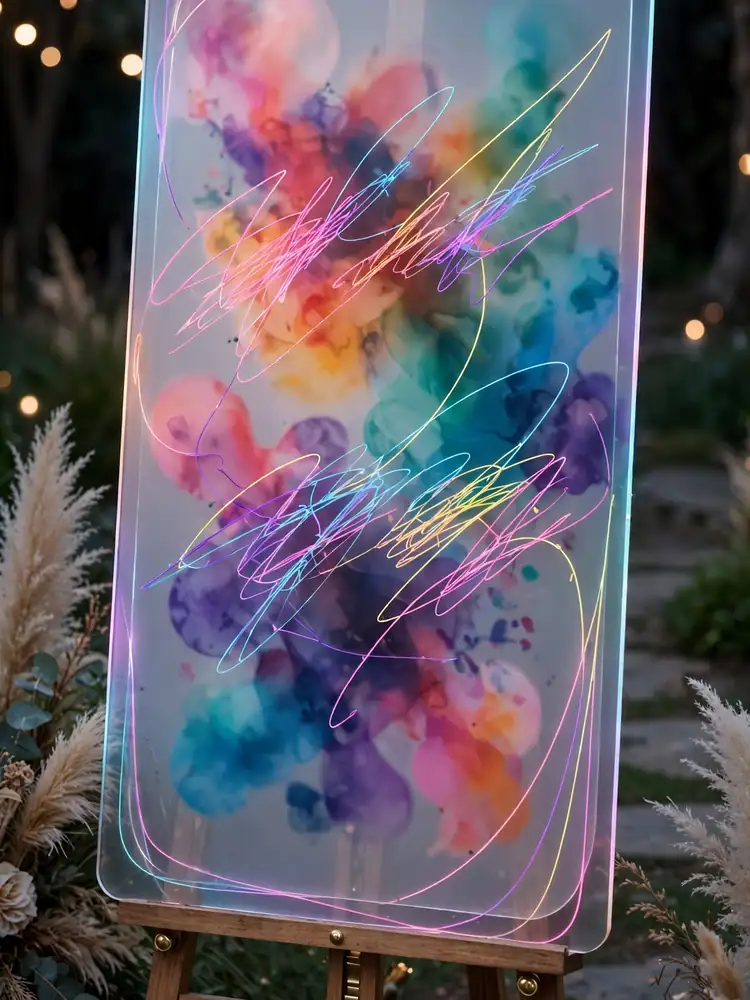
Romantic quote wedding welcome sign on acrylic

"'And suddenly, all the love songs were about you.' Welcome to our wedding. Alex and Jordan, June 2026." Opening with a lyric or quote sets a dreamy tone. Pick a line that means something to you both, from a song, a poem, or a movie you love. This style suits romantic garden weddings and candlelit receptions. Print it on a translucent acrylic sign or soft watercolor paper so the words feel delicate. Styling tip: put the quote in script and your names in a simple sans-serif below it. Mixing the two fonts keeps everything readable.

Names and Date Only

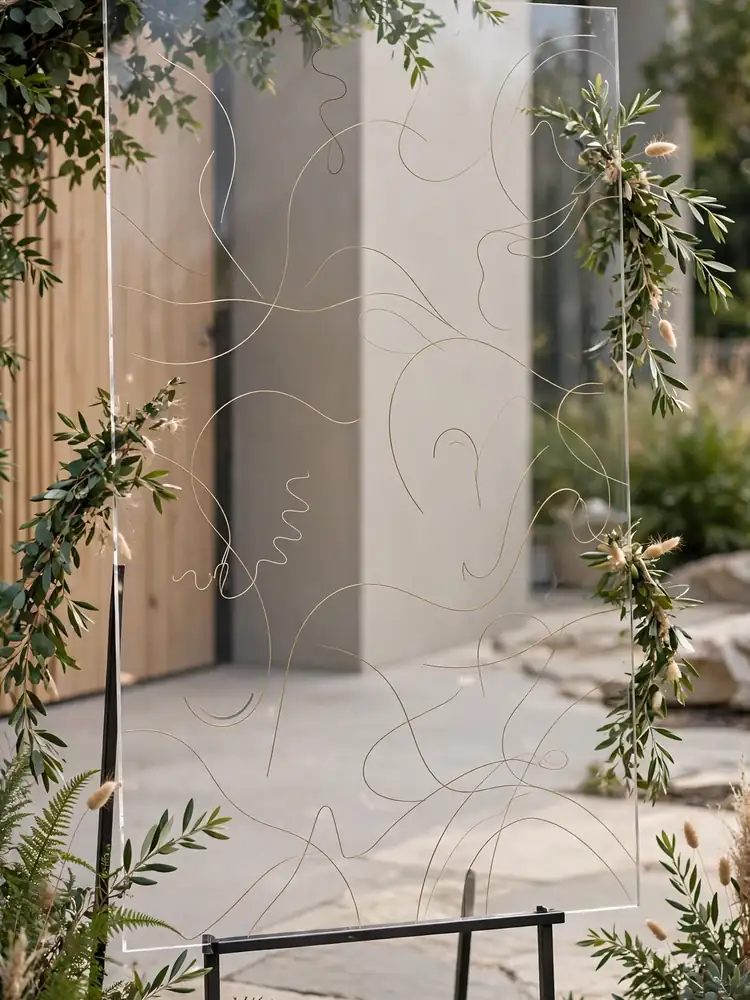
Minimal wedding welcome sign with names and date

"Olivia and Noah. 10.18.2026." That is the whole sign. No sentences, no instructions, just your names and the date in big, beautiful letters. This minimal approach works when the sign is more decor than message. It suits modern, minimalist weddings and photo-heavy entrances. Use a large acrylic panel or a fabric banner with oversized lettering, and let the design do the talking. Styling tip: go bigger than you think you should. Minimal signs need scale to hold their own next to flowers and furniture.

The Multilingual Welcome

Multilingual wedding welcome sign

"Welcome. Bienvenidos. Ahlan wa sahlan. We're so happy you're here." If your families speak different languages, greet them in all of them. List two or three languages, starting with the one most guests read. This small touch makes grandparents and out-of-town relatives feel seen. It works beautifully at multicultural and destination weddings. Use a clean design with each language on its own line in the same font. Styling tip: double-check every translation with a native speaker before printing. A wrong word on a welcome sign is hard to forget.

The Unplugged Ceremony Note

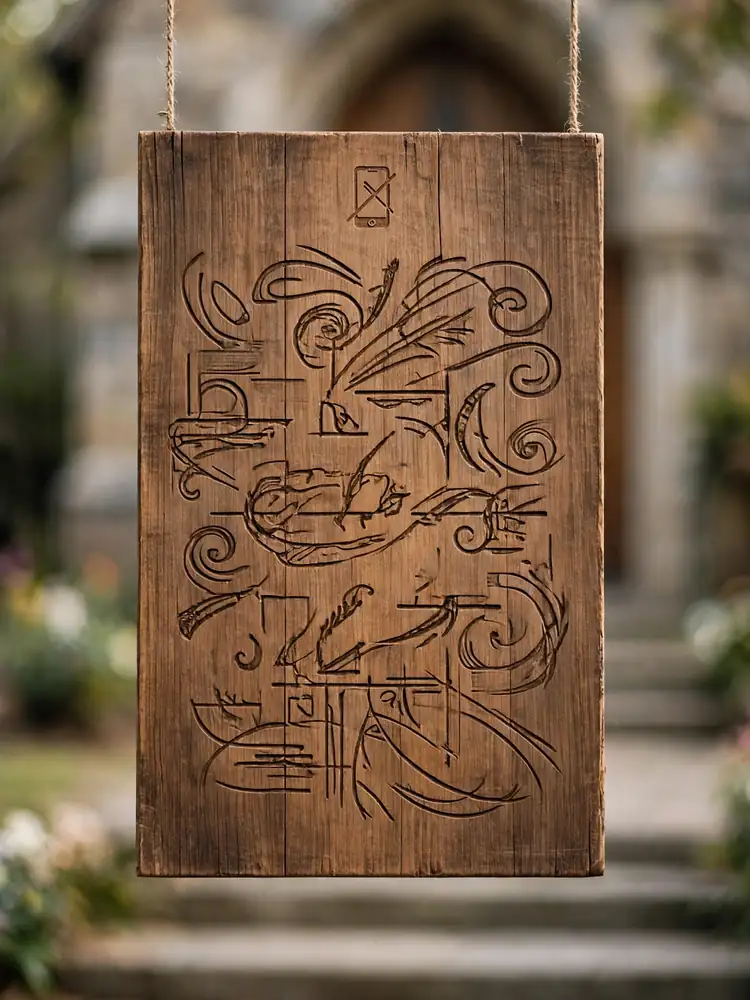
Unplugged ceremony wedding welcome sign

"Welcome to our wedding! We kindly ask you to switch off your phones and cameras. Our photographer will capture every moment, and we want you fully present with us." This wording doubles as your unplugged ceremony announcement. It is polite but clear. Place it at the ceremony entrance, not the parking lot, so the message is fresh in guests' minds. A wooden sign with painted or engraved-style letters suits this best. Styling tip: add a small phone icon with a line through it at the top. The visual delivers the message before guests read a single word.

The Party Starter

Party-style wedding welcome sign with schedule

"Welcome to the best party we've ever thrown! Ceremony at 4, cocktails at 5, dancing until they kick us out." This wording shares the schedule while setting a fun tone. It works for couples who want the day to feel like a celebration, not a formal event. Use a bold, modern design with the timeline listed below the welcome line. A chalkboard or a neon-style acrylic sign both work well. Styling tip: put the cocktail hour time in a different color. Guests always look for the drinks first.

The Kids-Friendly Welcome

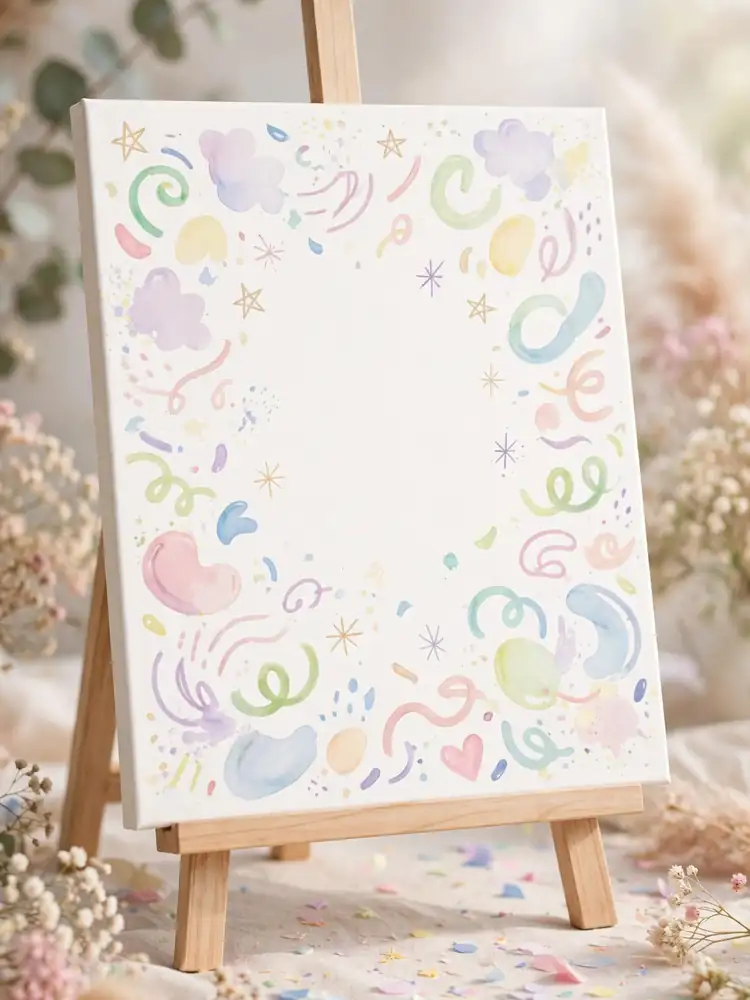
Kids-friendly wedding welcome sign

"Welcome, everyone! Kids, the dance floor is yours too. Parents, the bar is that way." If children are invited, say so on the sign. It relaxes the parents instantly and tells kids they belong. This wording fits family-centered weddings and daytime celebrations. Use bright colors and a playful font, maybe with small illustrated stars or balloons in the corners. Styling tip: place a basket of coloring pages or bubbles next to the sign. The sign makes the promise, and the basket keeps it.

The Destination Greeting

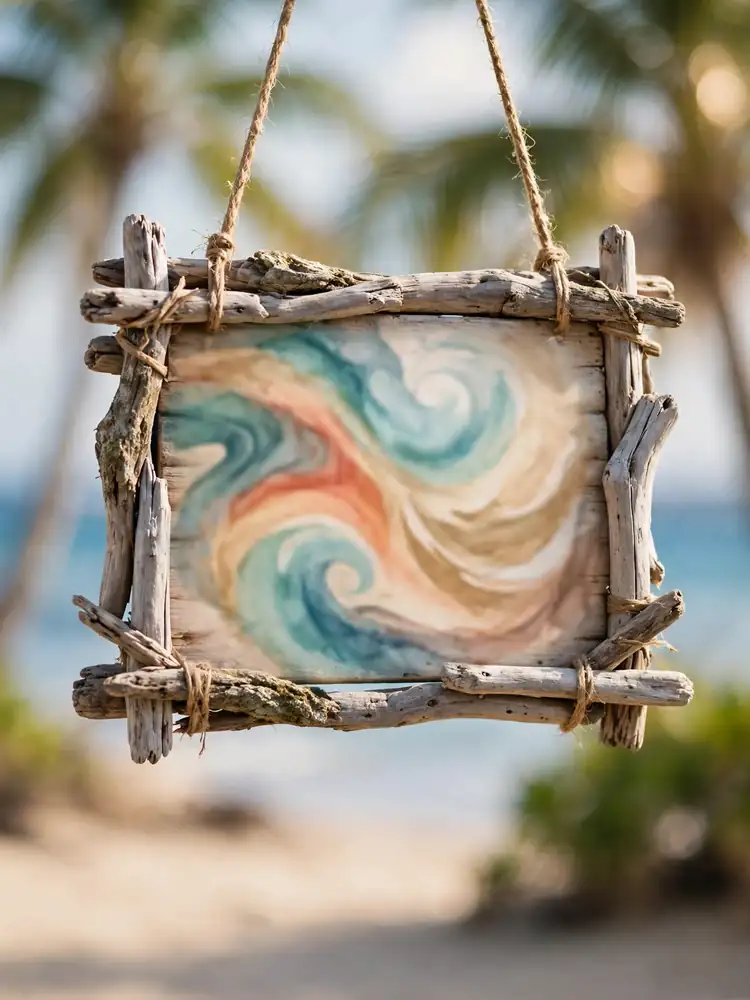
Destination wedding welcome sign on driftwood

"Aloha! Welcome to paradise. Shoes optional, smiles required. The Hendersons, Maui 2026." Destination weddings get their own wording style. Name the place, lean into the local greeting, and set the relaxed tone right away. This works for beach, vineyard, and mountain weddings far from home. Use natural materials like a surfboard sign, driftwood, or a linen banner that moves in the breeze. Styling tip: add the location and date so the sign doubles as a photo backdrop. Guests will line up to pose with it.

The Thank-You Welcome

Thank-you wedding welcome sign

"Thank you for traveling near and far to be here. Your presence is the greatest gift. With love, Emma and Liam." Some couples want the sign to say thanks first. This wording is warm without being casual, and it works for any style of wedding. It is especially sweet when many guests traveled a long way. Print it on classic stationery-style paper with an elegant border, framed simply. Styling tip: place this sign where guests wait before the ceremony. They have time to read it, and the message lands.

Read each one out loud before you decide. The right wording sounds like you talking. Once you pick a style, match the sign material to your decor, and your entrance will feel pulled together from the very first step.

October 25, 2026 0 comments
0 FacebookTwitterPinterestEmail
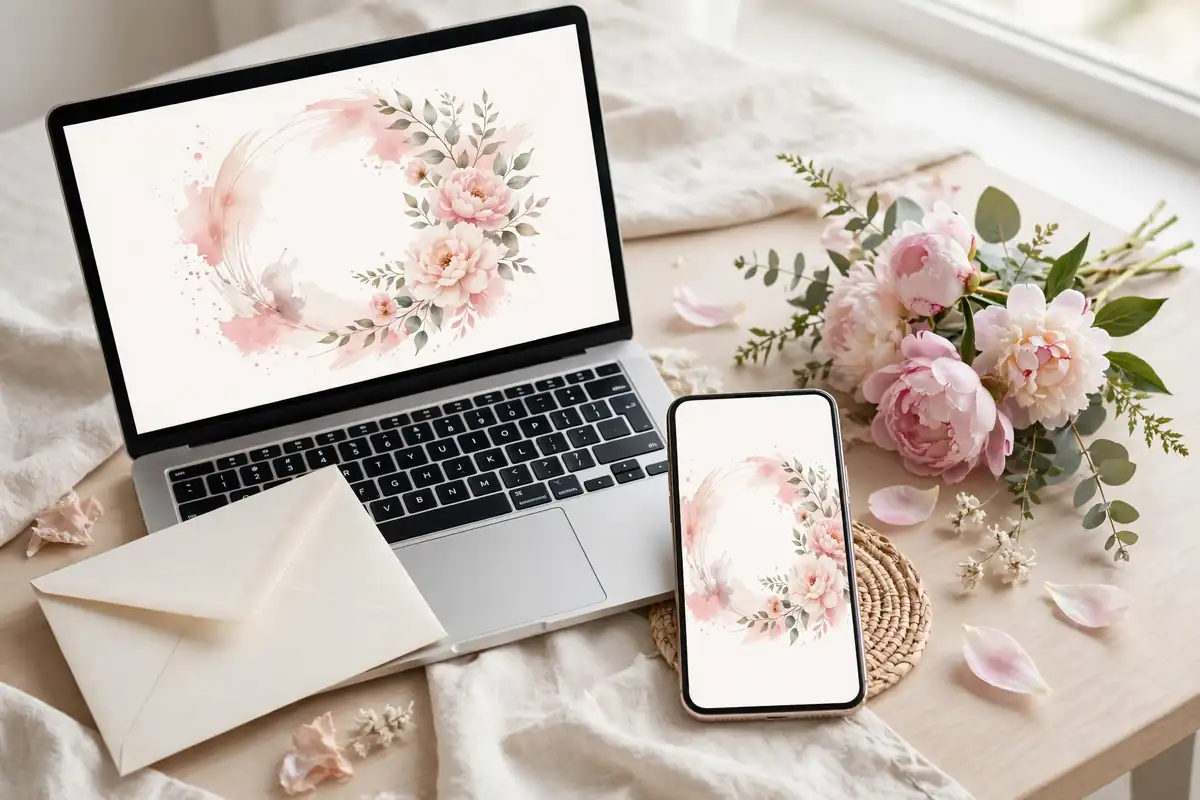
Laptop and smartphone showing abstract wedding invitation designs on a desk
Stationery

11 Digital Wedding Invitation Ideas That Feel Personal

by Emma Carter October 23, 2026
written by Emma Carter

Digital invitations have grown up. They are no longer plain emails with a PDF attached. Today's e-vites can move, play music, show your photos, and collect RSVPs with one tap. They also save paper and postage, which adds up quickly with a large guest list.

The trick is making a digital invite feel personal instead of mass-sent. Each idea below includes what to put on it and when to send it, so your guests feel the care behind the screen.

Animated Video Invitation

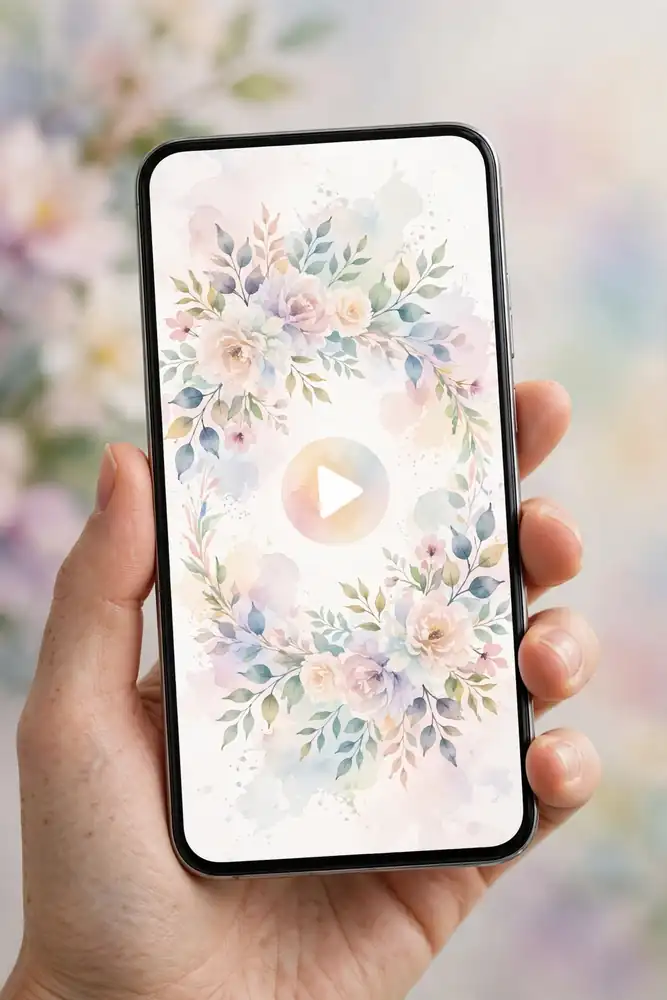
Smartphone showing abstract animated wedding invitation design with play button

A 30 to 60 second video that opens with your names and wedding date, then pans across your favorite photos or illustrated scenes before landing on the venue details. Add soft background music and a tap-to-RSVP button at the end. Include your names, date, time, venue with a map link, dress code, and RSVP link. Send it 6 to 8 weeks before the wedding, when guests are ready to make travel plans. Styling tip: keep each text card on screen for at least four seconds. Guests pause and rewind videos where the words flash by too fast.

Minimalist E-Vite

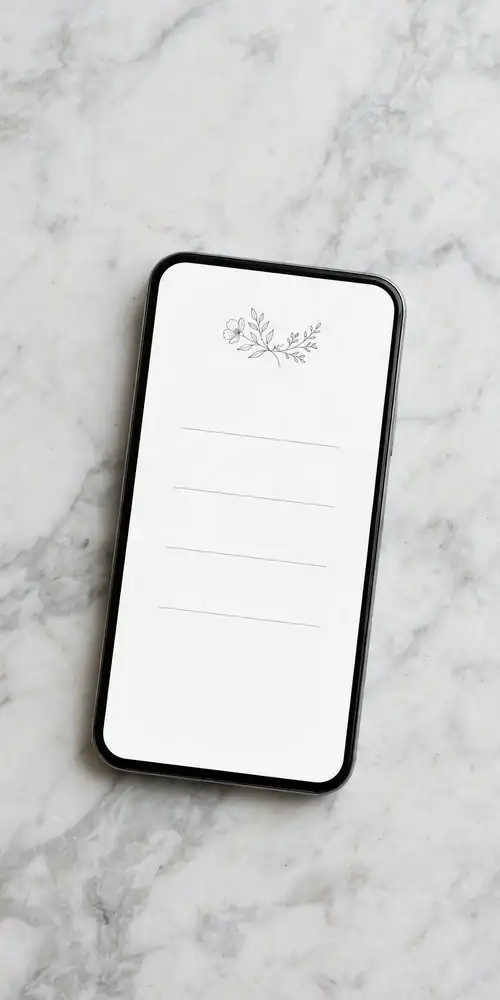
Smartphone showing minimalist abstract wedding e-vite card design

A single digital card with generous white space, your names in an elegant serif style, and one small floral or line motif. Nothing else competes for attention. This style suits modern weddings and reads beautifully on a phone screen. Include the date, time, venue address, RSVP link with deadline, and dress code. Send 6 to 8 weeks before the wedding. Styling tip: limit yourself to two fonts and two colors. Restraint is what makes minimalism look expensive instead of empty.

Photo Story Suite

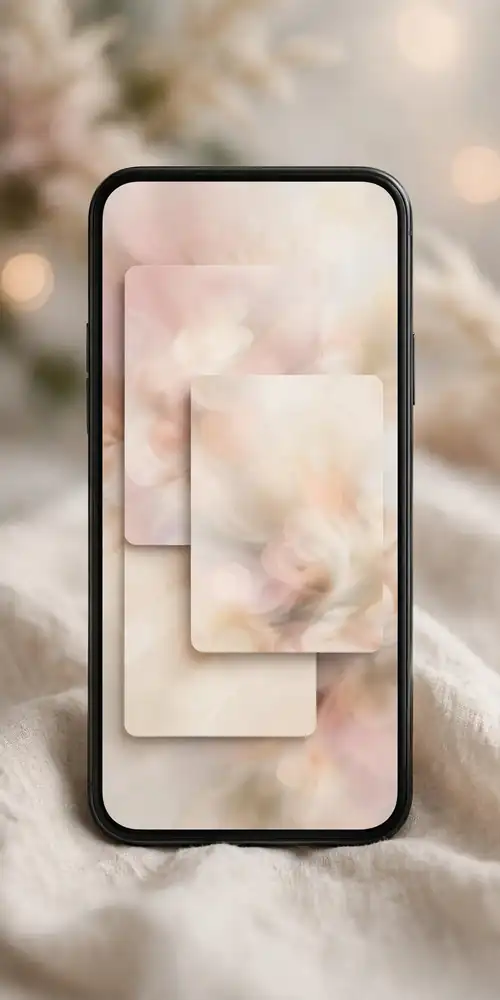
Smartphone showing overlapping abstract wedding photo story cards

A set of three or four matching digital cards sent together. The first tells your story in photos with short captions, the second gives the ceremony and reception details, and the last handles RSVP and logistics like parking and hotels. Guests swipe through them like a tiny album. Include a photo from each stage of your relationship so the suite feels like a story, not a slideshow. Send 8 to 10 weeks before the wedding to give guests time to enjoy it. Styling tip: use the same filter or color tone on every photo. Consistent editing is what makes separate cards feel like one suite.

Illustrated Map Invitation

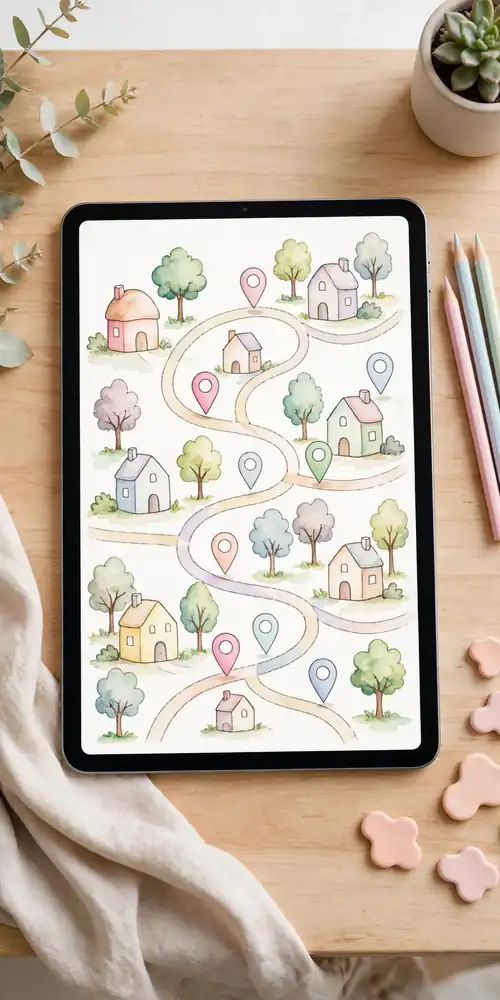
Tablet showing whimsical illustrated wedding map with tiny houses and trees

A custom illustrated map showing your venue, nearby hotels, the rehearsal dinner spot, and favorite local restaurants, styled as the invitation itself. Your names and the date sit in a title banner above the map. This is a wonderful pick for destination weddings where guests need orientation. Include the venue address, hotel booking codes, and the RSVP link below the map. Send 10 to 12 weeks before the wedding so out-of-town guests can book travel early. Styling tip: mark only the places guests truly need. A map crowded with every cute cafe becomes unreadable on a phone.

Watercolor Floral Digital Suite

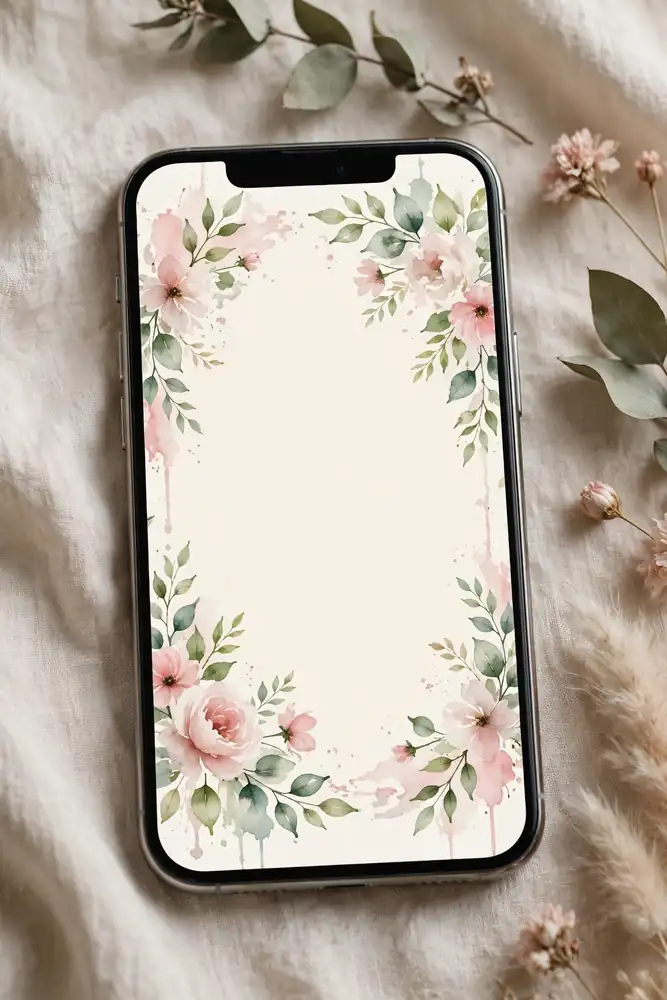
Smartphone showing abstract watercolor floral wedding invitation card

A matching set of digital cards decorated with loose watercolor florals in your wedding colors. The set usually includes the invitation, a details card, and an RSVP card, all sharing the same artwork. It feels romantic and handmade without any printing costs. Include your full names, date, time, venue, dress code, RSVP deadline, and a note about plus-ones. Send 6 to 8 weeks before the wedding. Styling tip: ask the designer for a matching phone wallpaper in the same floral style. Guests who save it see your wedding colors every day until the event.

Wedding Website One-Pager

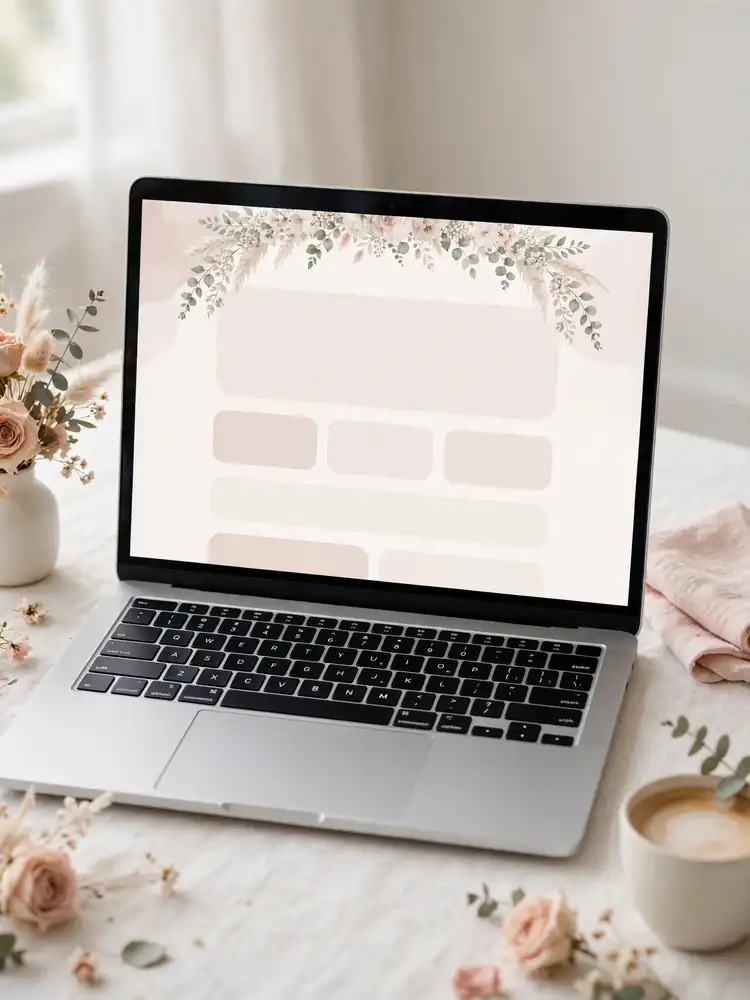
Laptop showing abstract wedding website one-pager layout design

A single scrolling page that acts as the whole invitation. It opens with your names and date, then flows through your story, the schedule, travel information, and an RSVP form. You send guests one link and they find everything in one place. Include the schedule with times, venue addresses with map links, hotel blocks, dress code, registry link, and a clear RSVP button. Share the link 8 to 10 weeks before the wedding. Styling tip: put the RSVP button at both the top and the bottom of the page. Guests should never have to scroll back up to respond.

Monogram Crest Digital Card

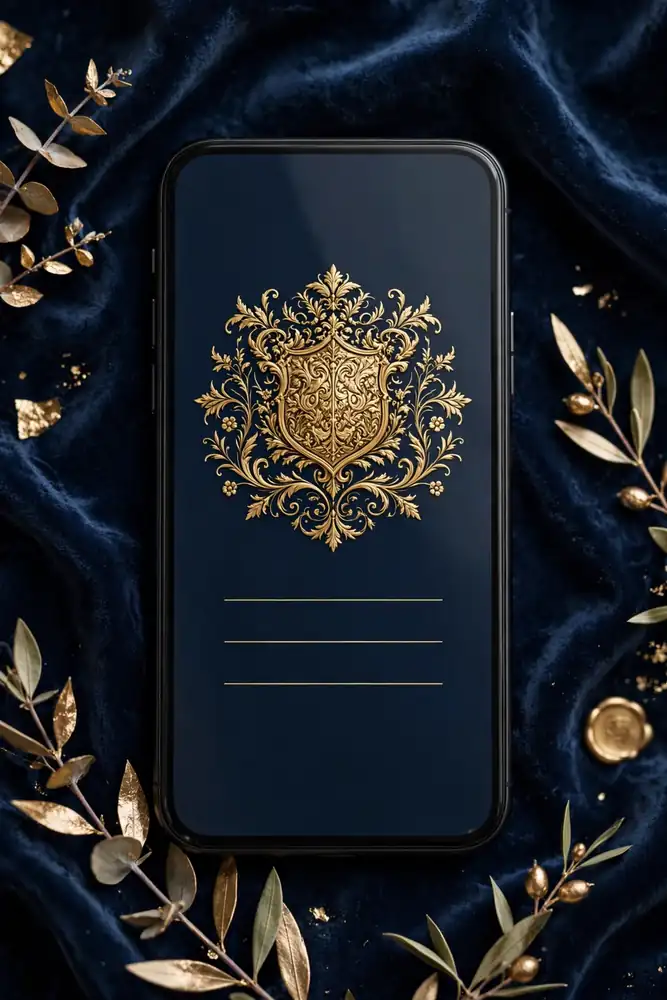
Smartphone showing formal abstract wedding card with gold crest emblem

A formal digital card built around your custom monogram or family crest, with traditional invitation wording centered beneath it. This brings black-tie formality to a digital format. Include your names, the hosts' names, date, time, full venue name and address, reception details, dress code, and RSVP link. Send 8 to 10 weeks before the wedding, earlier than casual e-vites, since formal weddings need firmer planning. Styling tip: have the monogram drawn as a vector file. Vector art stays sharp on every screen size, while small image files turn blurry on large phones.

Voice Note Invitation

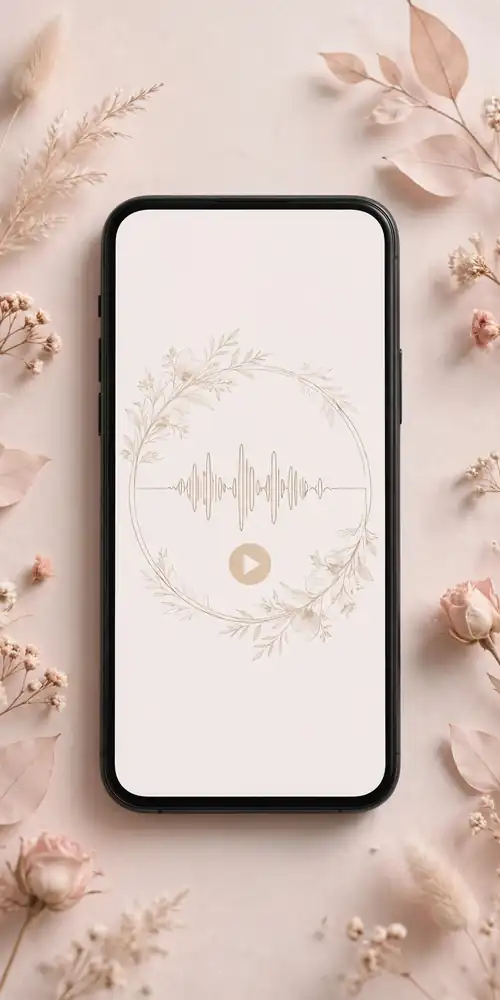
Smartphone showing abstract wedding card with audio waveform and play button

A simple elegant card paired with a short voice recording from the two of you, personally inviting each guest by name or family. Hearing your voices makes a digital invite feel startlingly personal. Record one warm message of 30 to 60 seconds covering the date, venue, and how much their presence means to you. Attach it to a clean card with the written details and RSVP link. Send 6 to 8 weeks before the wedding. Styling tip: record in a quiet, carpeted room with the phone close to your mouth. Room echo ruins an otherwise lovely message.

Save-the-Date and Invitation Duo

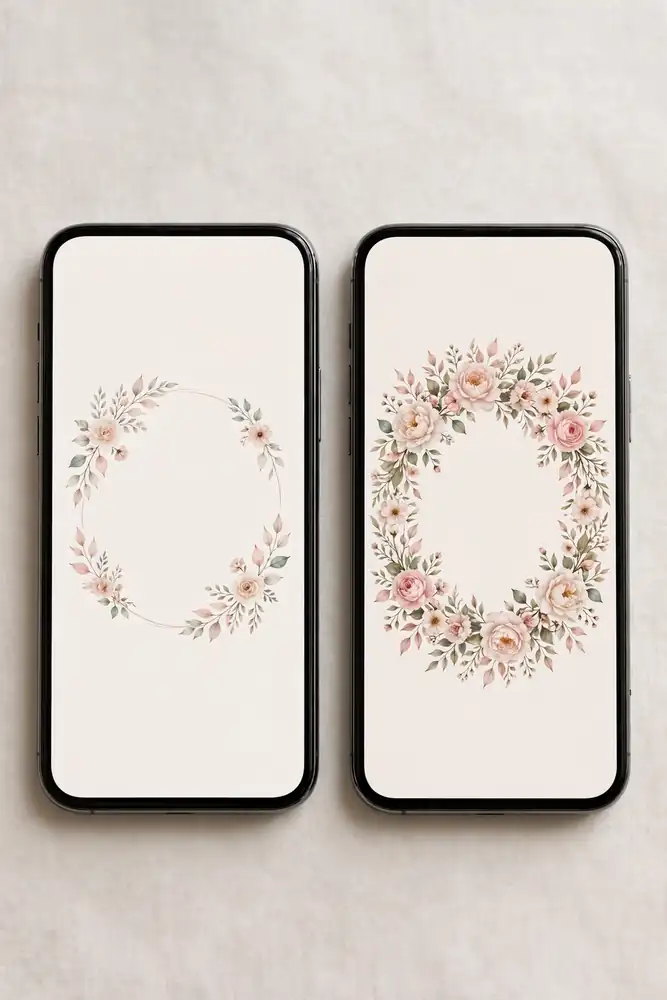
Two smartphones showing matching abstract save-the-date and invitation designs

Two matching designs sent in sequence. The save-the-date goes out 4 to 6 months before the wedding with just your names, the date, and the city. The formal invitation follows 6 to 8 weeks before with full details and the RSVP link. Because the designs match, guests recognize the second message instantly. Include a wedding website link on the save-the-date so early planners can follow along. Styling tip: keep the save-the-date to one screen with no scrolling. Its only job is to get the date into calendars.

QR Code RSVP Card

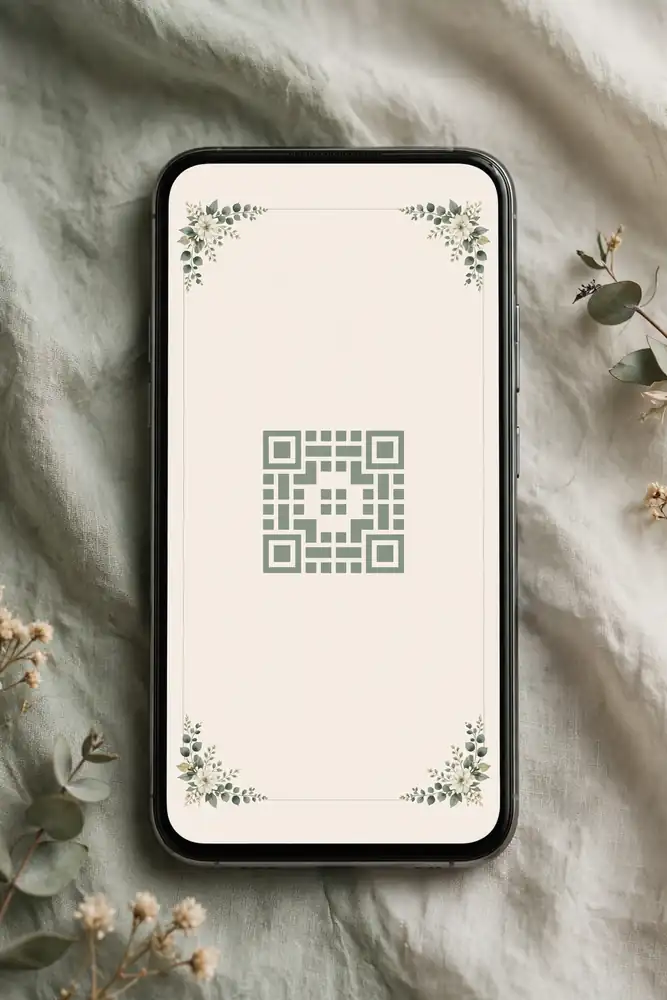
Smartphone showing abstract wedding card with decorative QR-style pattern

A clean digital card with a QR code that opens your details page and RSVP form when scanned. This works beautifully as a follow-up for guests who lose links, and you can print a few for older relatives who prefer paper. Include your names, date, venue, and the QR code large enough to scan easily, plus the web address written out beneath it. Send digitally 6 to 8 weeks out, and mail the printed version with other paper details if you use them. Styling tip: test the QR code on three different phones before sending. Some generators produce codes that older phone cameras cannot read.

Messaging App Invite Card

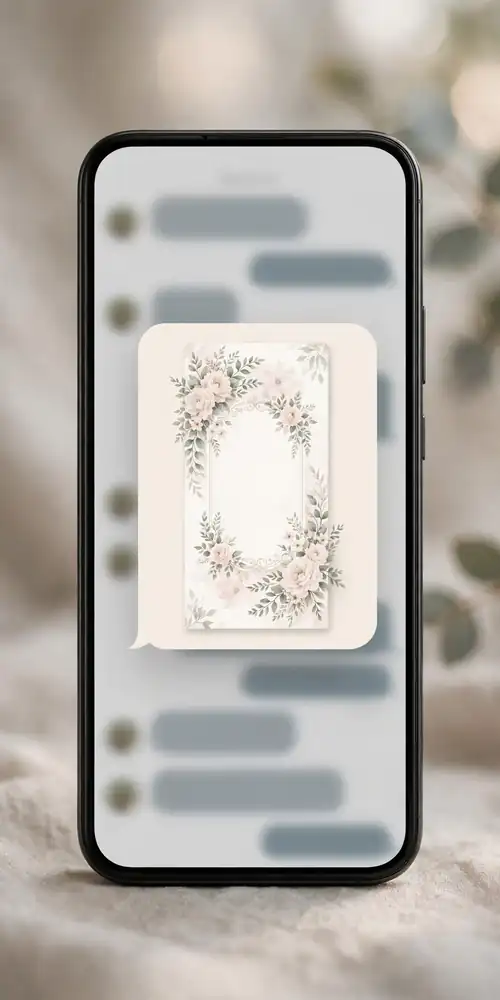
Smartphone showing wedding invitation card inside a messaging app chat

A tall card sized for phone screens, designed to be sent personally through a messaging app with a short note to each guest. Because it arrives as a personal message rather than a broadcast, it feels warm and direct. This suits casual and intimate weddings best. Include your names, date, time, venue with a location pin, dress code, and an RSVP reply prompt. Send 4 to 6 weeks before the wedding. Styling tip: send each invite individually, not in a group chat. A personal message thread gets faster RSVPs than a group announcement.

Digital does not have to mean impersonal. Pick the format that matches your wedding's tone, include every detail a guest needs to show up confident and on time, and send it early enough to be useful. A thoughtful e-vite, sent at the right moment, gets remembered just like a beautiful paper one.

October 23, 2026 0 comments
0 FacebookTwitterPinterestEmail

Recent Posts

  • 11 Must-Have Moments for Your Wedding Video Shot List
  • 11 DIY Wedding Table Number Ideas
  • 11 Bridal Hair Vine Ideas With Curls and Waves
  • 11 Bridal Veil Styles and How to Choose Yours
  • 11 Wedding First Look Photo Ideas Full of Emotion

Keep in touch

Facebook Pinterest

Categories

  • Beauty
  • Decor
  • Designs
  • Jewelry & Accessories
  • Photography & Videography
  • Stationery
  • Themes
  • Wedding Cakes
  • Wedding Outfits
  • Facebook
  • Twitter
  • Disclaimer
  • Privacy Policy
  • Terms and Conditions
  • About Us

© 2026 wedblooms.com | Designed by Wed Blooms


Back To Top
Wed Blooms
  • Home
  • Designs
  • Decor
  • Beauty
  • Stationery
  • Themes
  • Photography & Videography
  • Wedding Cakes
  • Wedding Outfits
  • Jewelry & Accessories