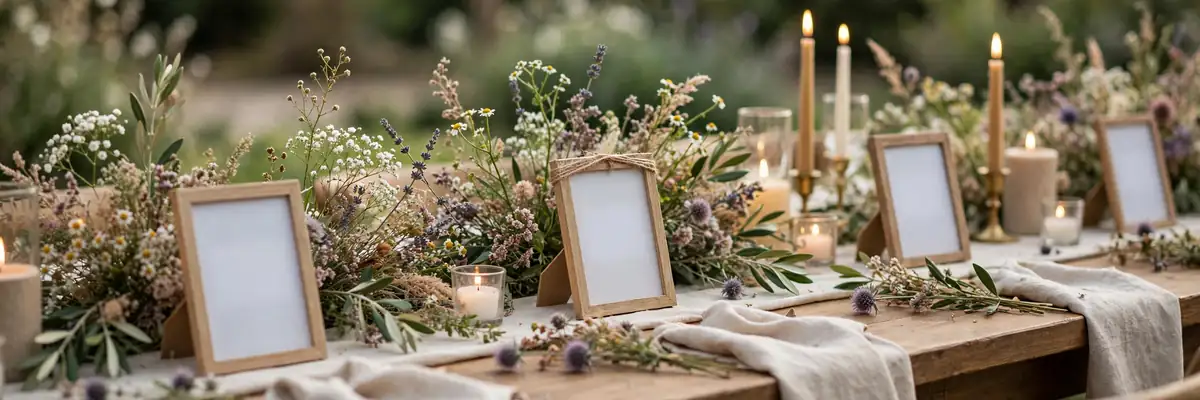
Table numbers do two jobs at once. They guide guests to their seats, and they decorate every table in the room. Buying them from a stationery designer gets expensive fast, but most styles are easy to make yourself.
These 11 DIY table number ideas range from quick afternoon crafts to slightly more involved weekend projects. Each one lists what you need and how hard it is, so you can pick the project that fits your skills and your timeline.
Framed Photo Prints
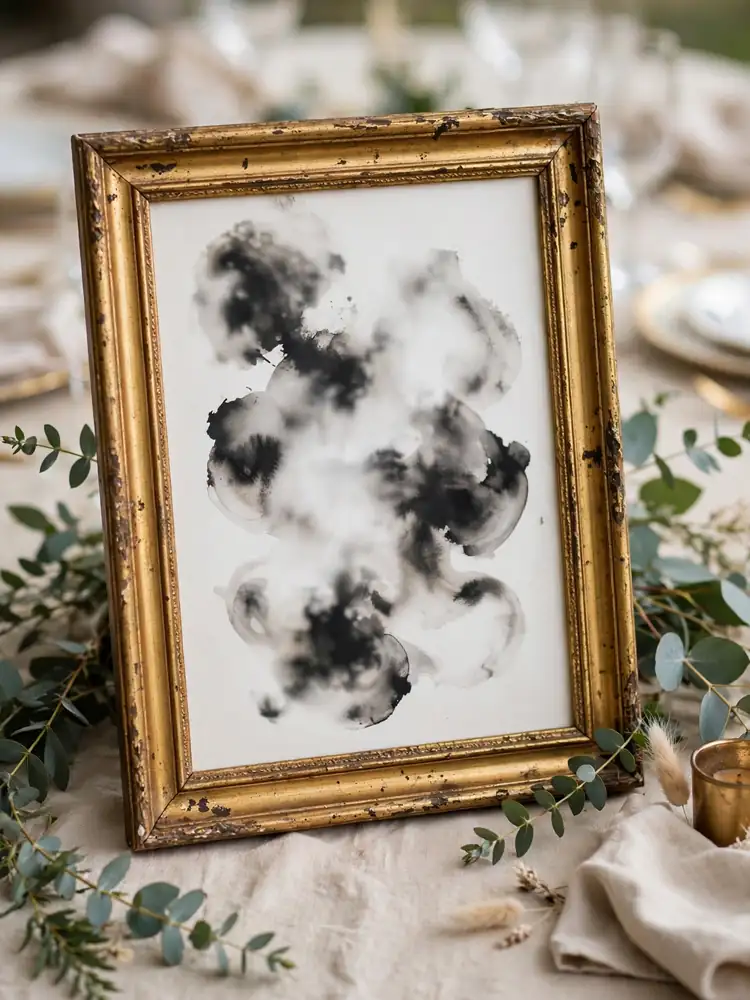
Print your table numbers as simple black-and-white designs on cardstock, then slip them into thrifted gold or wooden frames. The frames do most of the decorating for you. You need cardstock, a home printer, and frames from a thrift store or dollar store. Difficulty: easy. This project takes one afternoon. Mix frame styles for a collected look, or keep them all matching for a clean one. Styling tip: tuck a small sprig of eucalyptus behind each frame. The green softens the table and costs pennies per stem.
Painted Wood Slices
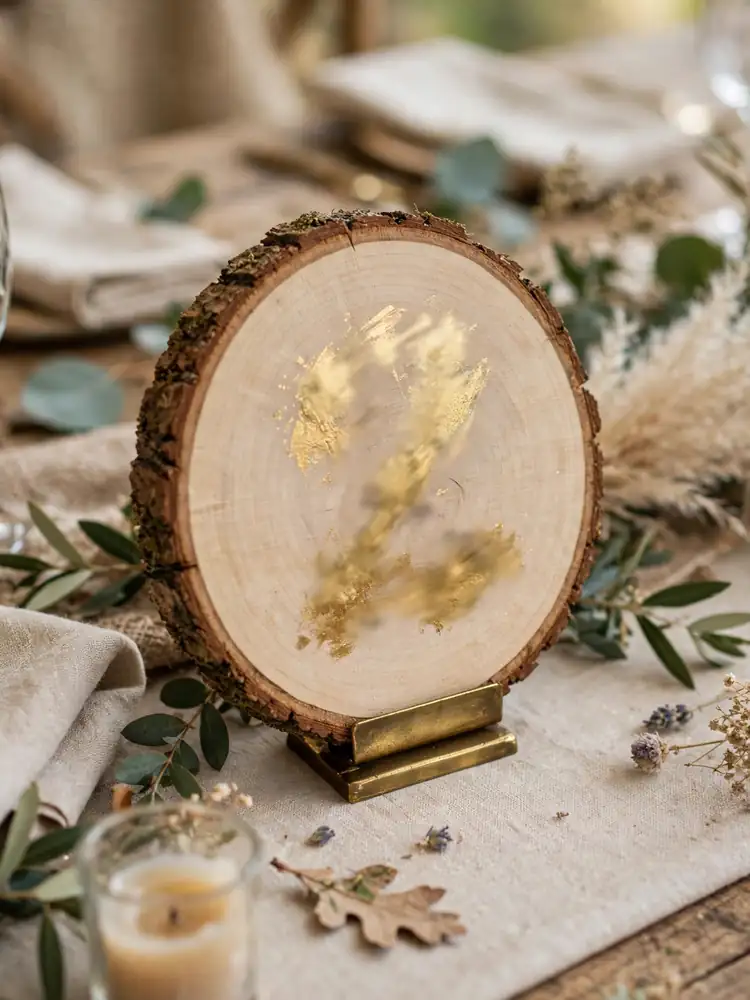
Buy pre-cut wood slices from a craft store and paint numbers on them with white or gold acrylic paint. The bark edge gives you a rustic look for free. You need wood slices, acrylic paint, a flat brush, and a pencil for sketching the number first. Difficulty: easy to medium, depending on your handwriting. Sand the surface lightly before painting so the paint sits smooth. Styling tip: stand each slice in a small brass or wooden holder so it faces the guests. A flat slice disappears behind the centerpiece.
Acrylic Signs with a Gold Pen
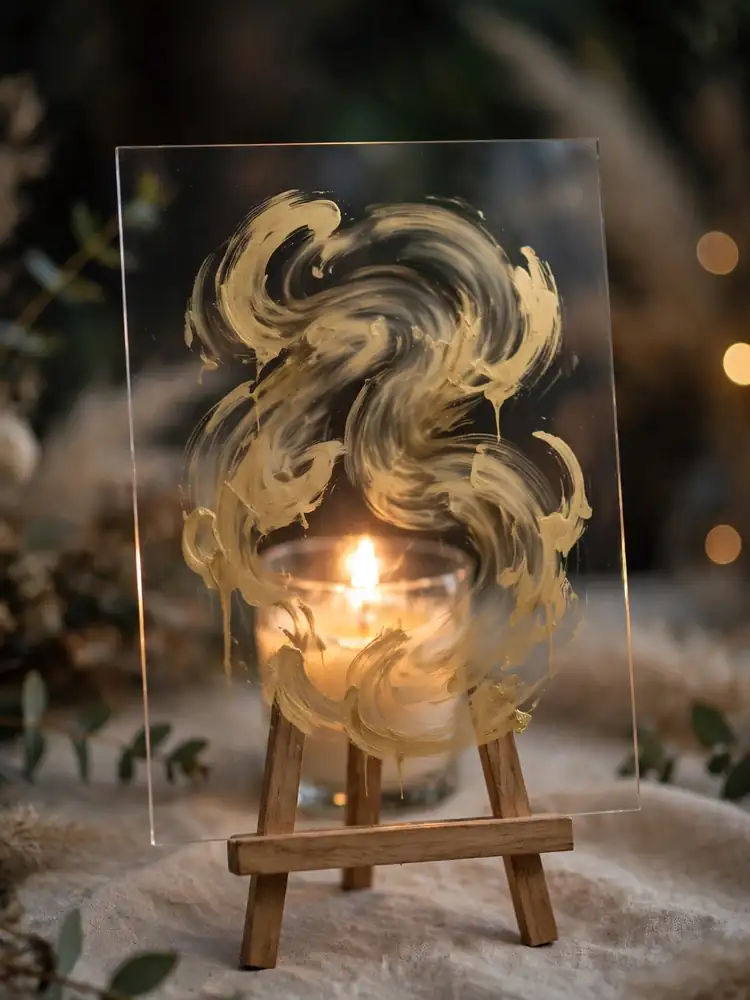
Clear acrylic sheets with numbers written in a gold paint pen look high-end for very little money. You need 5×7 acrylic blanks, a gold oil-based paint pen, and small easels or plate stands. Difficulty: easy. Practice on paper first, then write slowly. The pen flows better than you expect. Wipe mistakes off quickly with rubbing alcohol before the paint sets. Styling tip: place the acrylic in front of a candle or a small floral arrangement. The light shining through makes the gold glow.
Photo Numbers Through the Years
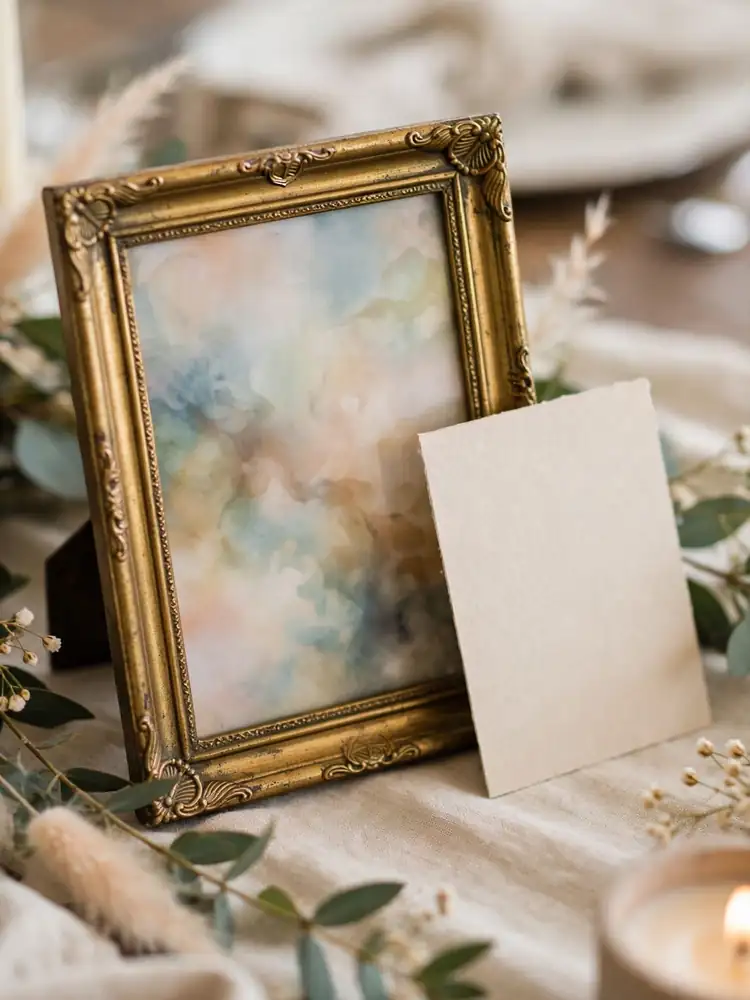
Use photos of the couple at the ages matching the table numbers. Table 1 gets baby photos, table 5 gets age-five photos, and so on. You need printed photos, small frames or clips, and number cards. Difficulty: easy, but start early so you have time to collect the photos. Guests love hunting for their table and then studying the pictures. It doubles as a conversation starter. Styling tip: write the number large on the back of each photo too. Guests see the picture first, and the big number keeps them from getting lost.
Wine Bottle Numbers
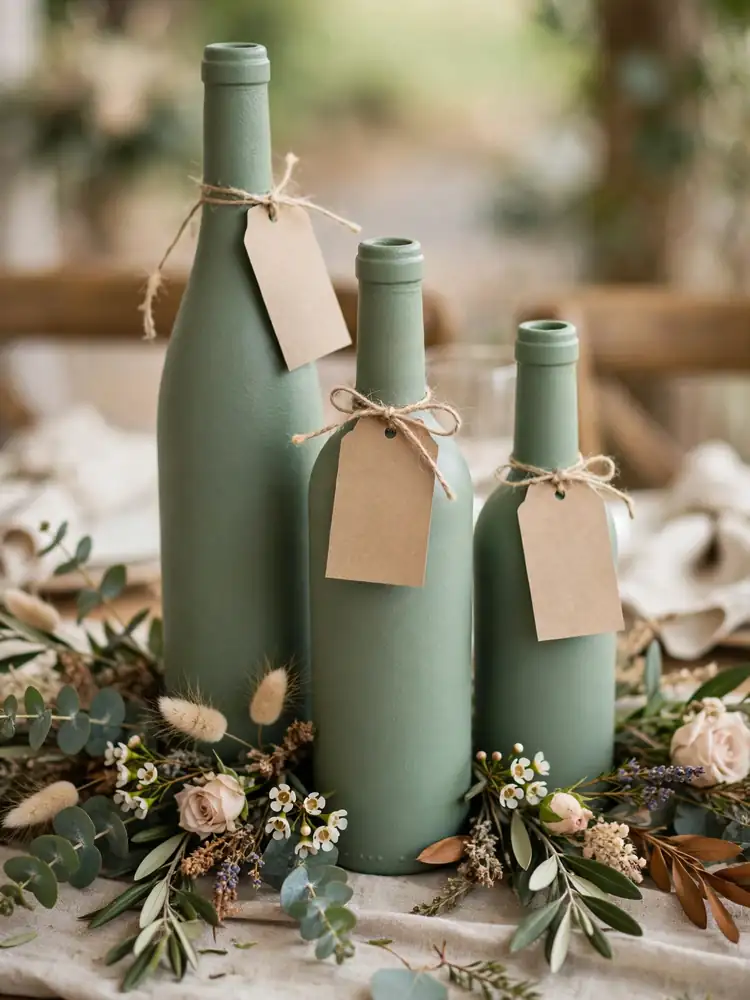
Spray-paint empty wine bottles in your wedding colors and tie a numbered tag around each neck with ribbon or twine. You need wine bottles, spray paint, tags, and ribbon. Difficulty: easy. Start collecting bottles months ahead, and ask friends to save theirs. Two light coats of paint beat one heavy coat, so let each coat dry fully before adding the next. Styling tip: cluster three bottles of different heights on each table instead of one. The group looks styled, while a single bottle can look lonely.
Chalkboard Table Tents
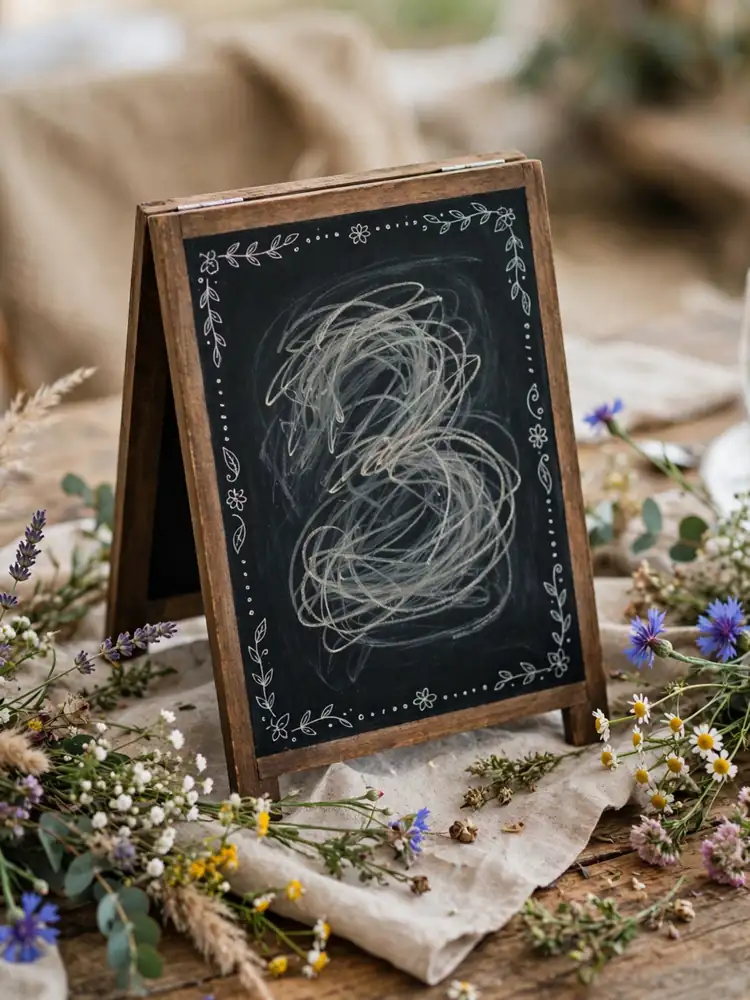
Small chalkboard tents with hand-lettered numbers suit rustic and garden weddings. You need mini chalkboard signs, chalk markers, and a damp cloth for fixing mistakes. Difficulty: easy. Chalk markers write cleaner than real chalk and do not smudge once dry. Sketch the number lightly first, and keep the lettering big and simple. Styling tip: draw a small border or corner flourishes around each number. The little doodles make hand lettering look intentional instead of wobbly.
Vintage Book Stacks
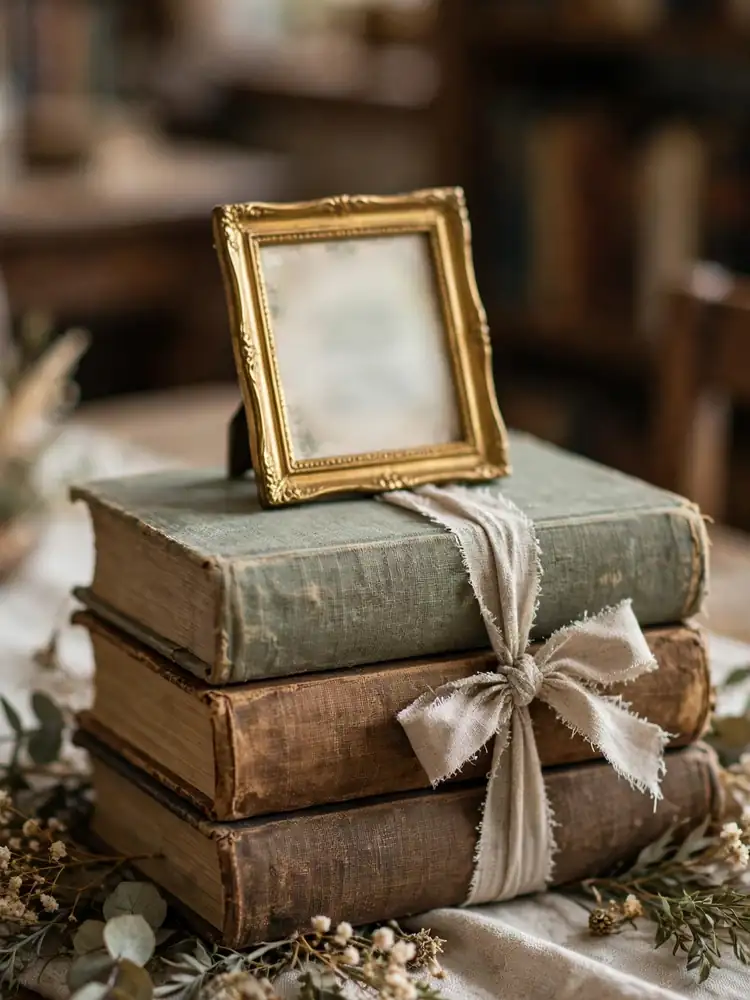
Stack two or three old hardcover books and top them with a framed number card. You need thrifted books, a small frame, and a printed number. Difficulty: easy. Pick books with pretty spines in your color palette, and remove the dust jackets to show the cloth covers underneath. This idea suits library venues and literary couples. Guests will flip through the books during dinner. Styling tip: tie each stack with a ribbon in your wedding color. The ribbon holds the stack together and adds polish.
Pressed Flower Frames
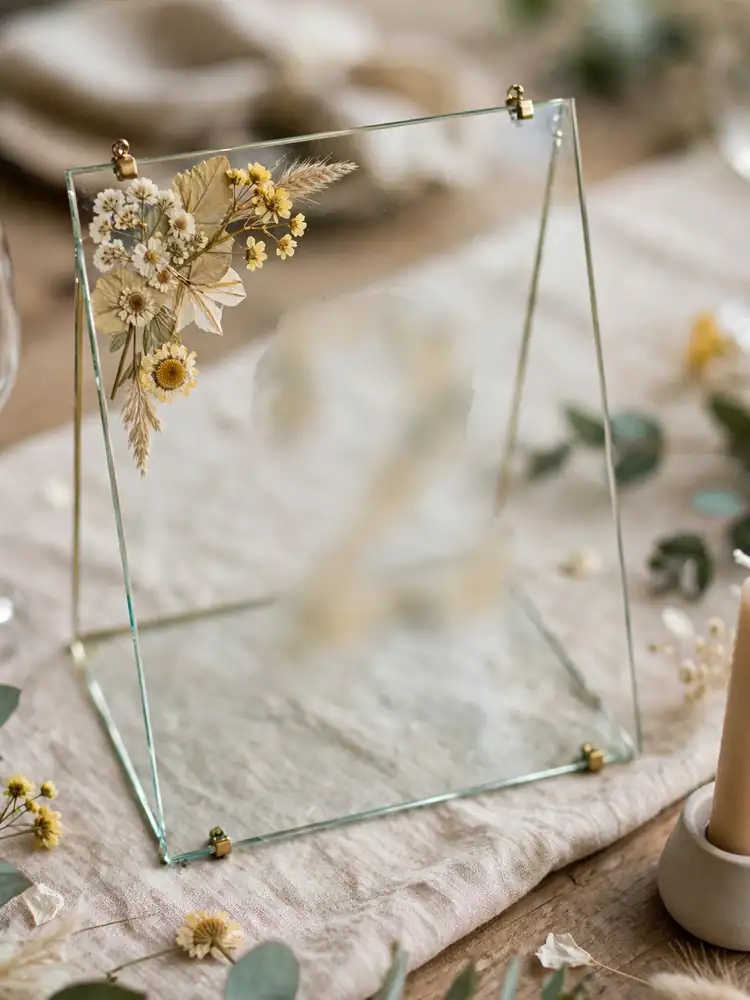
Press flowers for two weeks, then arrange them around a printed number inside a floating glass frame. You need fresh flowers, heavy books, glass floating frames, and printed numbers. Difficulty: medium. Press more flowers than you need, since some will brown. White and yellow blooms press best. Assemble the frames the week of the wedding. Styling tip: keep the flower arrangement to one corner of the frame. A full border of flowers crowds the number and makes it hard to read.
Mirror Calligraphy Numbers
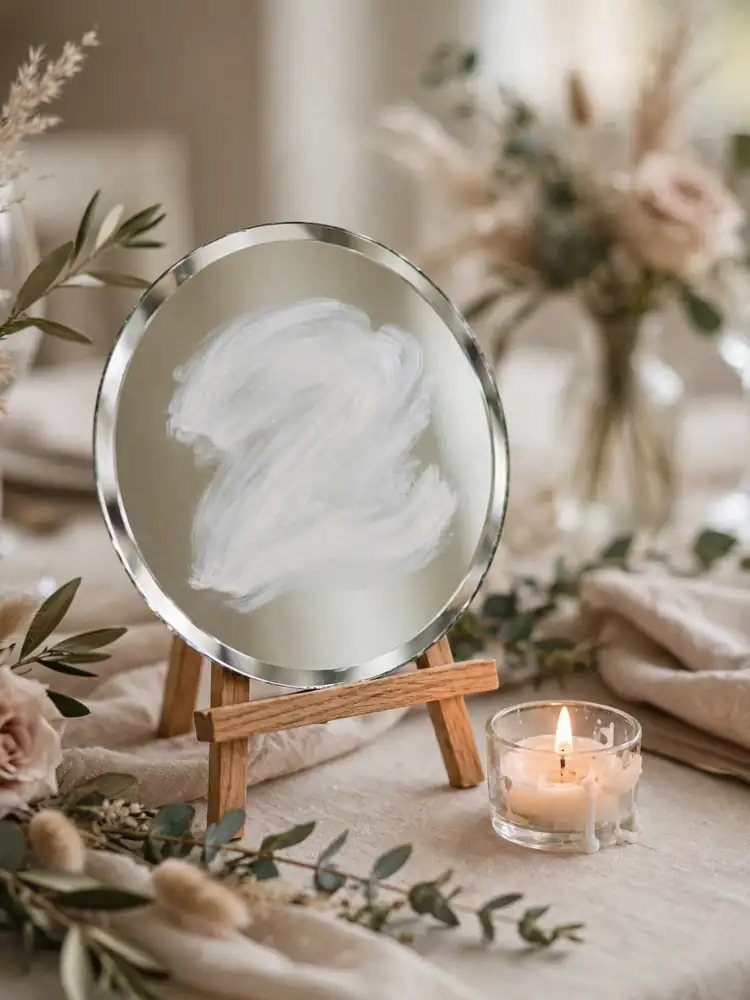
Write numbers on small round mirrors with a white or gold paint pen. The mirrors catch candlelight and double the glow on the table. You need small mirrors, paint pens, and easel stands. Difficulty: medium. Buy mirrors with beveled edges from a craft store, and clean each one with glass cleaner before writing. Let the paint cure for 24 hours so it does not scratch off. Styling tip: pair each mirror with a low tea light. The reflection multiplies the candlelight across the whole table.
Recycled Card Table Tents
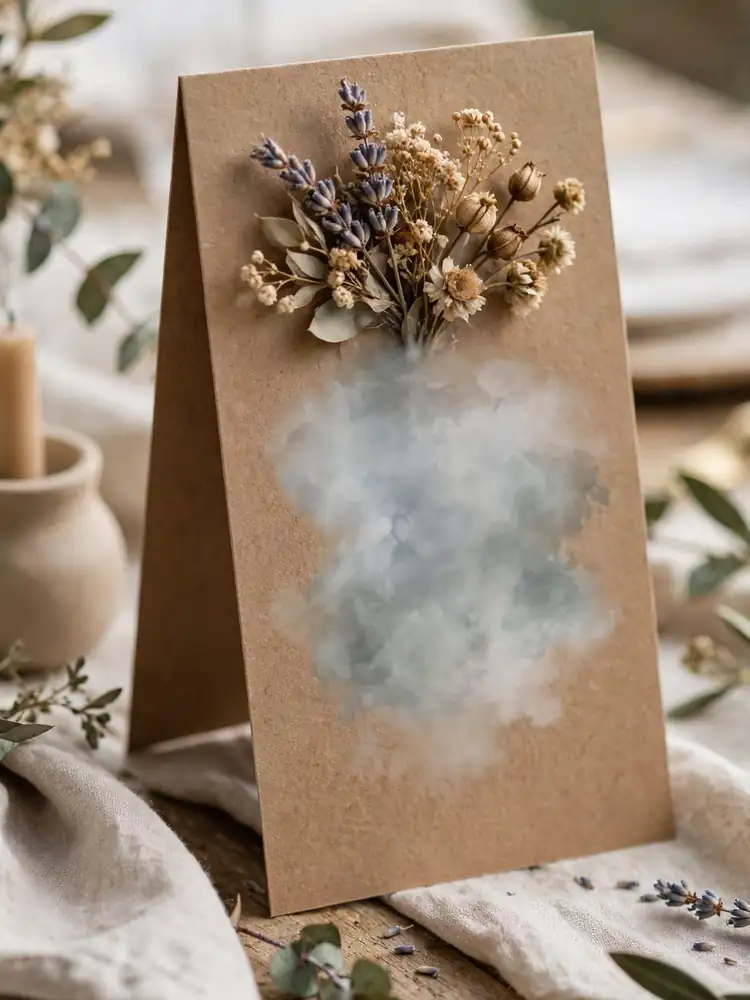
Fold heavy cardstock into tent cards and decorate them with stamps, dried flowers, or washi tape. You need cardstock, a ruler for crisp folds, and your chosen decorations. Difficulty: easy. This is the cheapest option on the list and a good pick for large guest counts. Cut all the cards to the same size with a paper trimmer for a tidy result. Styling tip: glue a dried flower or a wax seal to the front of each tent. One small detail lifts the whole table.
Lantern Number Tags
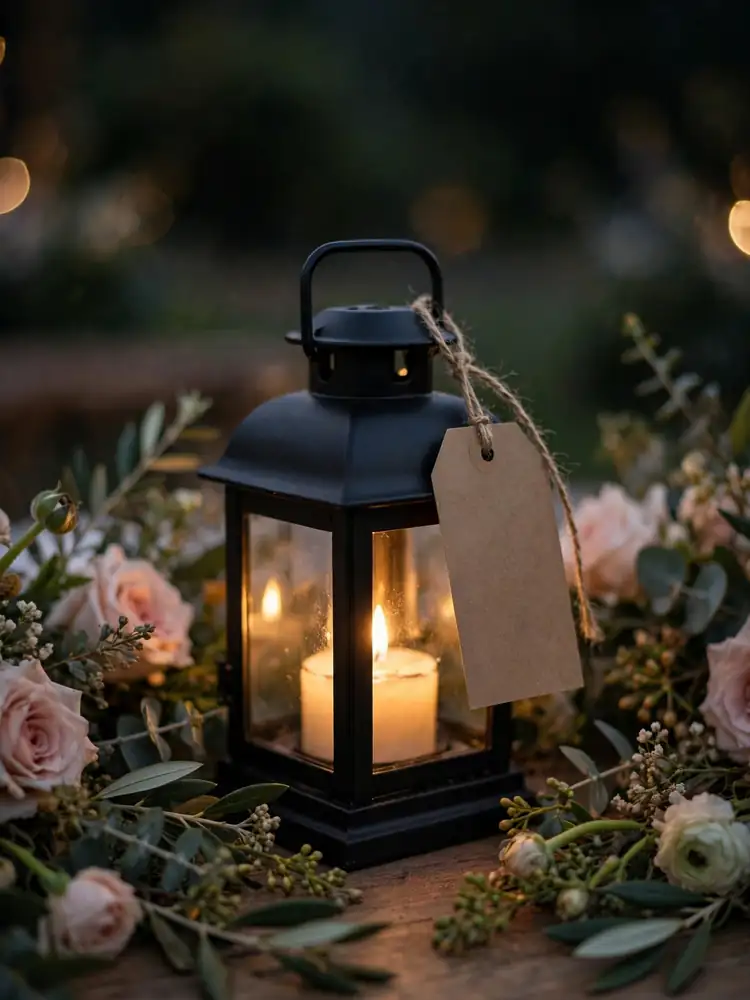
Hang a numbered tag from the handle of a small lantern on each table. The lanterns light the table after dark and look great in photos. You need small lanterns, LED tea lights, kraft tags, and twine. Difficulty: easy. Use LED lights, never real candles, inside closed lanterns. Write the number on both sides of each tag so guests can read it from any seat. Styling tip: choose lanterns in one finish, like matte black or brass. Mixed finishes look messy once the lights go down.
Pick the project that matches your skill level and your timeline. Start early, make one test version first, and never try a brand-new craft for the first time in the week of the wedding.
For more ideas like this, visit our Wedding Stationery Ideas page.