
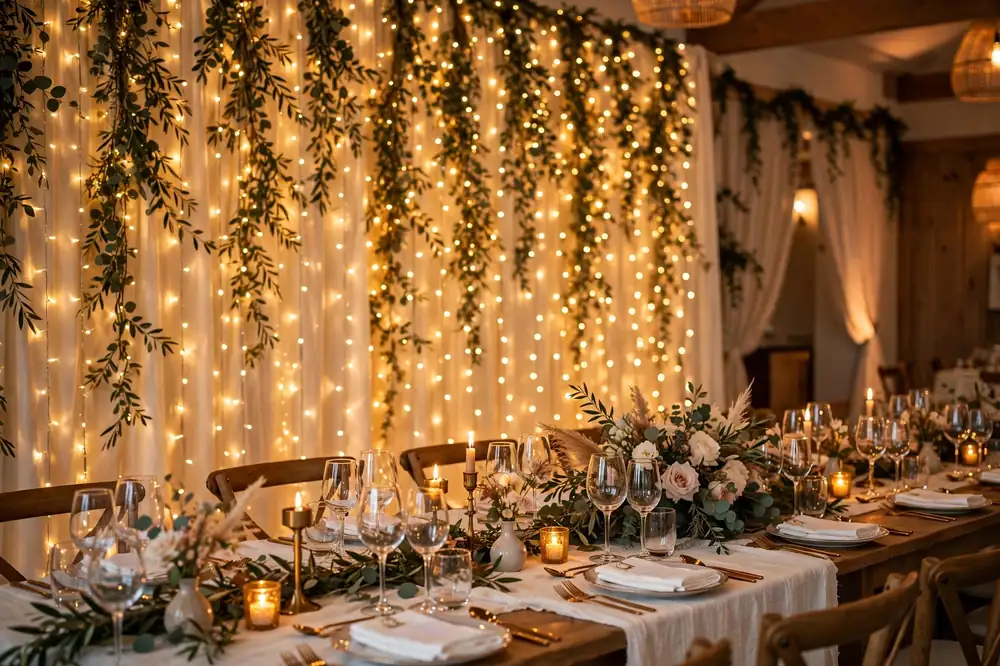
Fairy lights never go out of style, and there are more ways to hang them as a backdrop than most couples realize. Each arrangement below creates a different mood, from a soft glow behind the ceremony to a full starry wall for photos.
A backdrop also solves a practical problem. It gives your photographer a beautiful, well-lit background and hides whatever is behind it. Here are 11 distinct ways to arrange fairy lights as a backdrop.
Curtain Wall of Lights
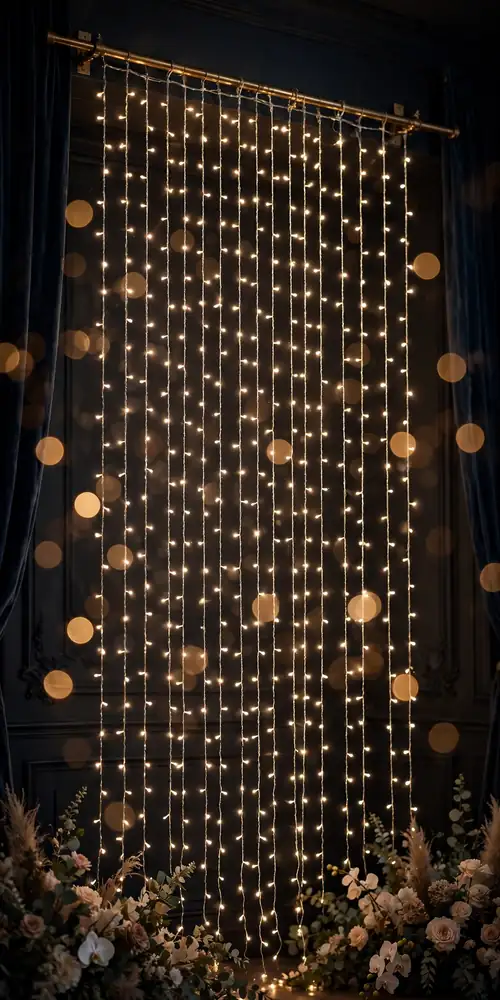
Rows of fairy light strings hung side by side from a horizontal rod or pipe, falling straight down like a glowing curtain. This is the simplest backdrop on the list and one of the most photographed. Use warm white lights rather than cool white. Warm reads as romantic while cool reads as office lighting. Hang about one string every four inches for a full curtain with no gaps. Styling tip: plug the strings into a single power strip behind the curtain and hide it with a drape of fabric. One visible cord ruins the magic.
Lights Behind Sheer Fabric
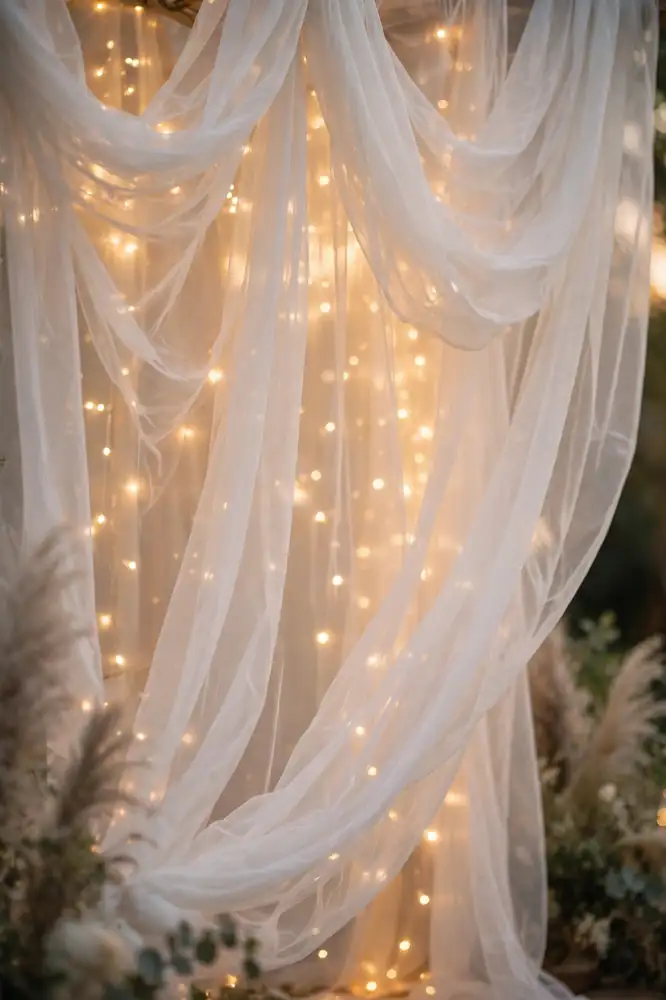
Fairy lights hung on a frame with a layer of sheer white voile hung a few inches in front of them. The fabric diffuses the pinpoints of light into a soft, even glow. This looks dreamy behind the head table or the ceremony arch. Keep the fabric six inches in front of the lights so the glow spreads without the fabric touching the bulbs. LED lights stay cool, which makes this safe with fabric. Styling tip: gather the fabric in loose folds instead of pulling it flat. The folds catch the glow differently and add depth to photos.
Starry Photo Booth Wall
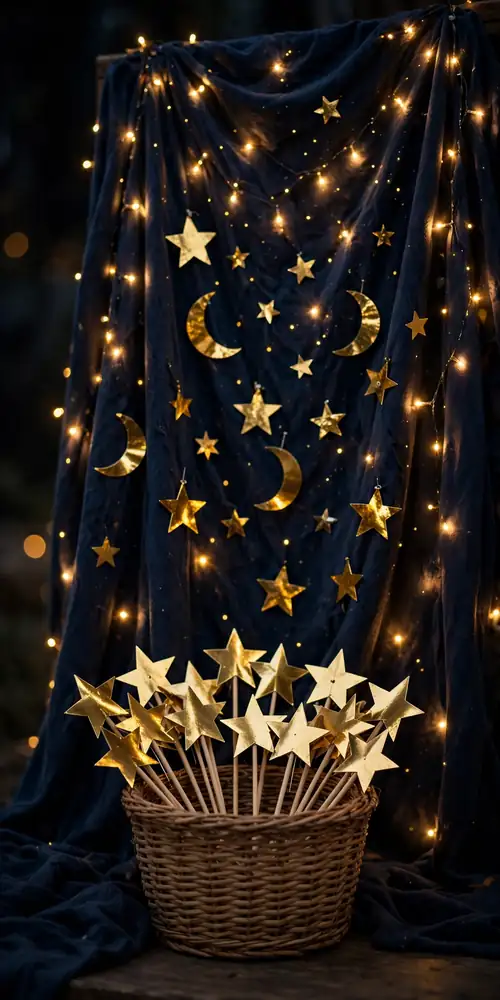
A dark navy or black fabric backdrop covered in fairy lights plus stick-on star and moon cutouts in gold foil. Guests step in front of it and look like they are standing in a night sky. This works best indoors or after sunset outdoors, since the dark fabric needs low light to read. Add a basket of simple props like star wands and gold crowns. Styling tip: use the twinkle setting on one or two strings and keep the rest steady. A few blinking lights suggest stars without looking chaotic.
Tree Canopy of Lights
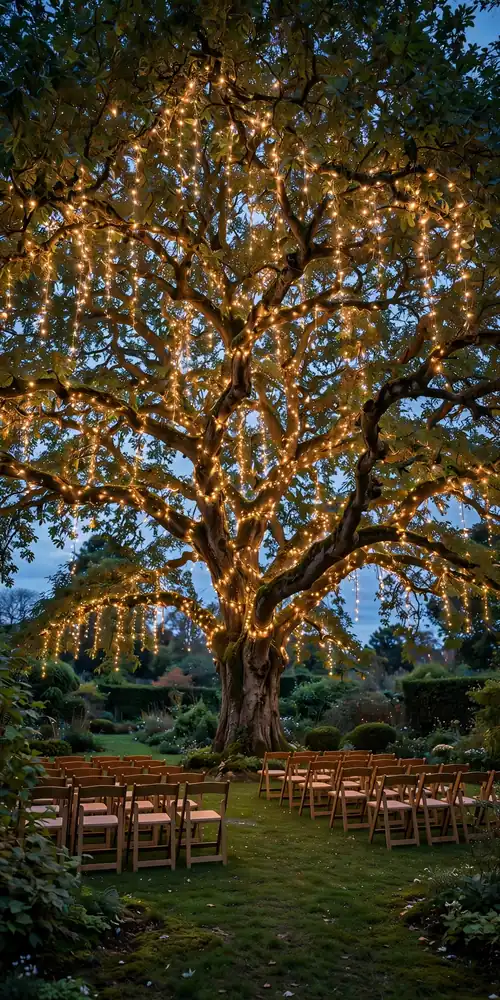
Fairy lights wrapped around the branches of a large tree or strung between several trees to form a glowing canopy overhead. This is the best outdoor option on the list because the trees do the structural work for you. Solar-powered strings avoid the need for extension cords across the lawn. Wrap the lights from the trunk outward along the main branches rather than just dangling them. Styling tip: add the lights at dusk and look at them from the seating area. Adjust any strings that glow brighter than the rest so the canopy looks even.
Mason Jar Light Clusters
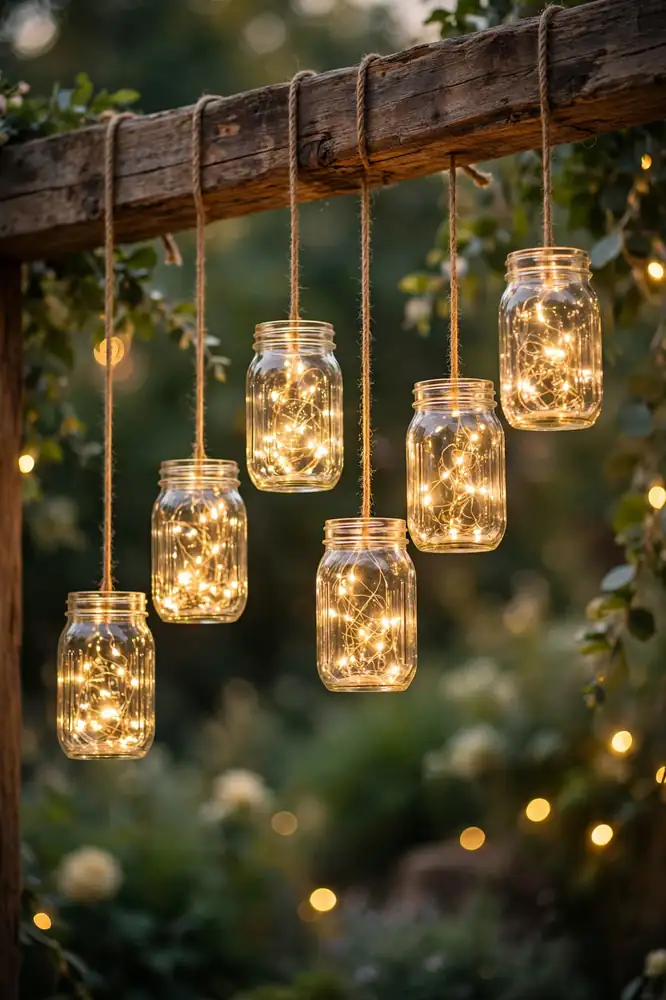
Fairy lights stuffed into glass mason jars, with the jars hung at different heights from a branch, a beam, or a metal frame. Each jar becomes a glowing lantern, and the cluster of jars reads as a backdrop behind the sweetheart table. Use battery-operated light strings with tiny battery packs that hide inside the jar lids. Hang three to seven jars for a good cluster. Styling tip: hang the jars at clearly different heights, at least six inches apart vertically. Evenly hung jars look flat, while varied heights look like floating lights.
Light Rain From a Beam
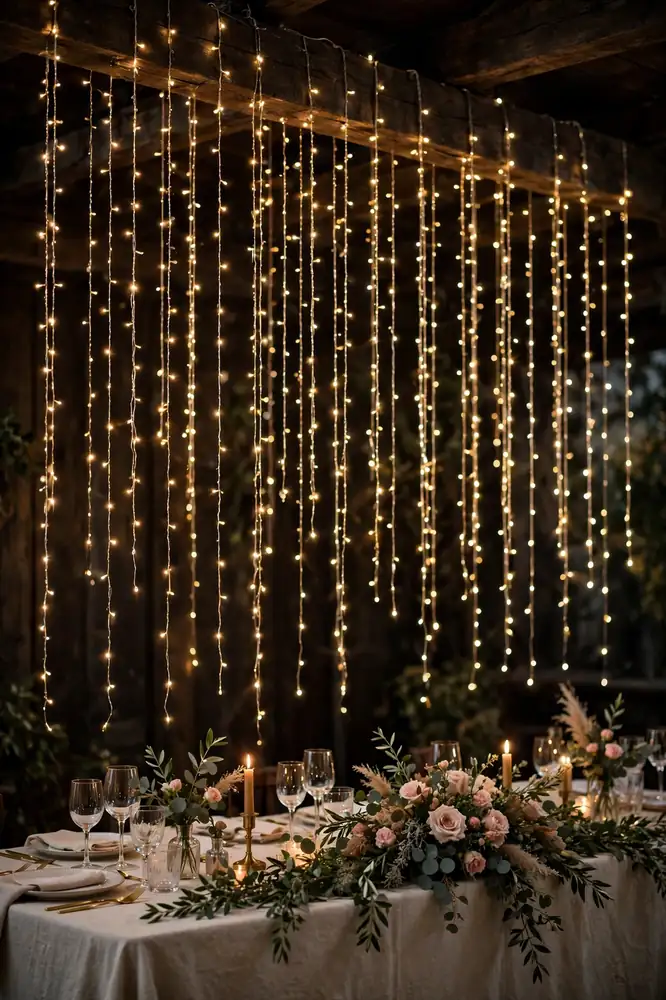
Long strings of fairy lights hung vertically from a ceiling beam, a tent pole, or a metal arch so they fall like glowing rain. This creates a wall of light that moves gently in the breeze. Use icicle-style light strands if you want a natural uneven look, or straight strands for a clean look. Secure each string with a small zip tie so wind does not tangle them together. Styling tip: stand the couple or the head table a few feet in front of the rain, not under it. The lights become a glowing background instead of hanging over their heads.
Lights With Paper Lanterns
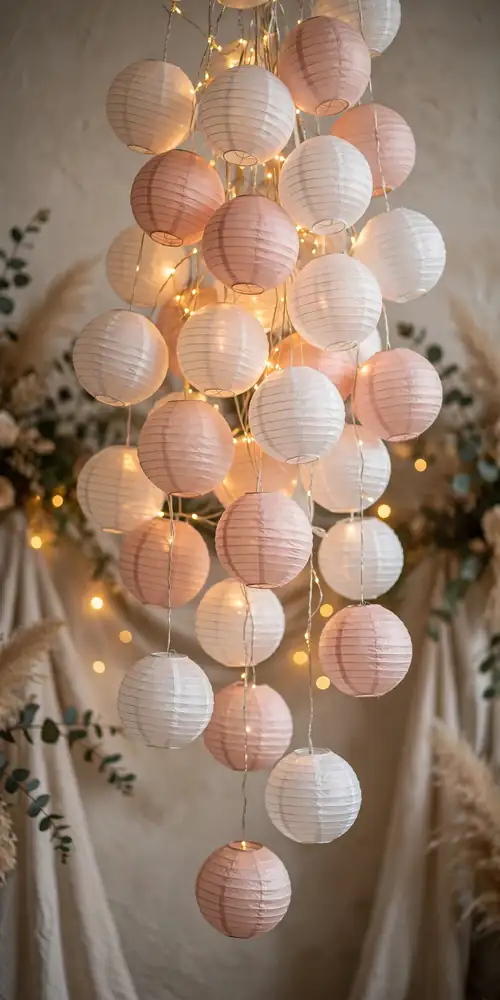
Fairy lights woven through a cluster of small round paper lanterns in white and blush, hung at different heights to form a soft glowing wall. The lanterns spread the light and add color, while the fairy lights fill the gaps between them. This suits indoor receptions and covered patios. Paper lanterns cannot handle rain. Hang about twelve to eighteen lanterns for a full backdrop. Styling tip: mix two lantern sizes. The size difference keeps the cluster from looking like a grid.
Mirrored Glow Wall
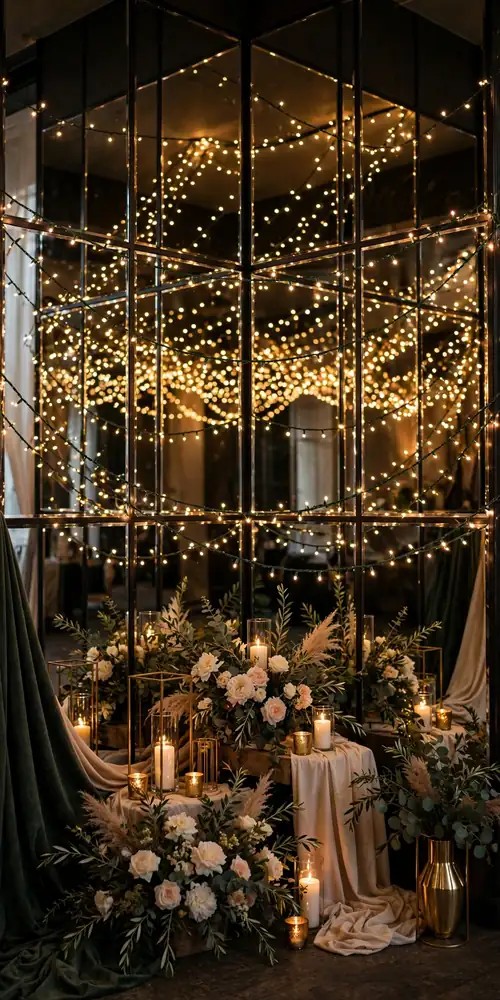
A large mirror or mirrored panels set behind strings of fairy lights so the lights reflect and double the glow. This looks dramatic in photos and makes a small space feel bigger. Rent mirror panels from a decor company rather than buying. Big mirrors are heavy and risky to move. Place the lights about a foot in front of the mirror so the reflection has depth. Styling tip: angle the mirrors slightly so they reflect the lights, not the guests or the ceiling fixtures. A quick test photo before the event shows you exactly what guests will see.
Tunnel Entrance of Lights
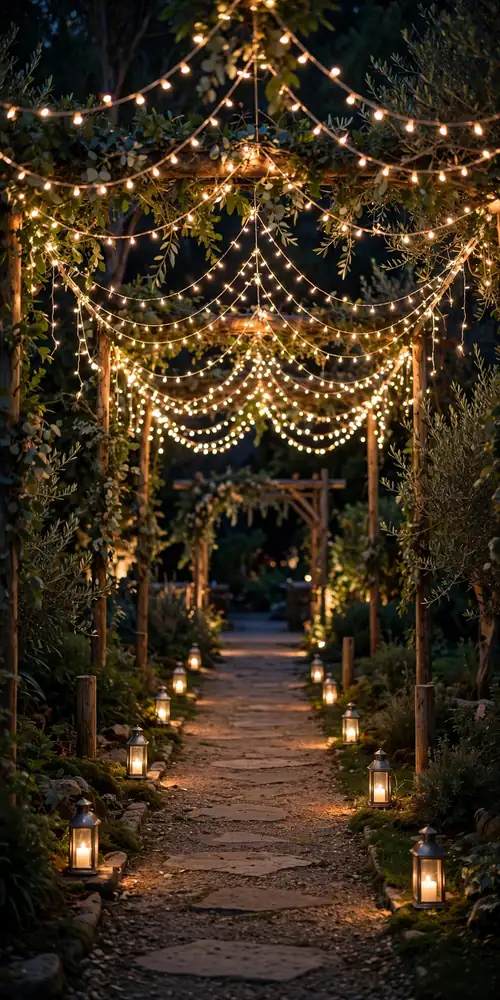
Strings of fairy lights strung overhead along a walkway or entrance corridor so guests walk under a tunnel of light. This turns an ordinary entrance into an experience and sets the mood before anyone sees the main space. Drape the strings in gentle swags between poles or trees rather than pulling them straight. Add ground lanterns along the path edges to light feet as well. Styling tip: keep the tunnel short, about ten to fifteen feet. A short tunnel feels magical, while a long one feels like a hallway.
Lights Woven Into Greenery
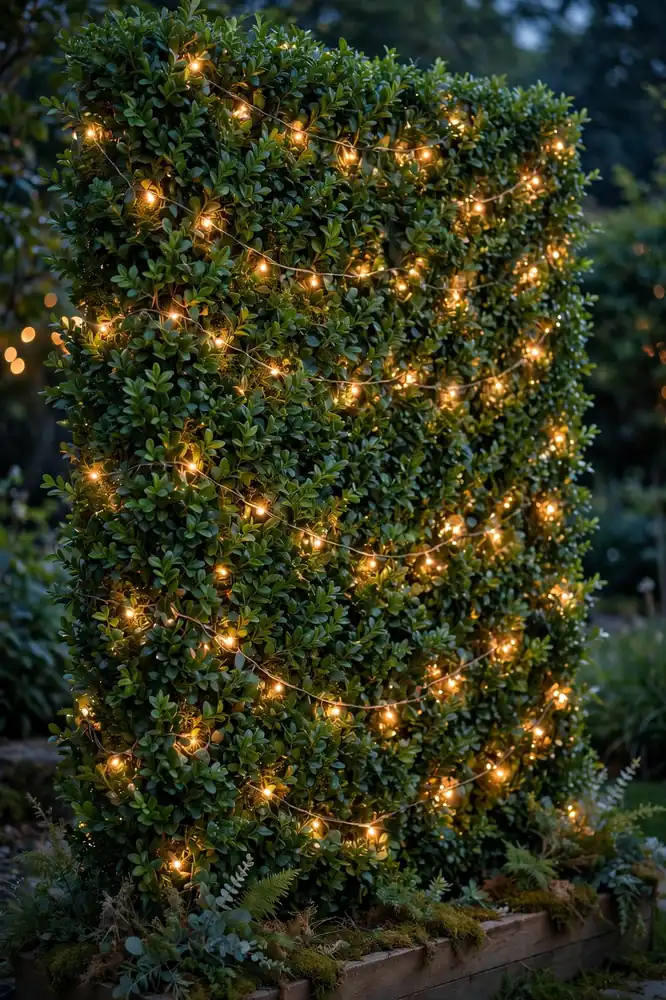
Fairy lights woven through a wall of greenery, either real garlands on a frame or a faux boxwood hedge wall. The lights glow through the leaves and make the greenery look alive after dark. This doubles as a photo backdrop and a decor piece. Use warm white lights so the greens look natural rather than blue. Push the light strings deep into the greenery so the bulbs hide and only the glow shows. Styling tip: add the lights before you fluff and arrange the greenery. It is much easier to hide wires under leaves than to push them through later.
Hanging Lights With Dried Florals
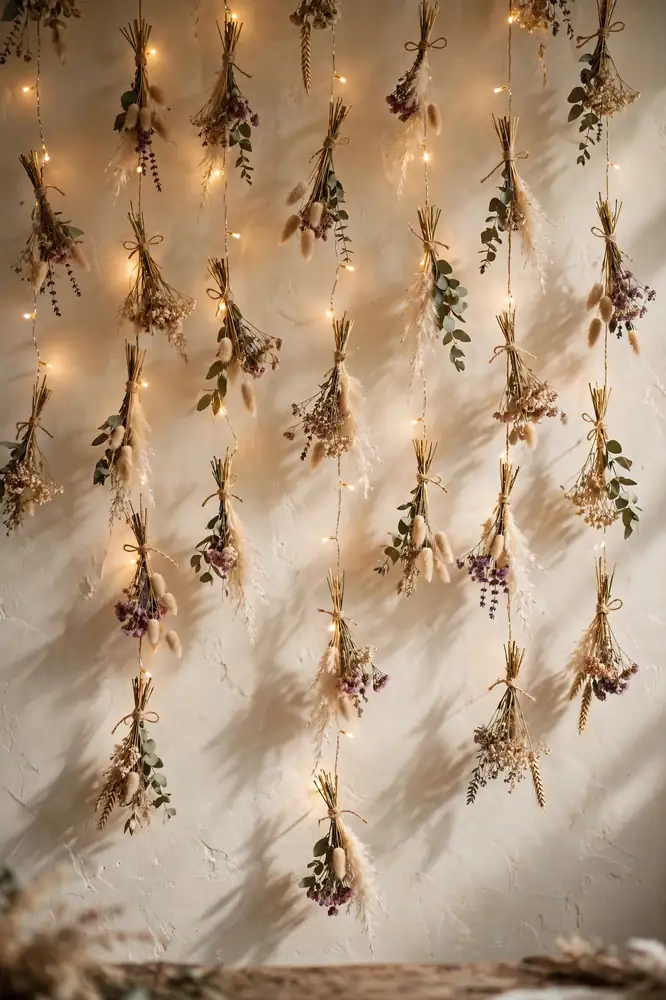
Strands of fairy lights hung from above with dried flowers, grasses, and seed pods tied along them at intervals. The dried florals catch the warm light and cast soft shadows on the wall behind. This suits boho and rustic weddings and works for daytime receptions too, since the dried florals look good in daylight. Tie the dried pieces on with thin twine so they hang naturally among the lights. Styling tip: keep the florals small and sparse. One dried stem every foot or two is enough. Too many hides the lights.
Start with where the backdrop will stand, then pick the look that suits the light. Indoor spaces love the curtain wall and the mirrored glow. Outdoor spaces belong to the tree canopy and the tunnel entrance. And always test your lights at the actual time of day your event starts.
For more ideas like this, visit our Wedding Decor Ideas page.